Replacement daily hack!
Posted: Wed Jan 09, 2013 7:17 pm
Howdy all!
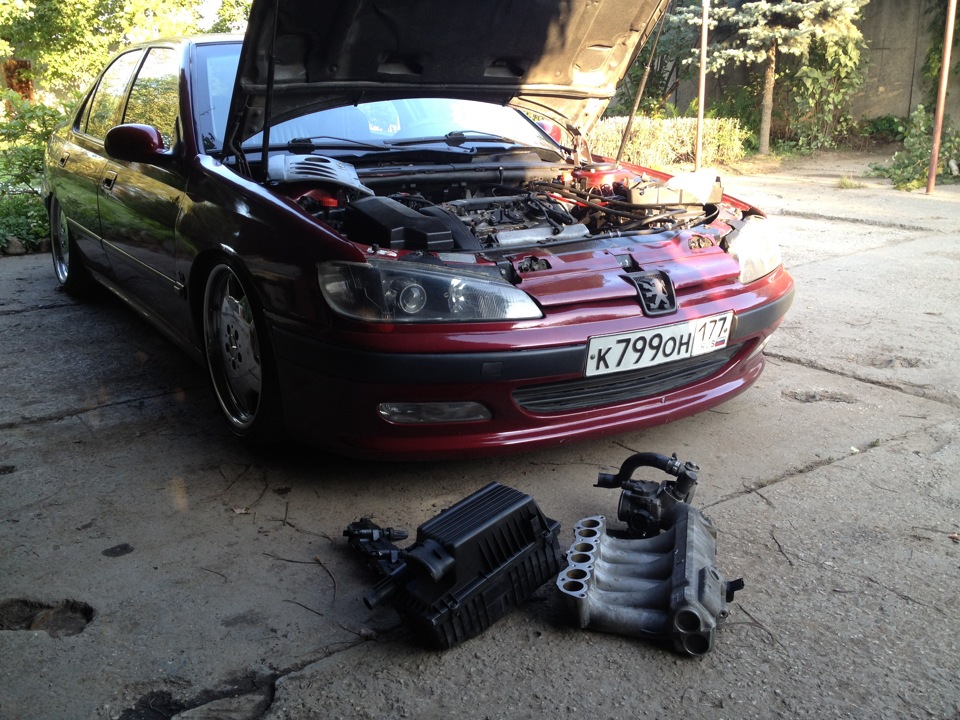
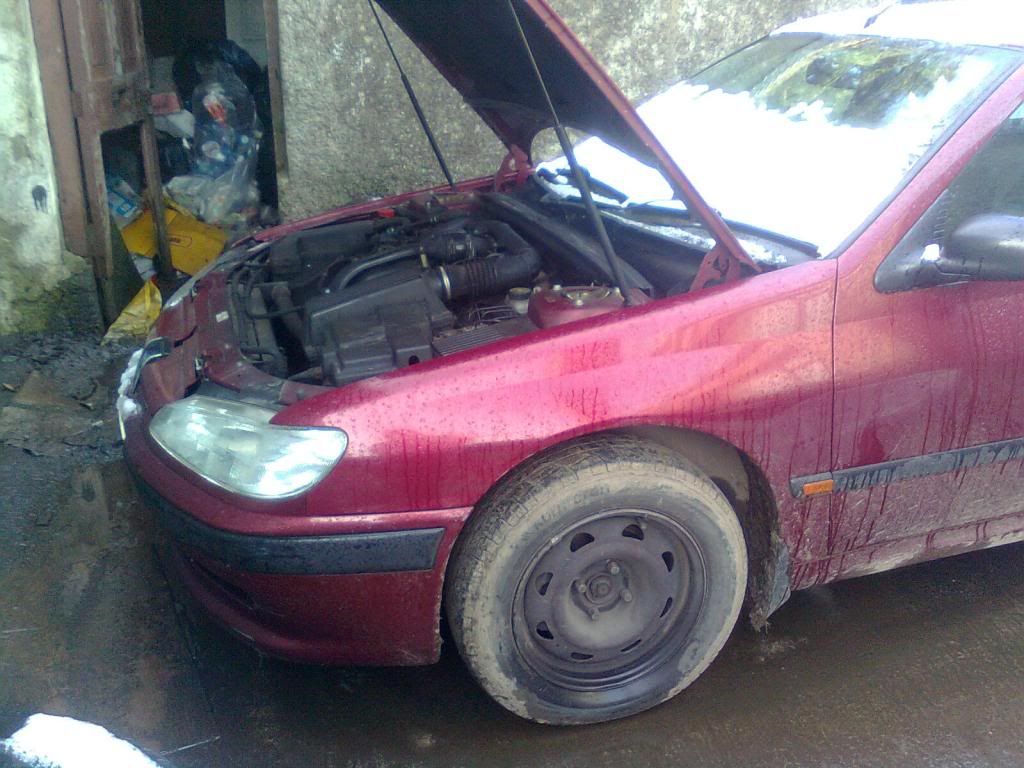
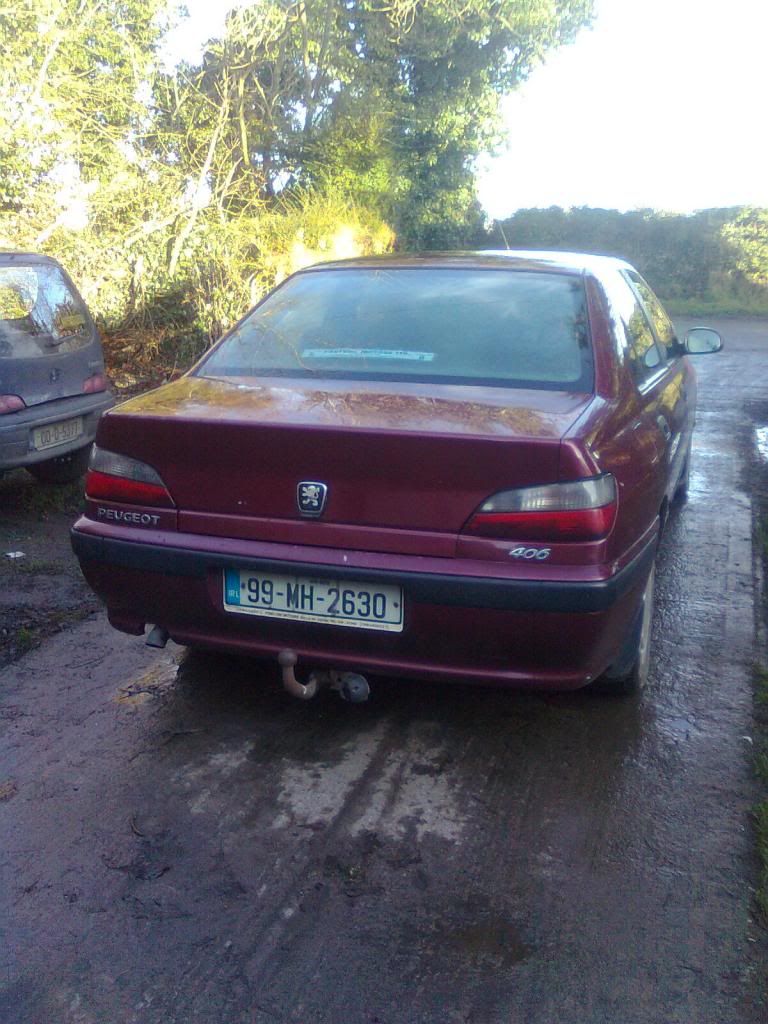
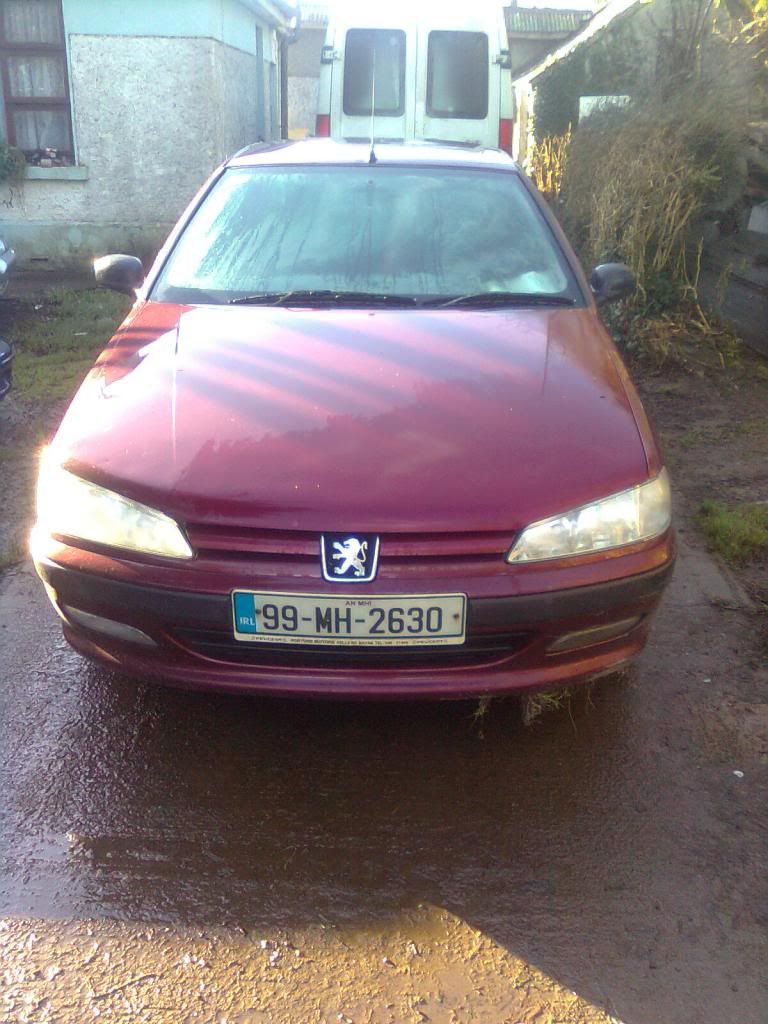
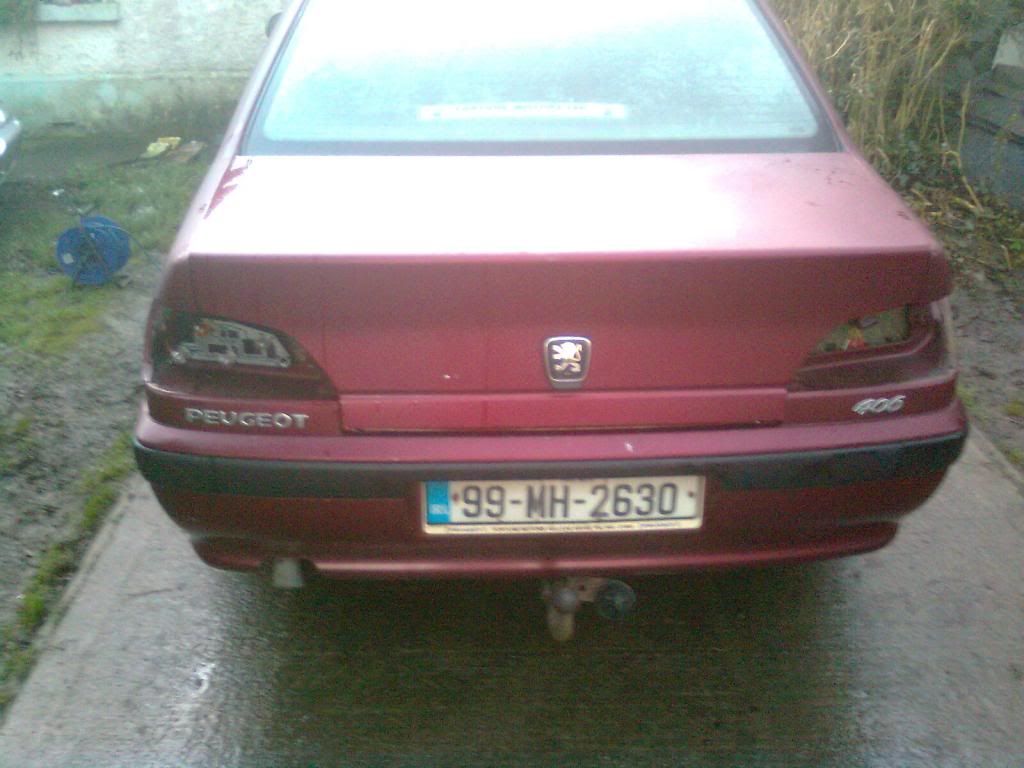
Replaced the current silver 406 with a regency red 406. 164k miles, drives beautifully, looks fantastic. I'm delighted
It isn't without it's problems (what car is? How boring that would be!) but they're minor and relatively easy to fix.....
So what's wrong with it?

However, I do have some other plans for it when it's running and finances permit:
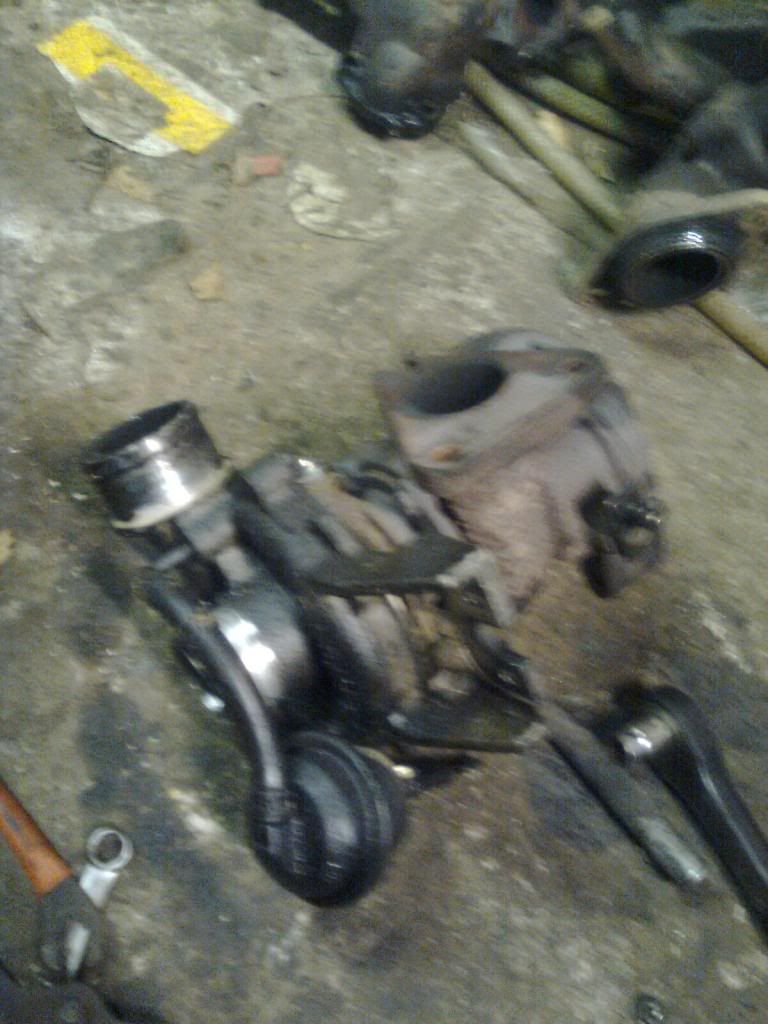
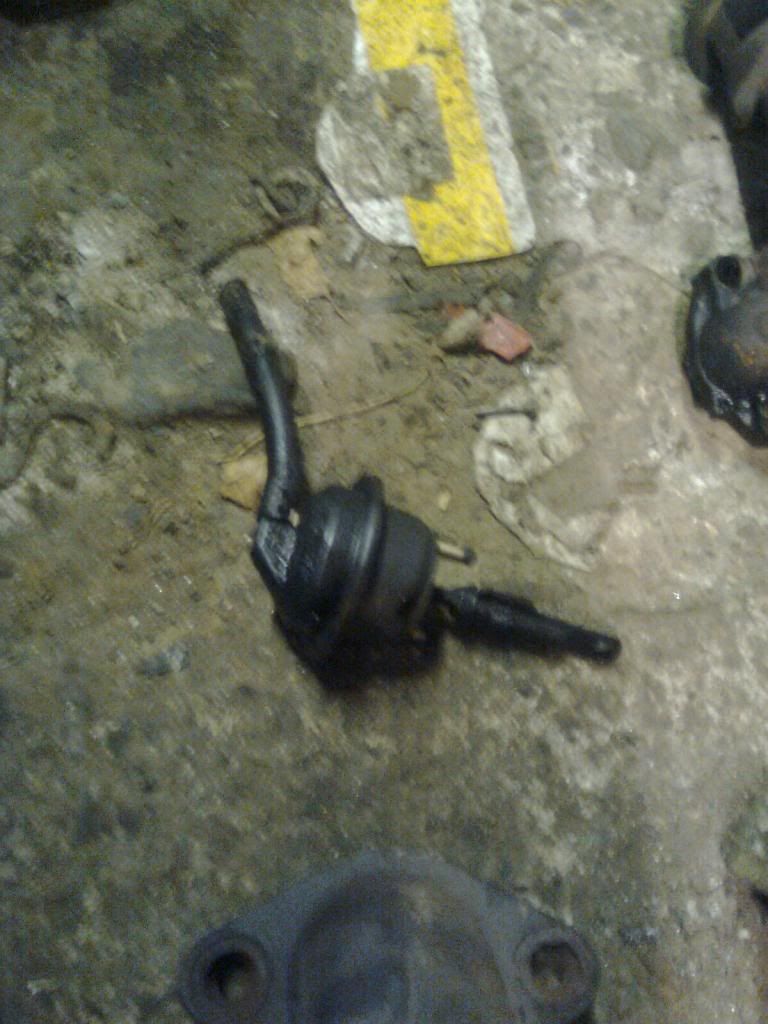
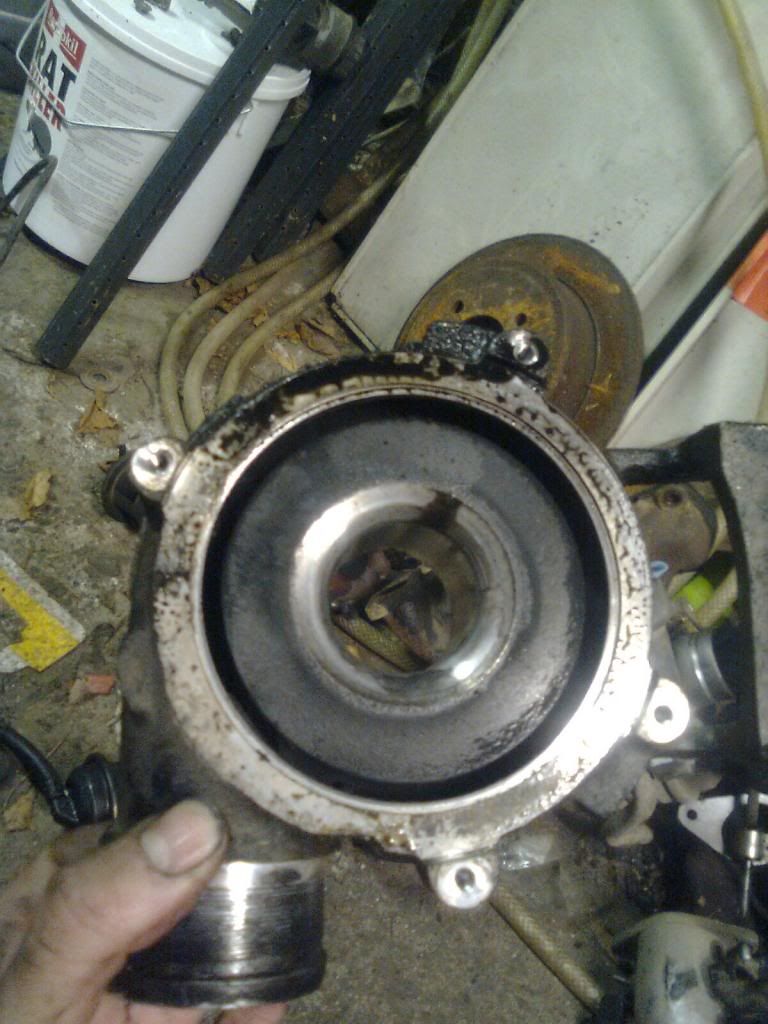
But enough yap, time for pictures
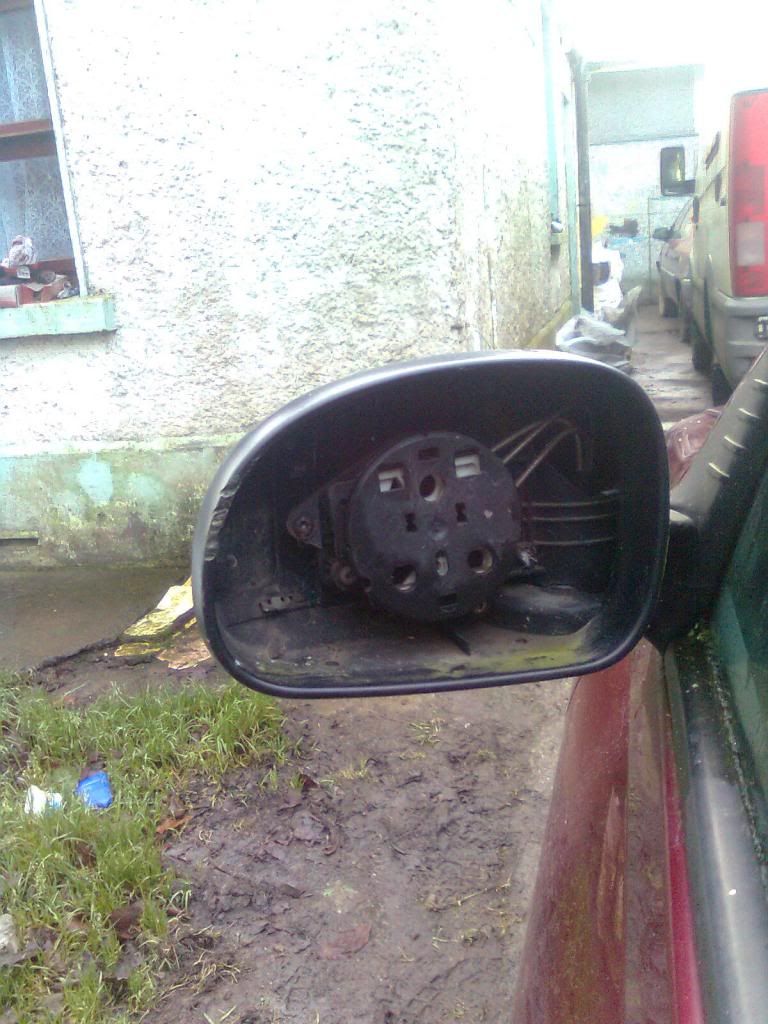
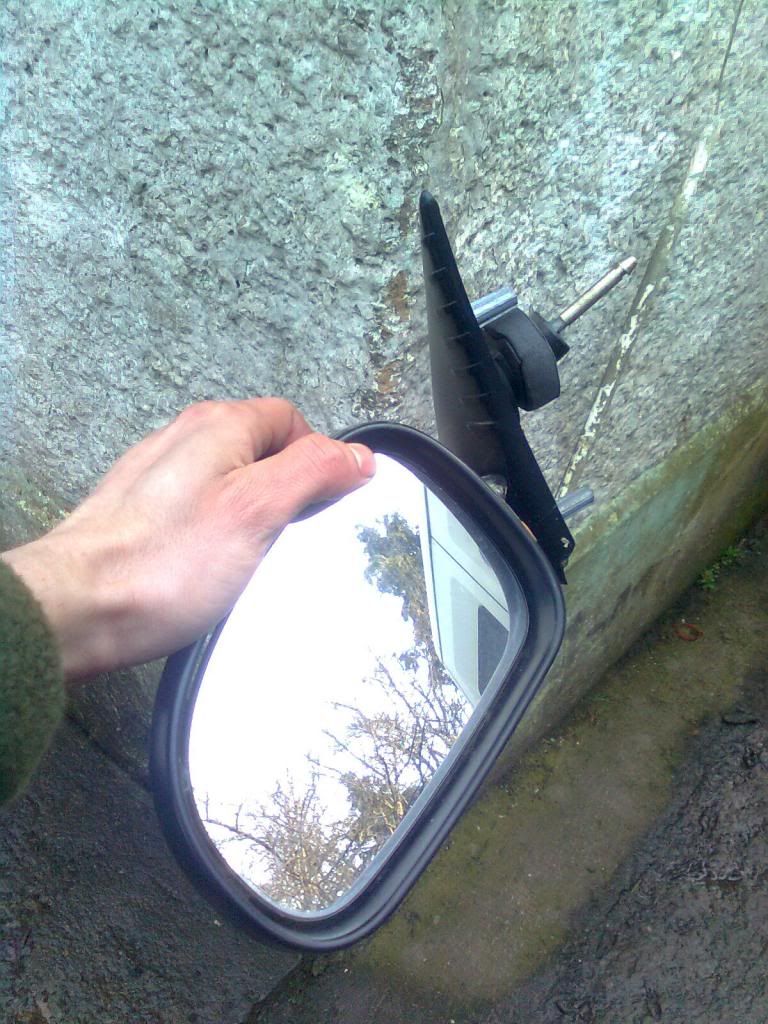
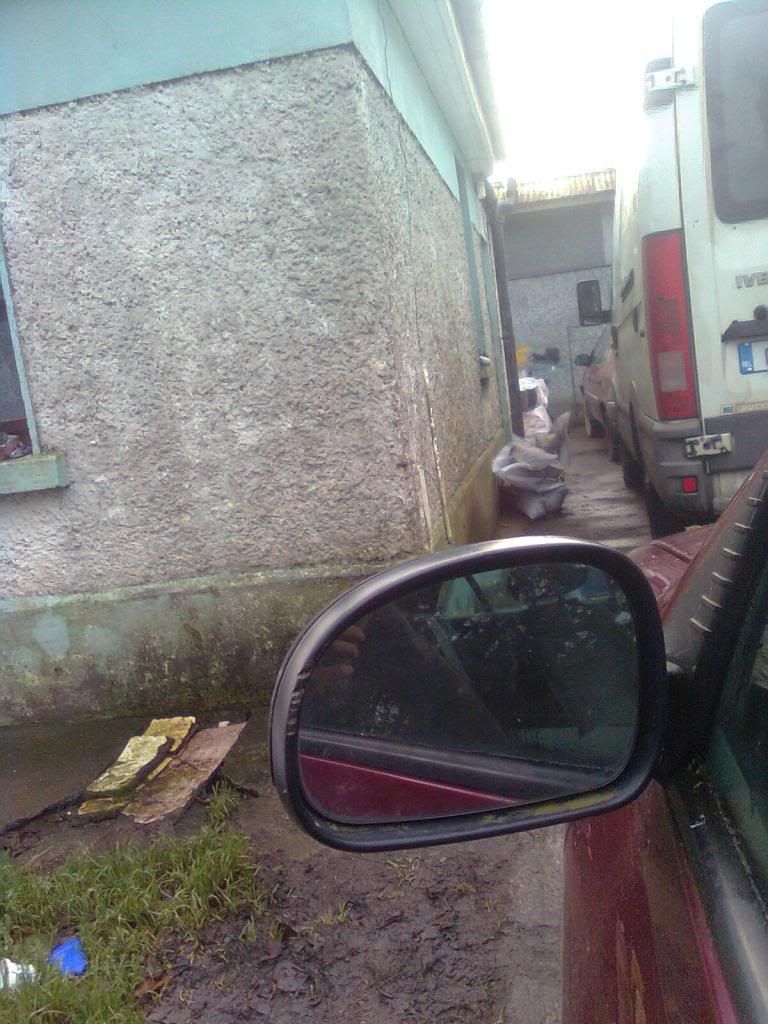
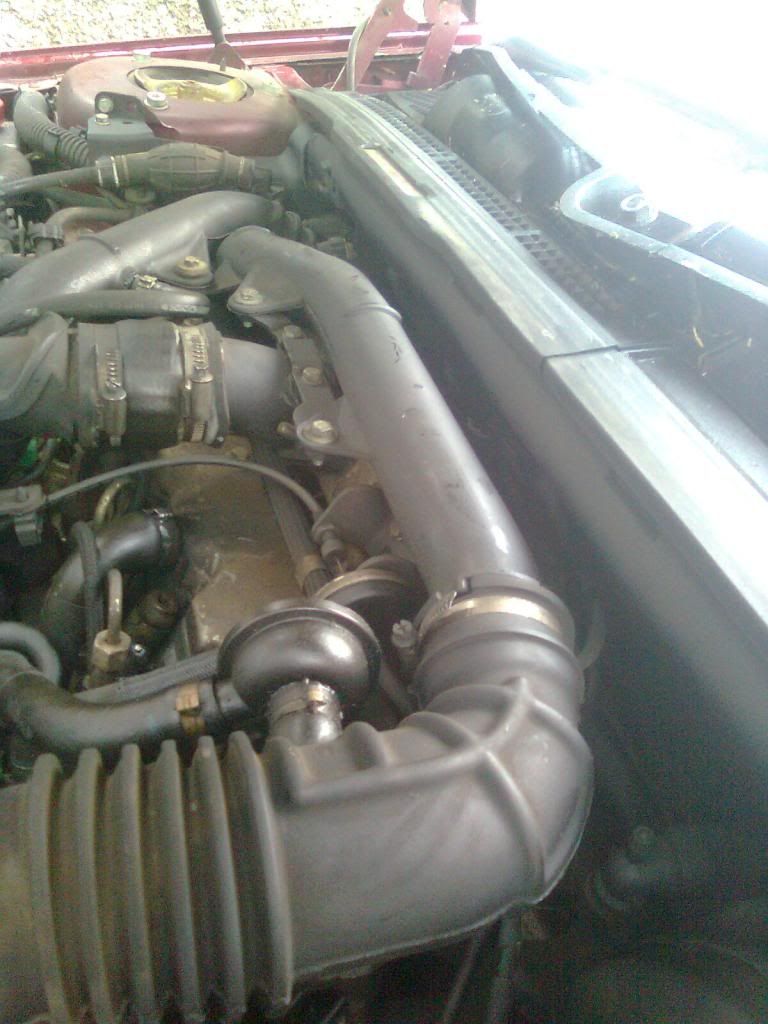
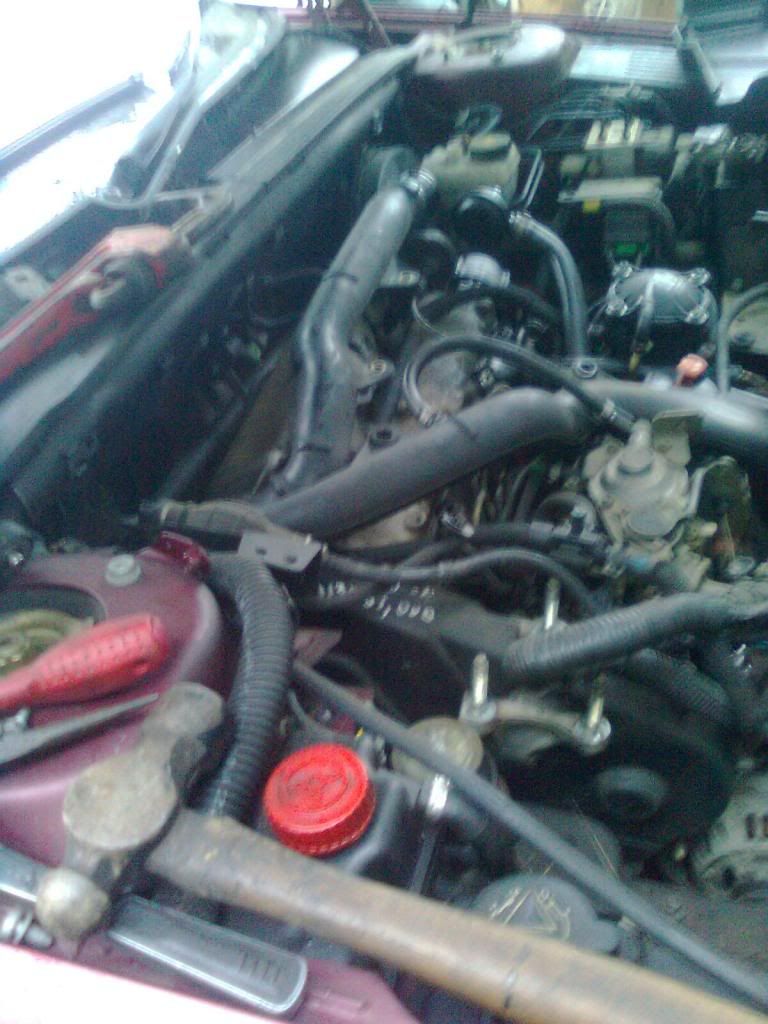
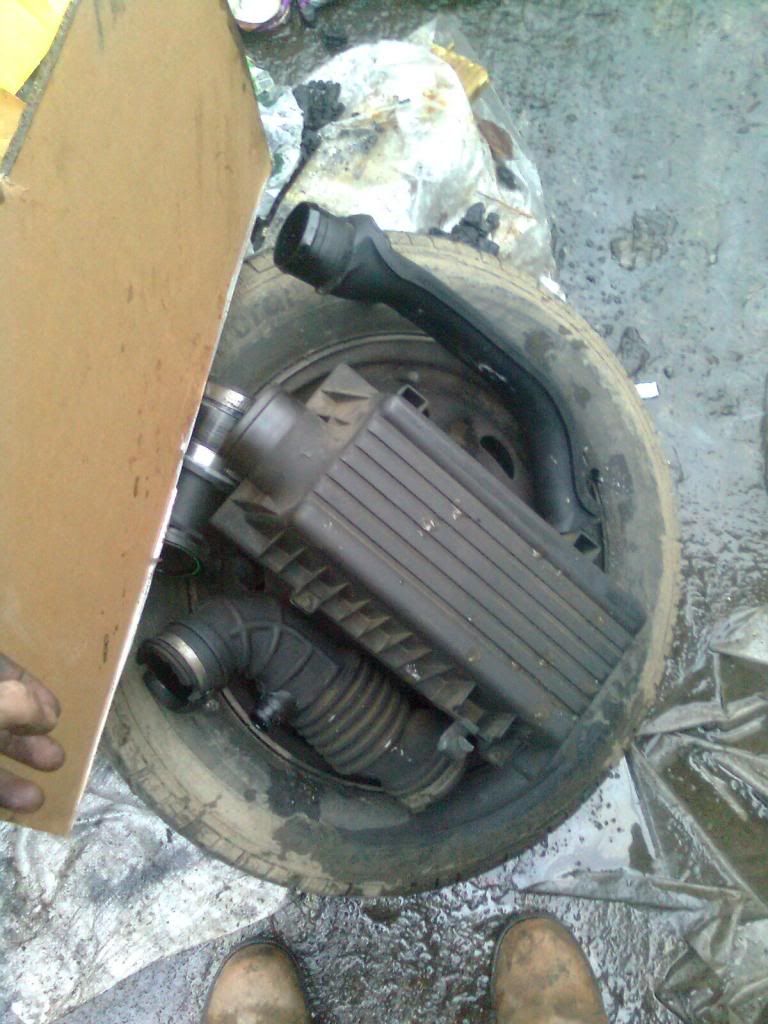
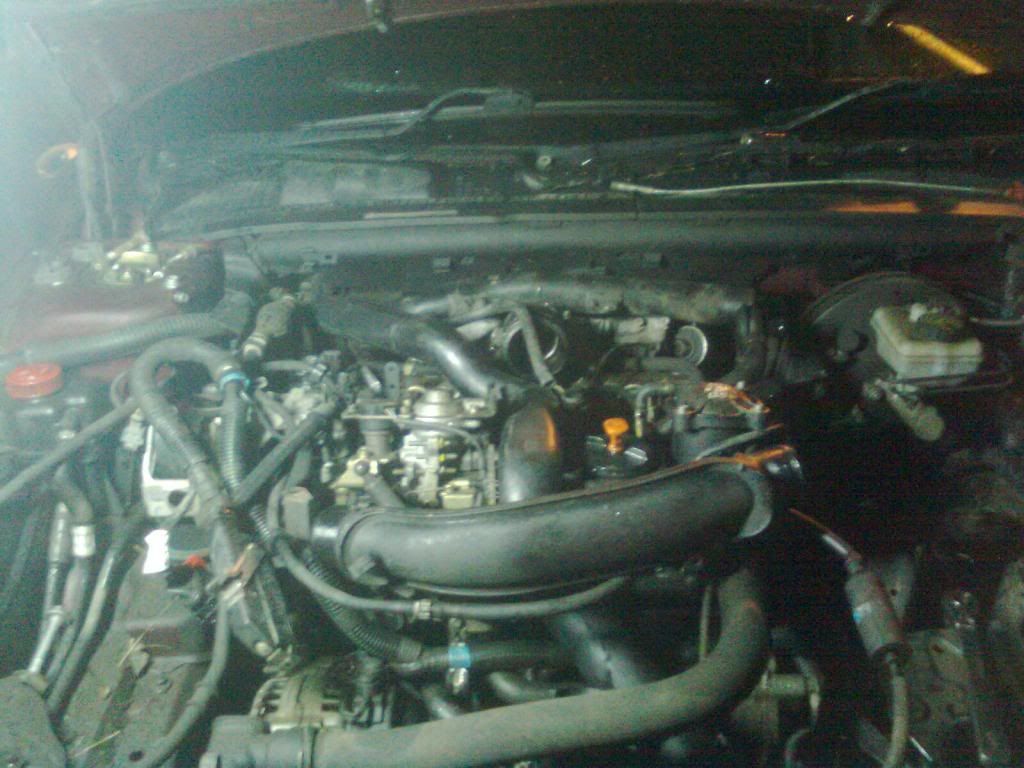
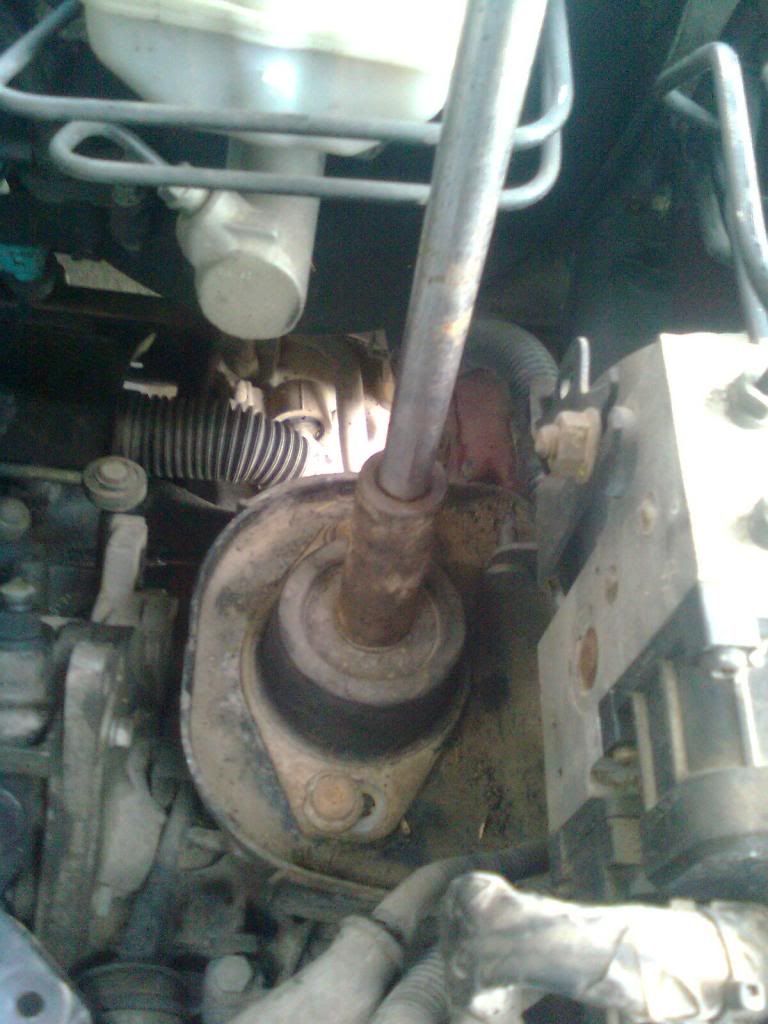
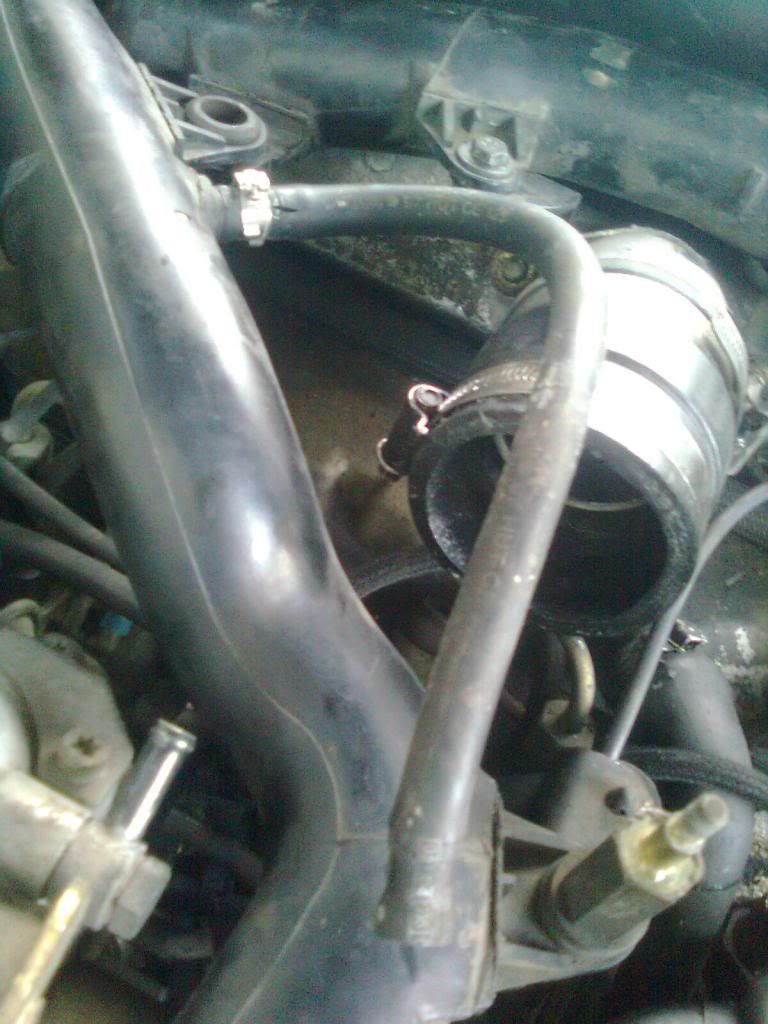
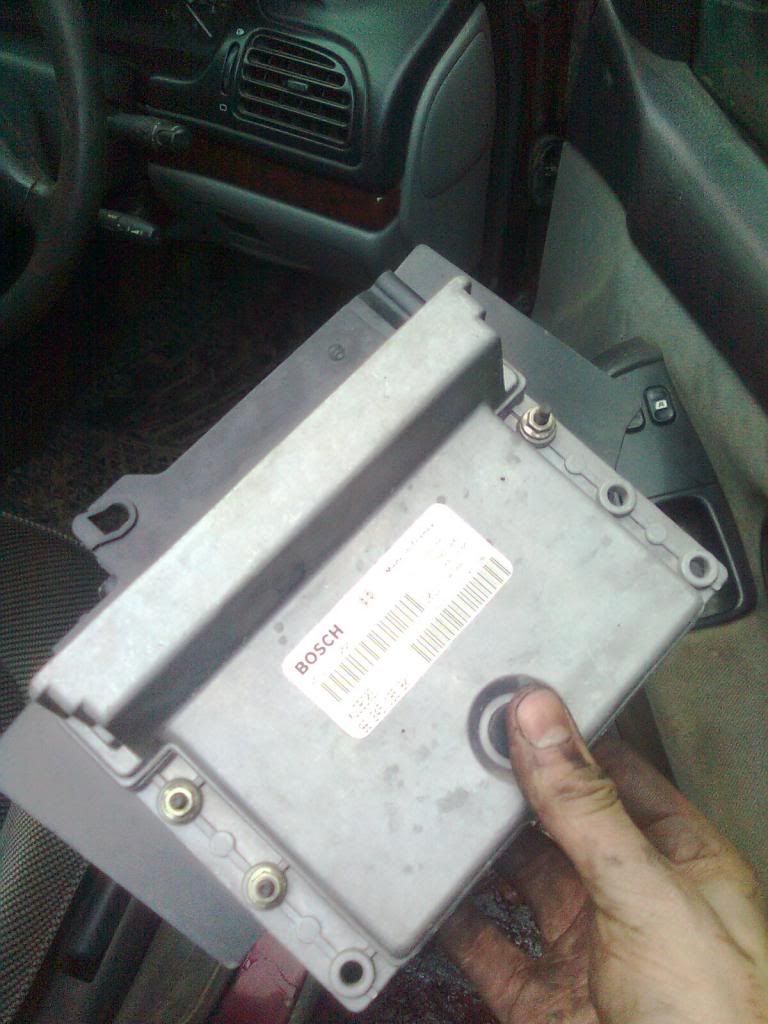
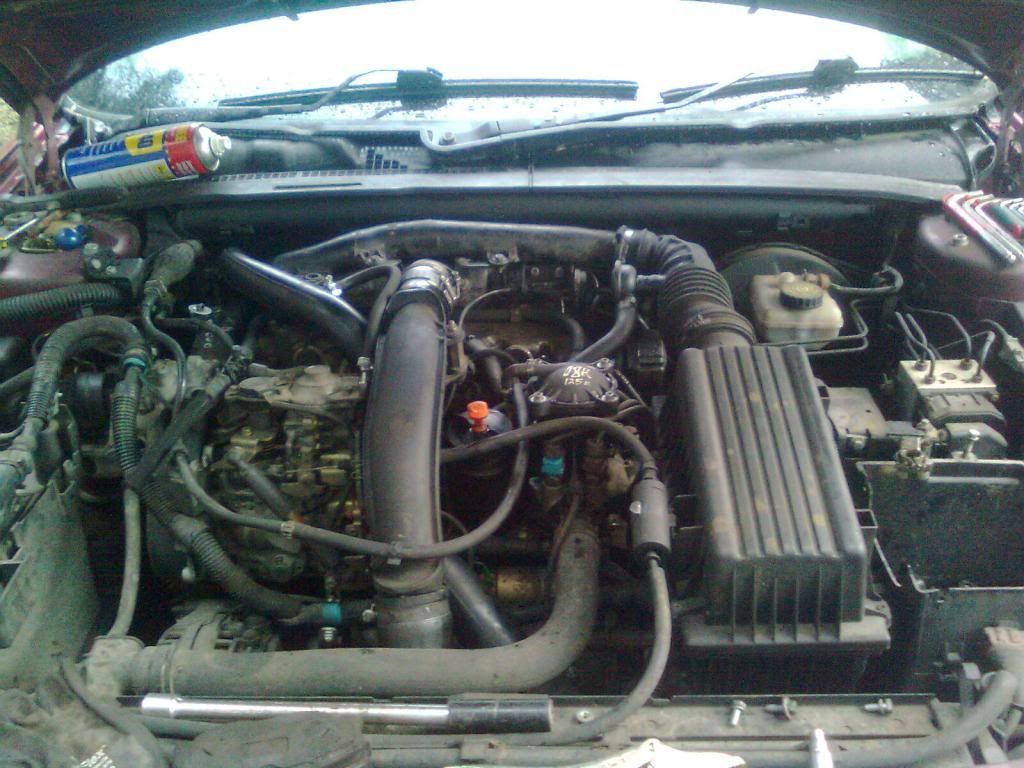
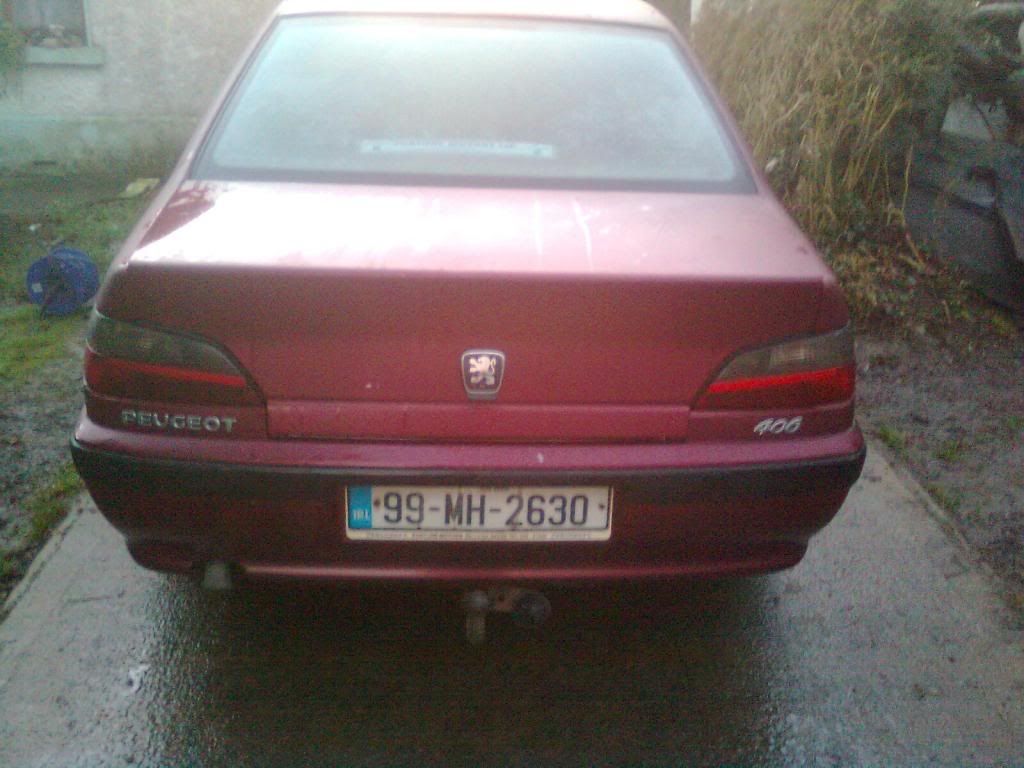
Starting with a walk around of the car

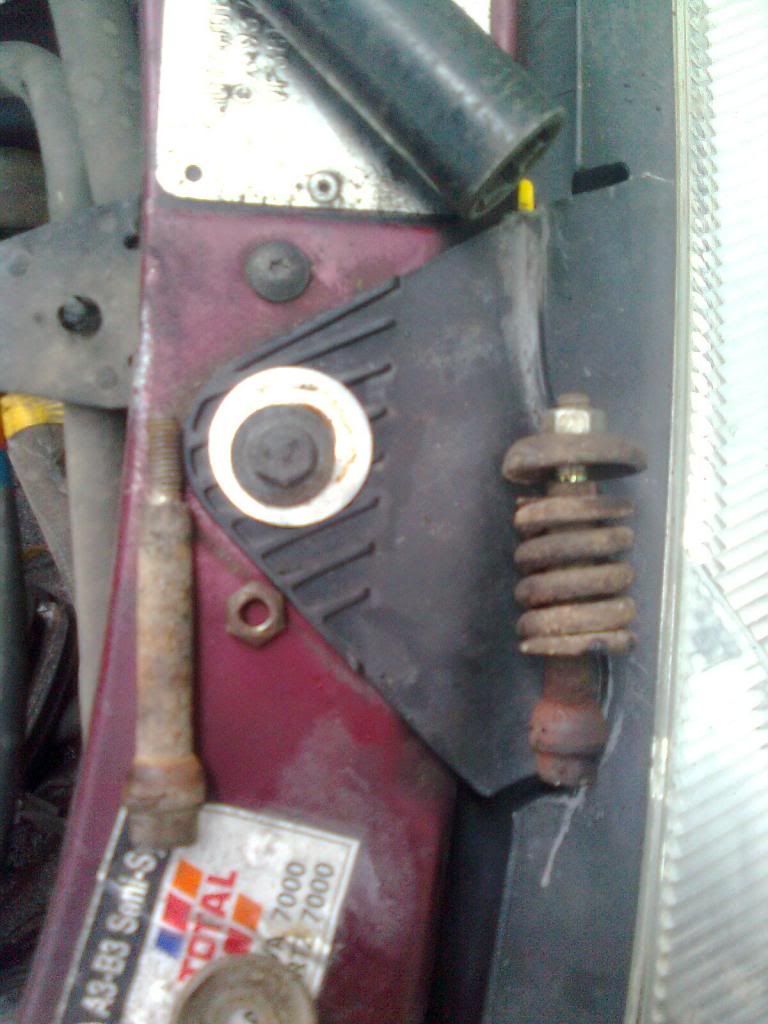
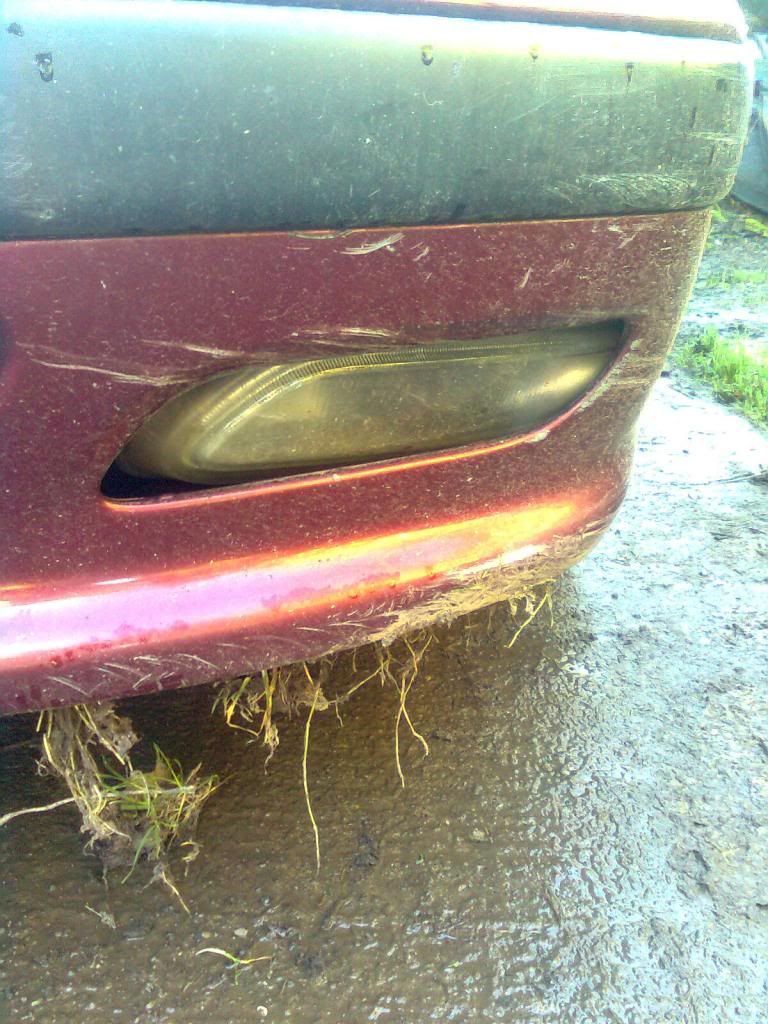
The foglight damage
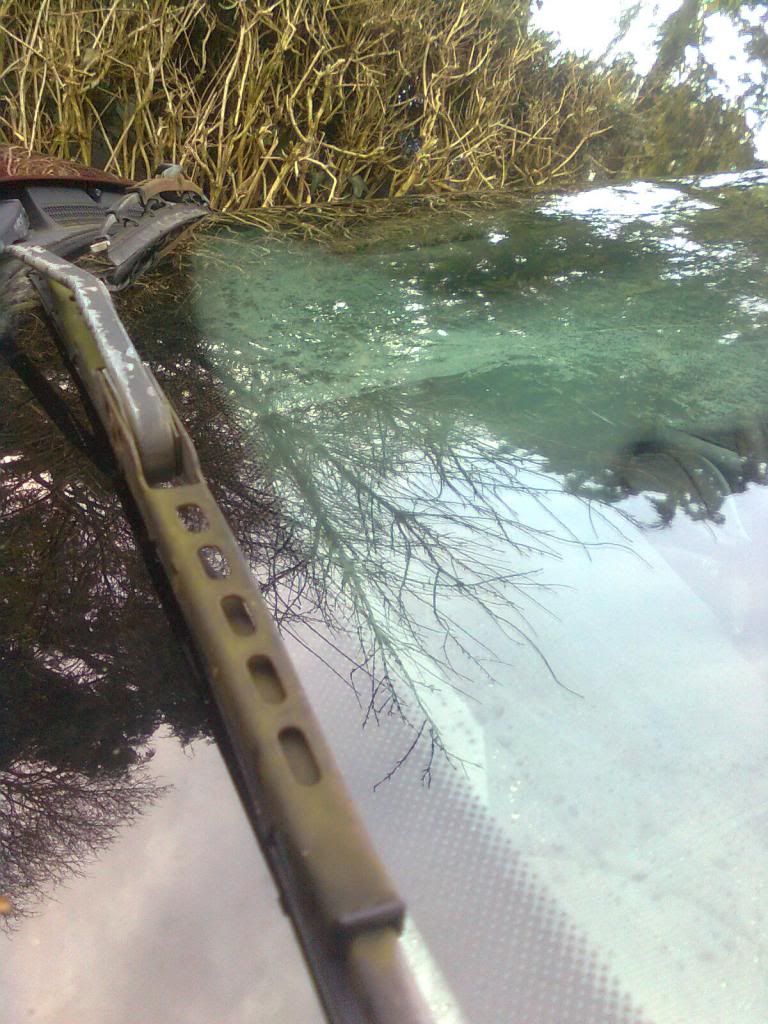
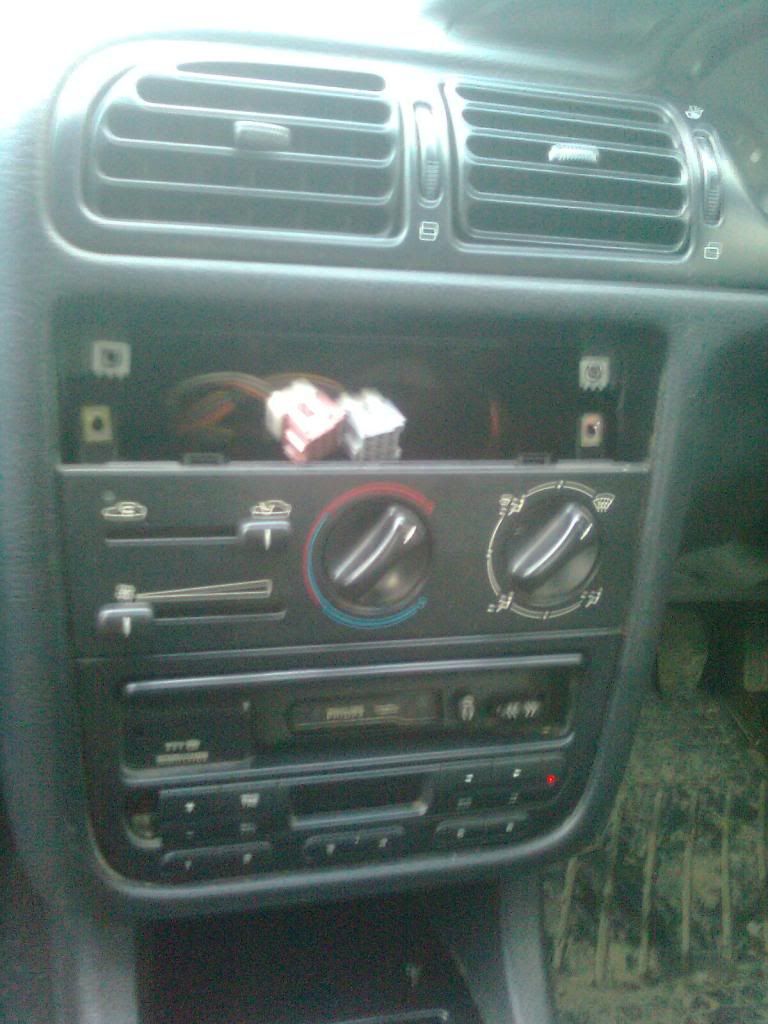
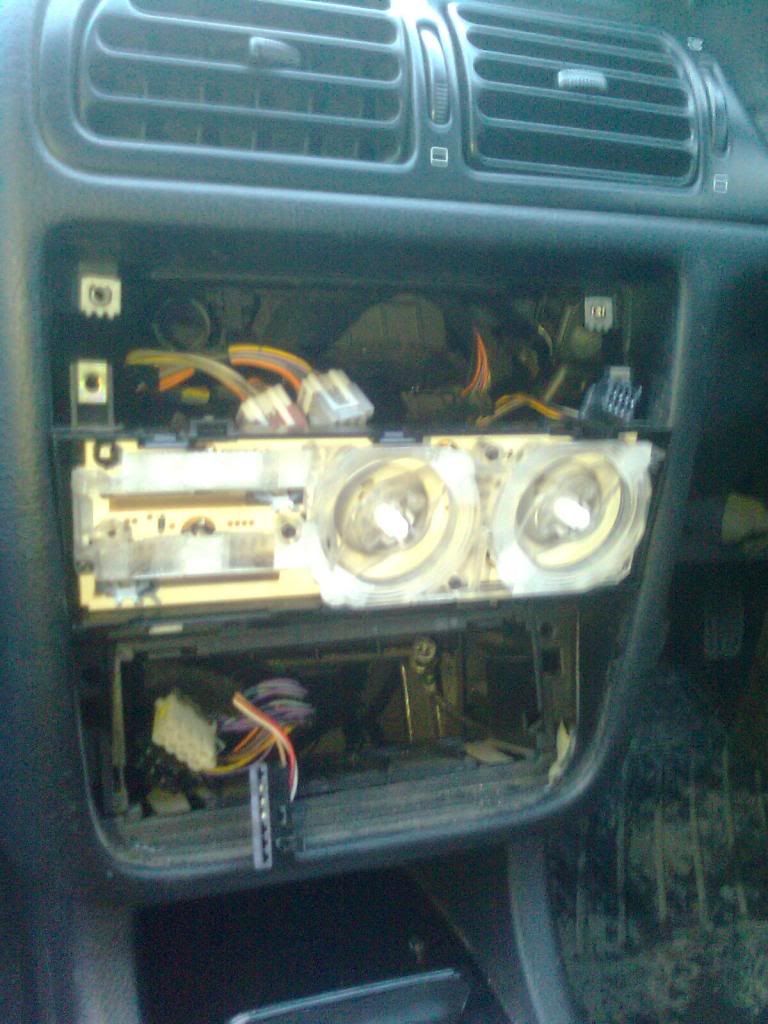
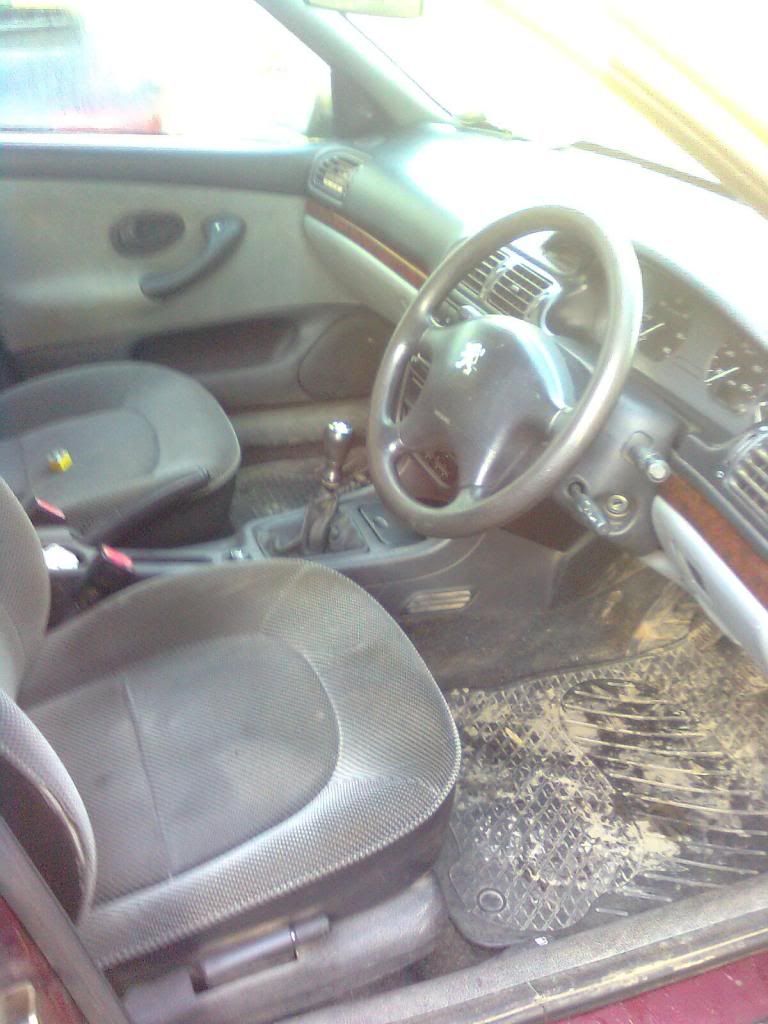
Interior

And the boot

Needs a slight clean!
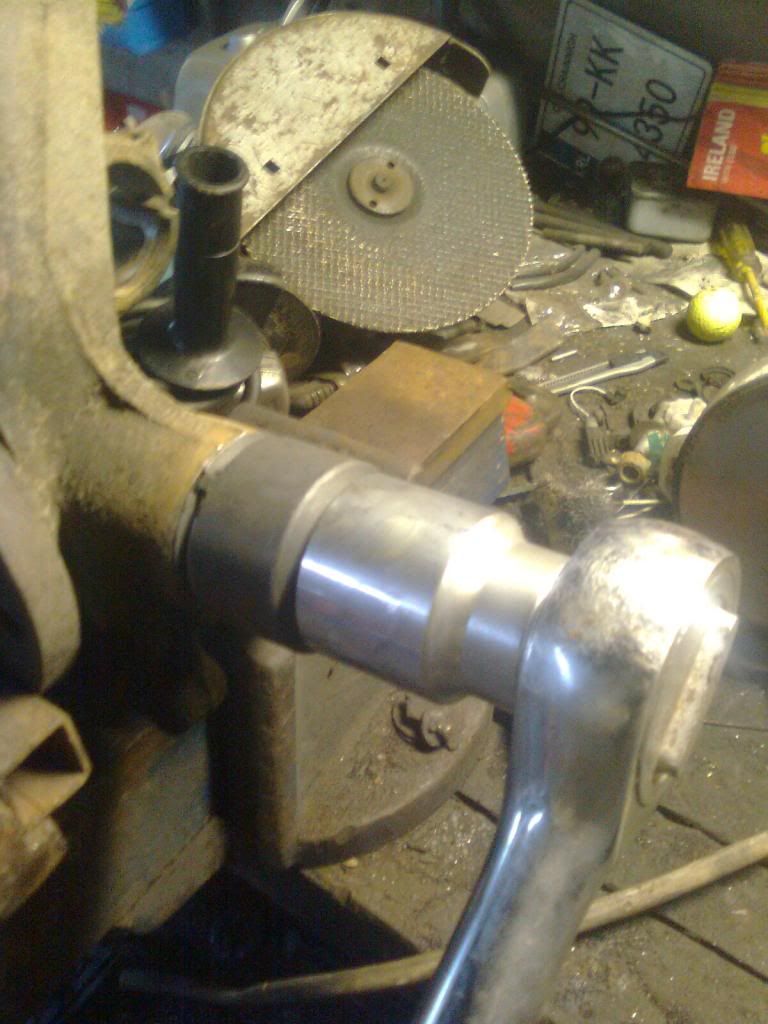
Always nice to see a near full toolkit

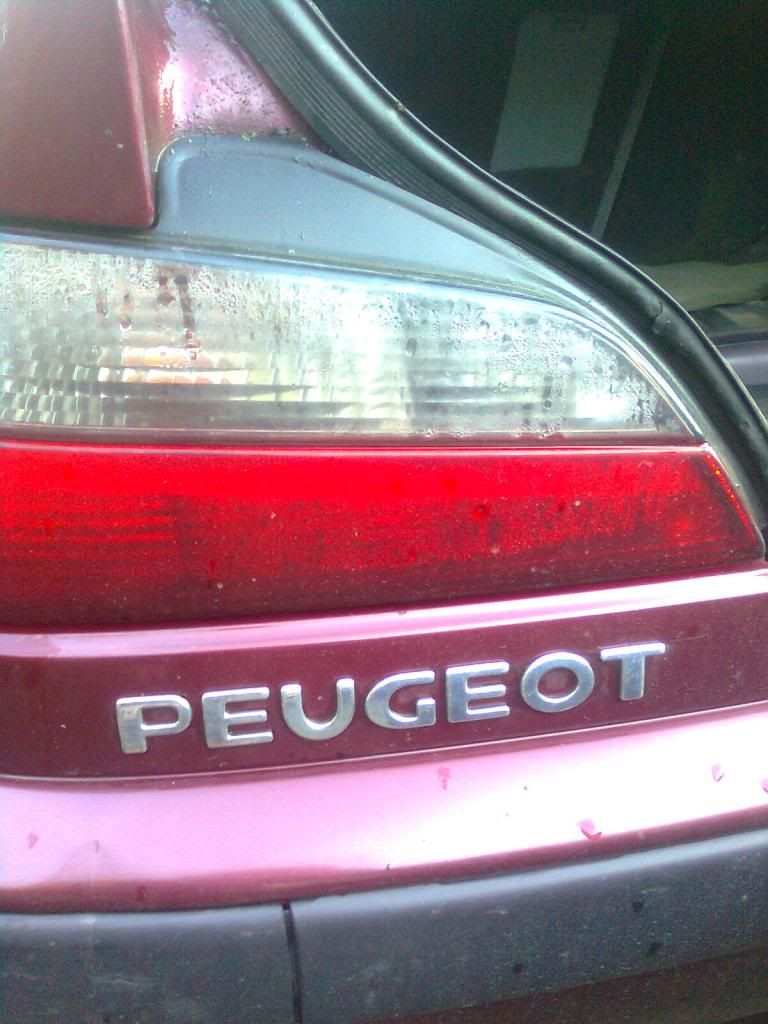
Tail lights filled with water
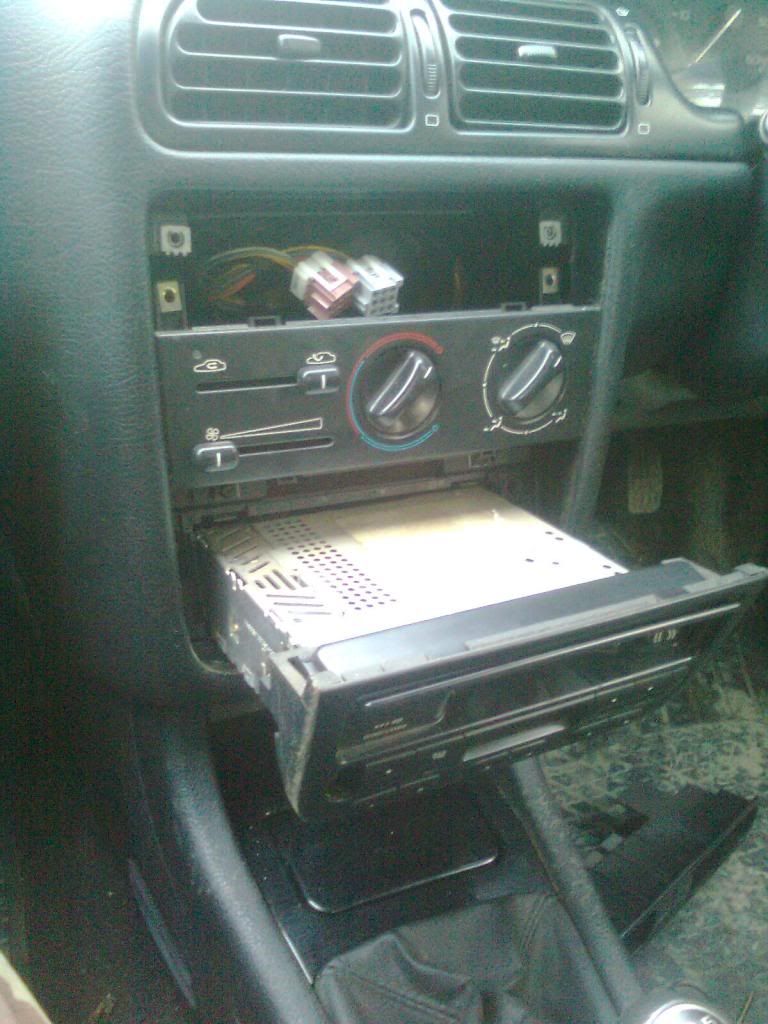
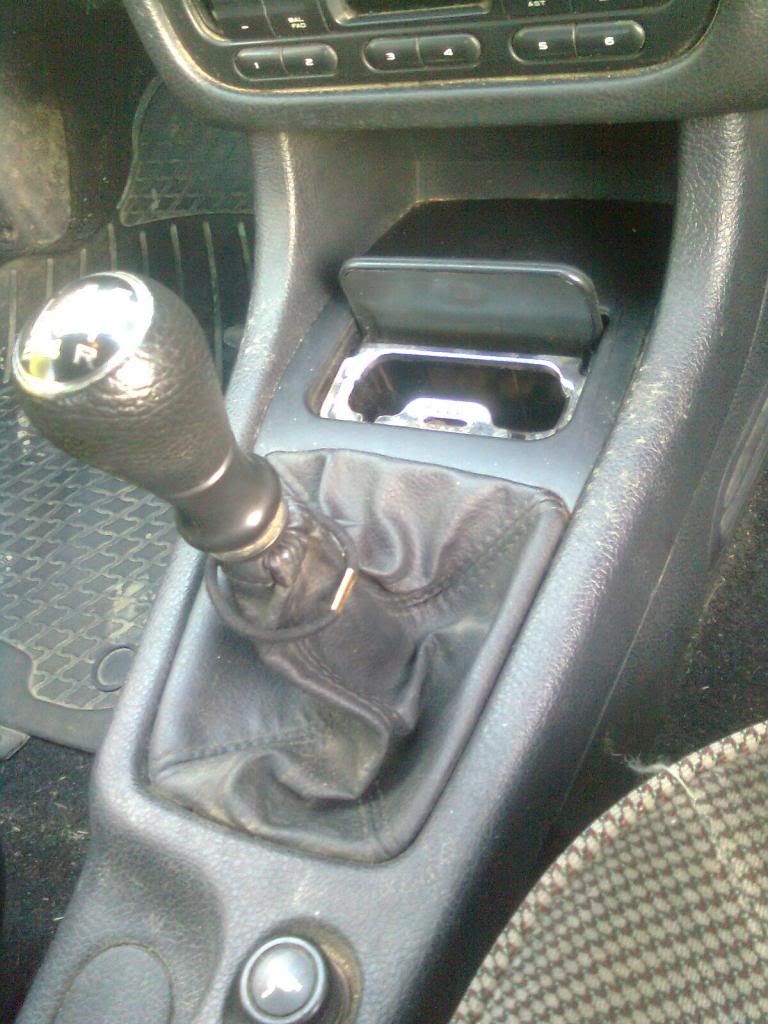
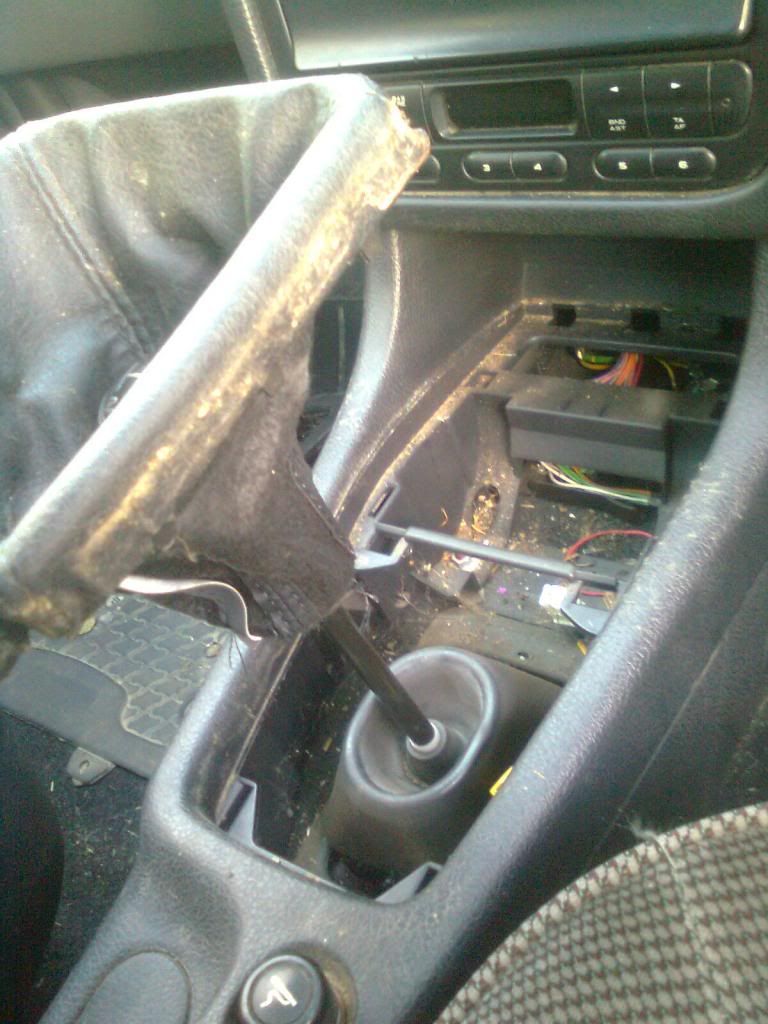
So the first fix was the gaiter ad ashtray, which was sticking
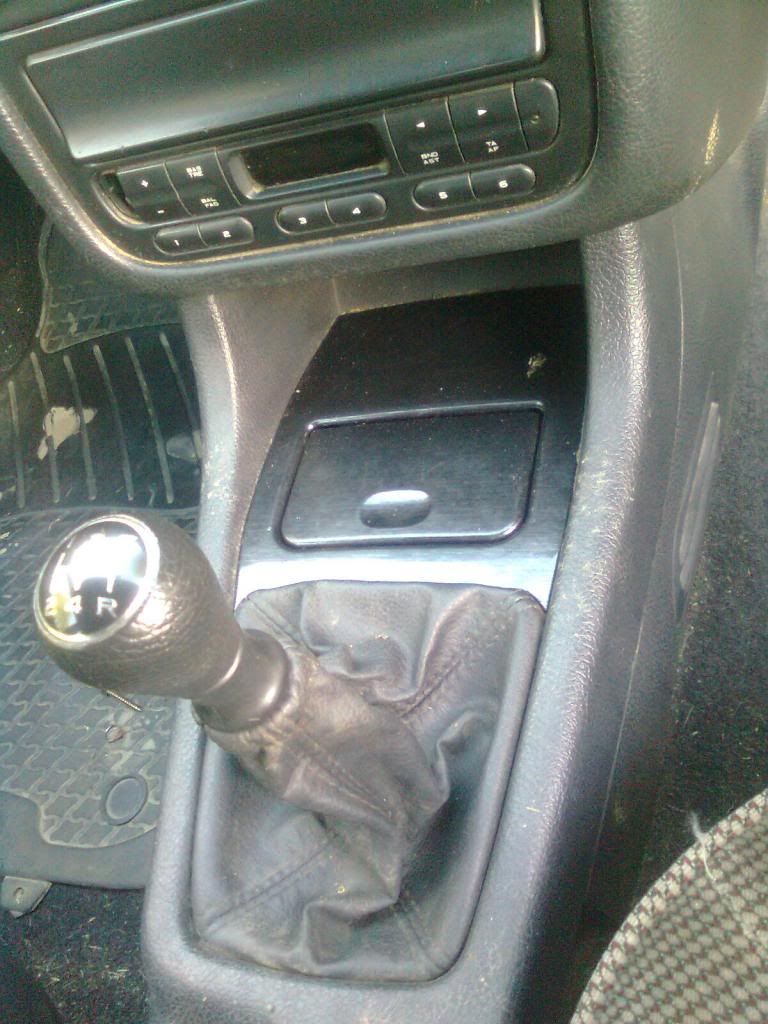
Now with an ashwood ashtray
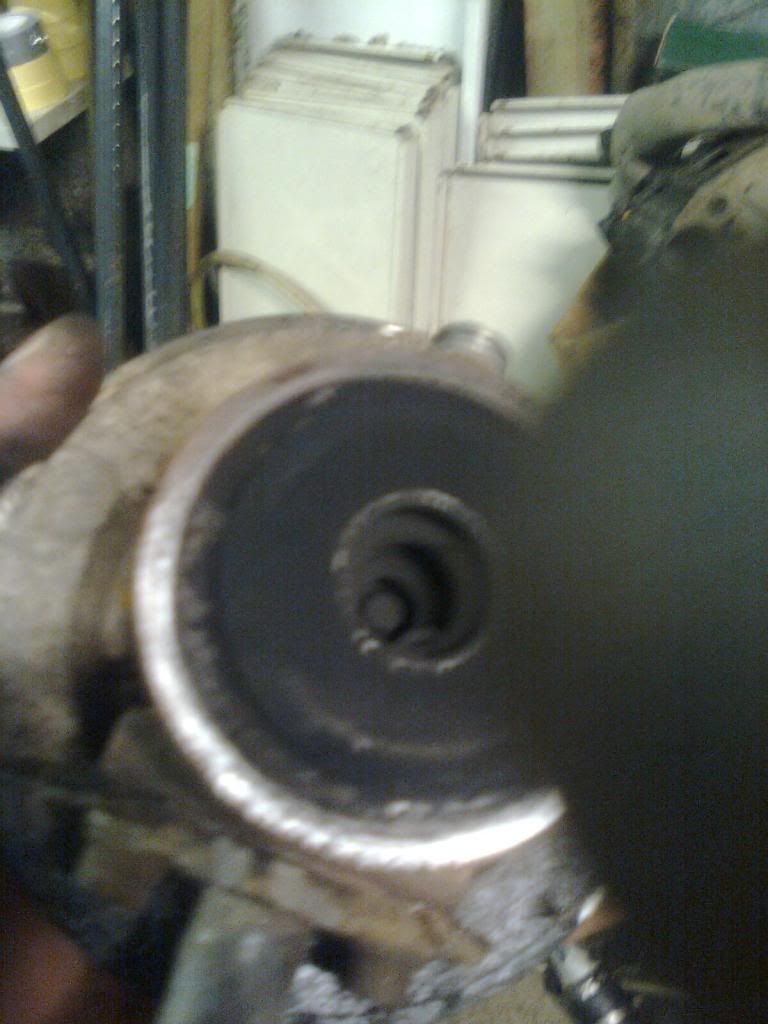
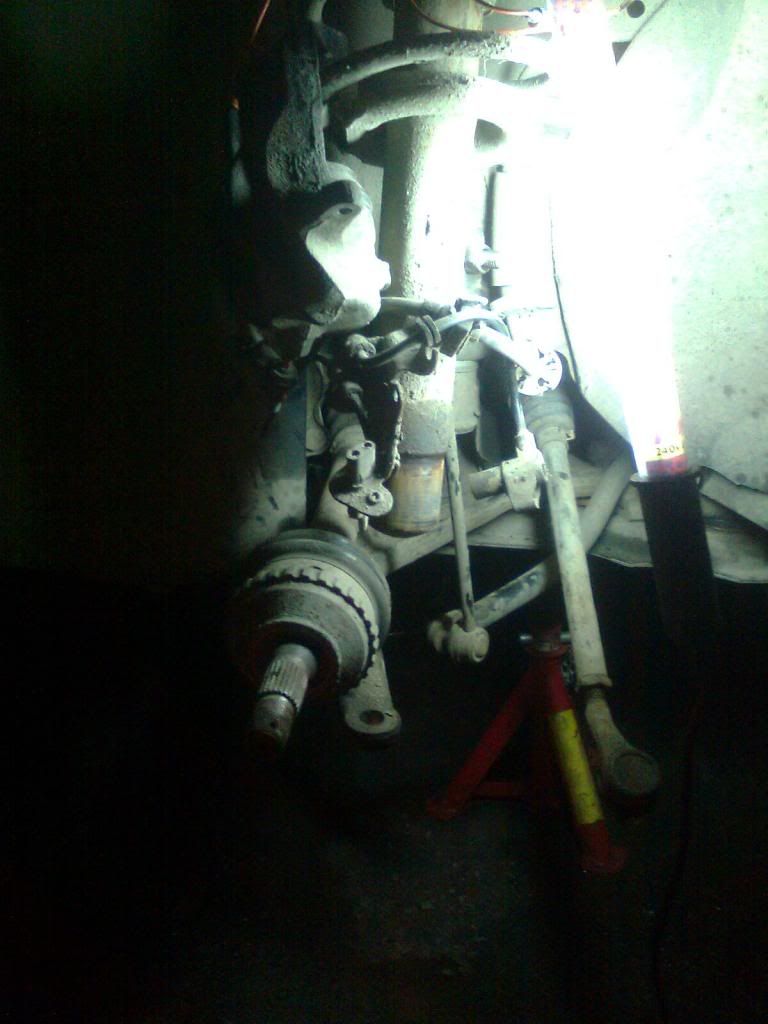
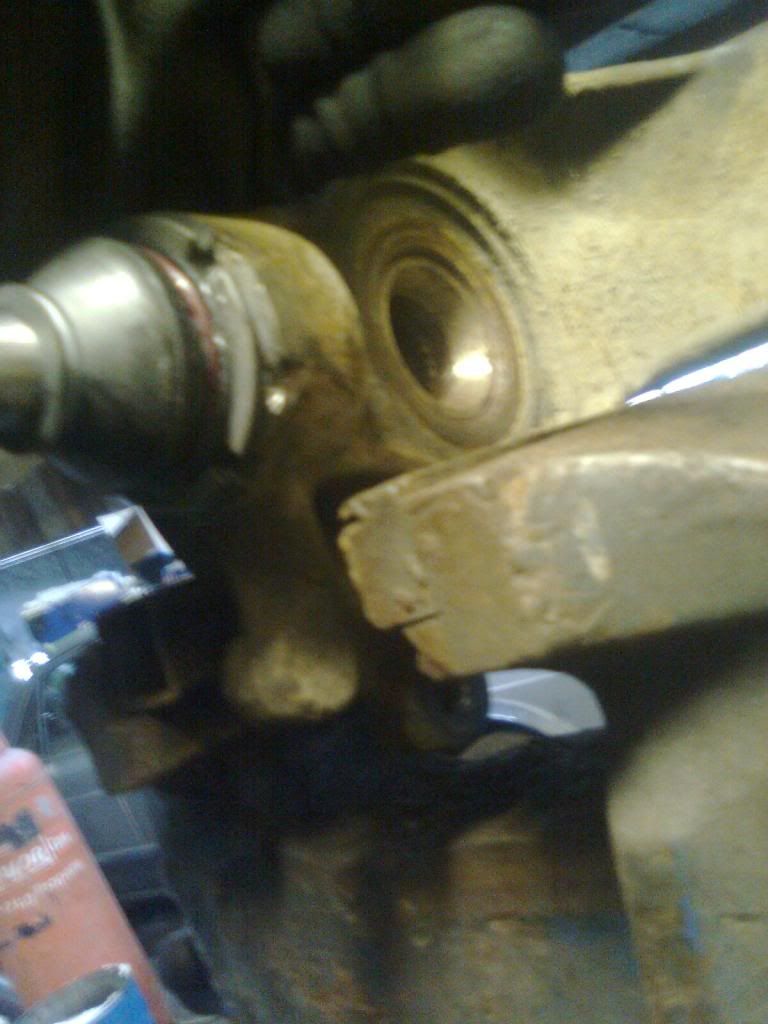
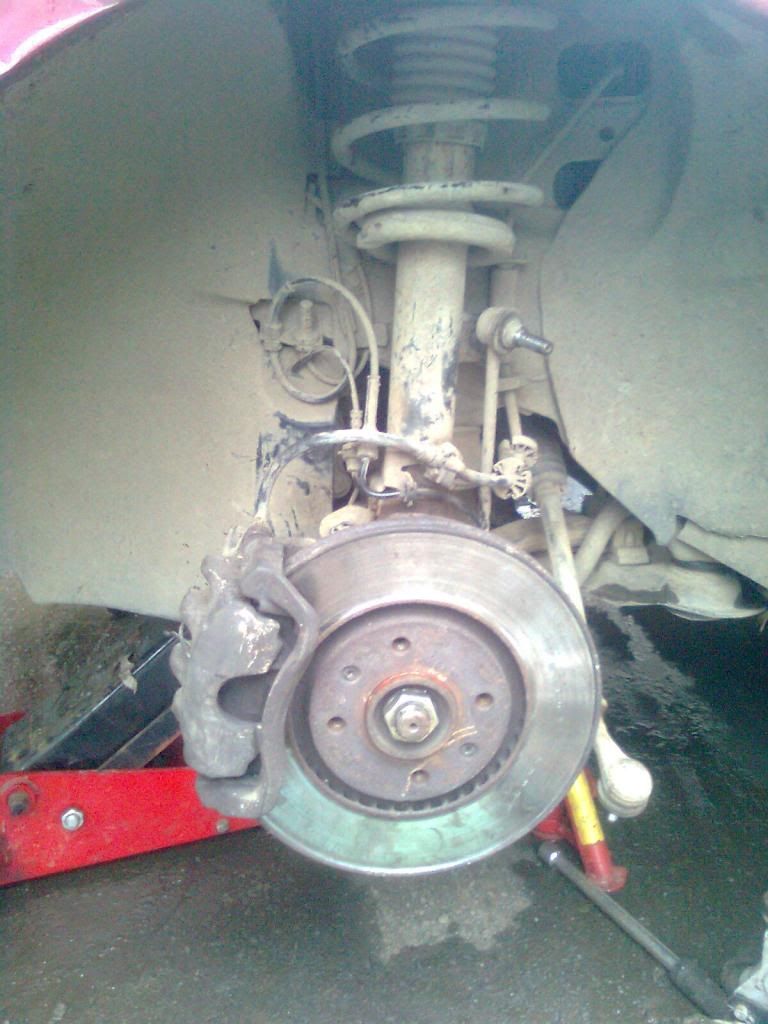
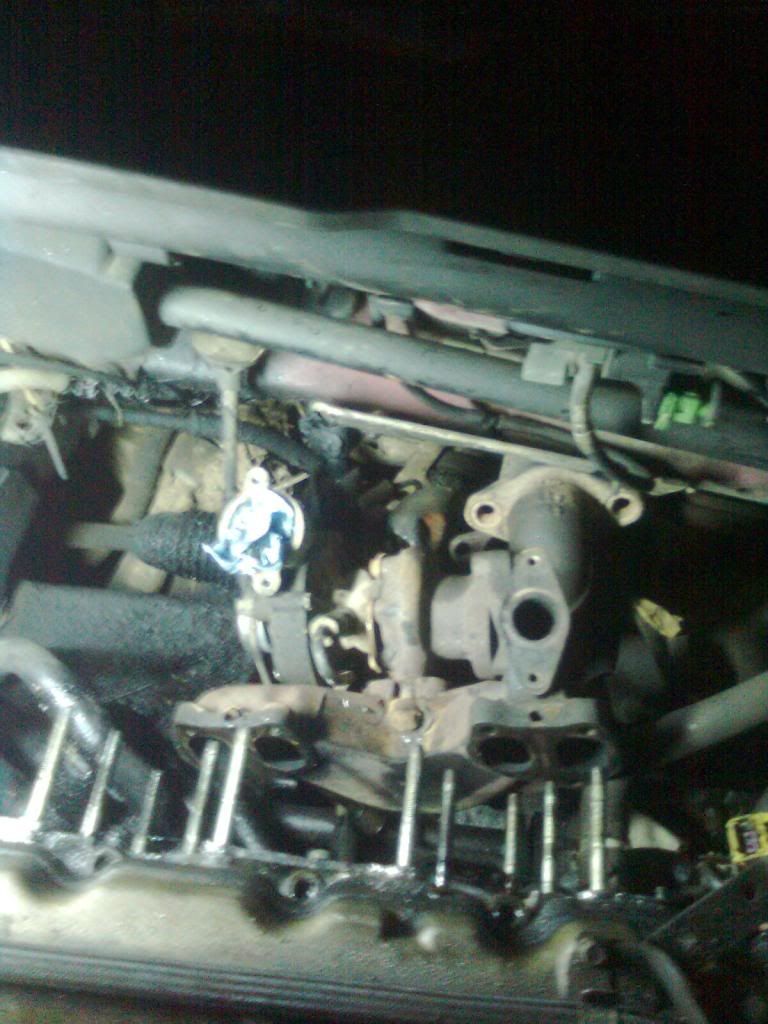
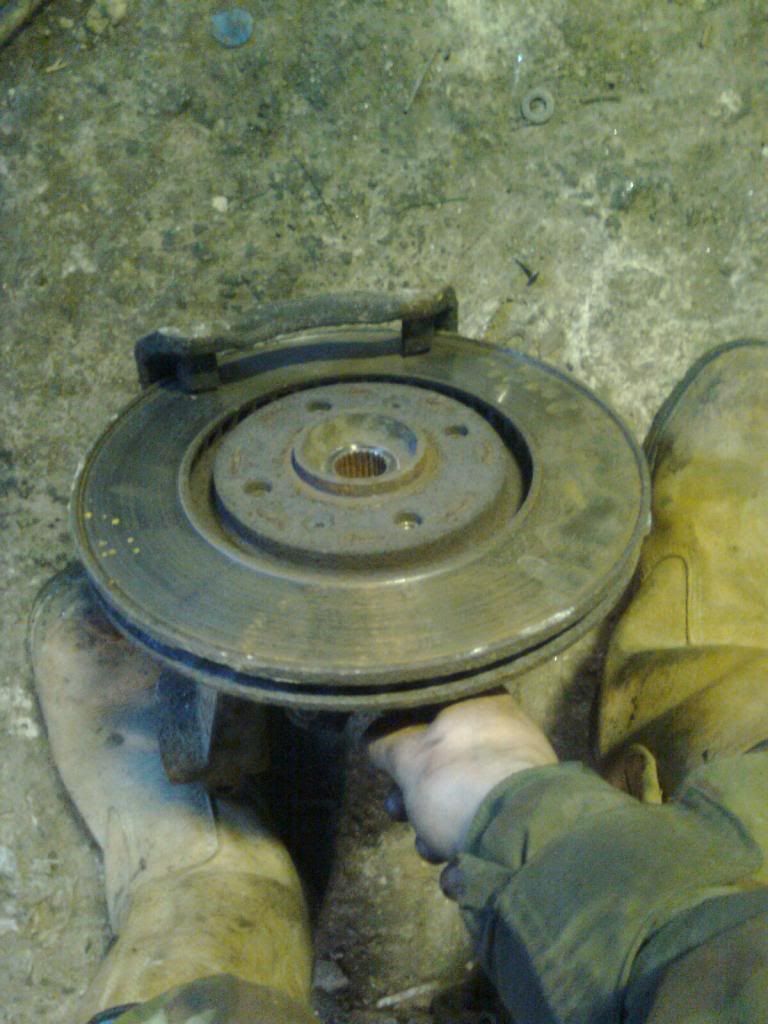
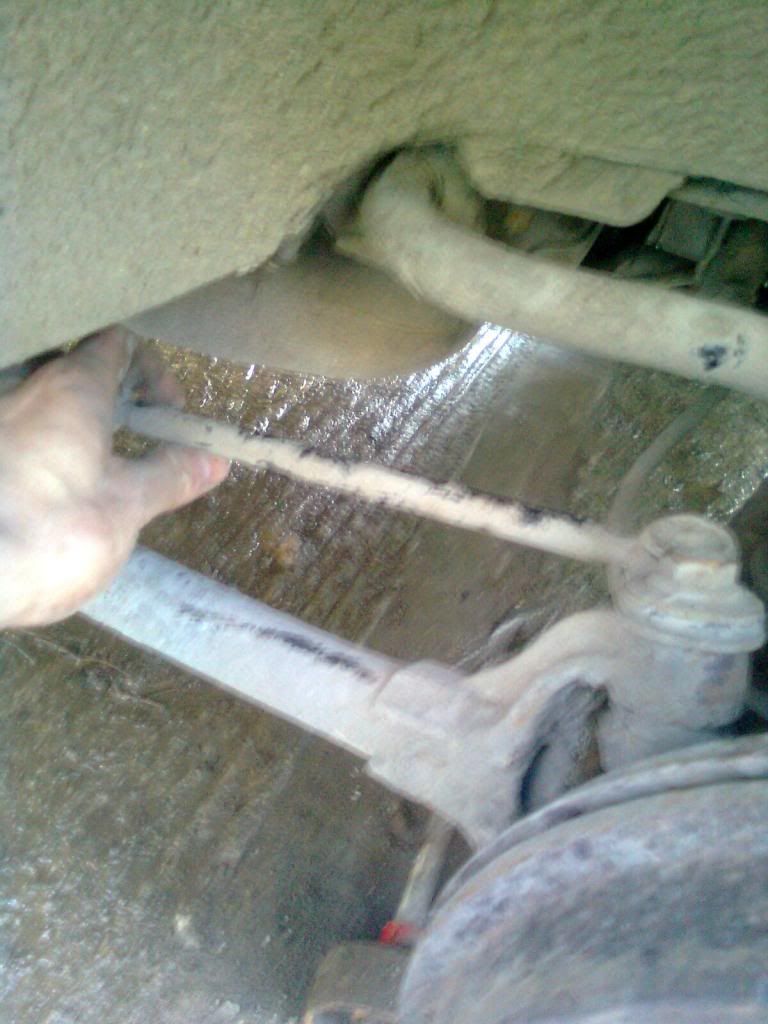
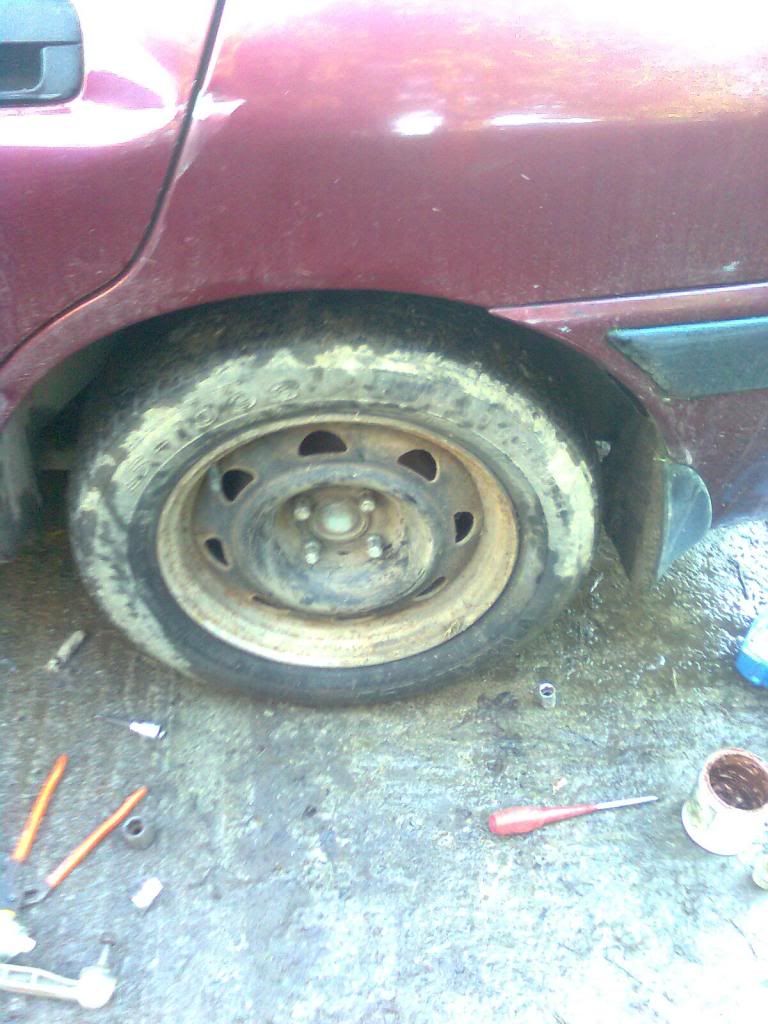
Now, to sort the back out

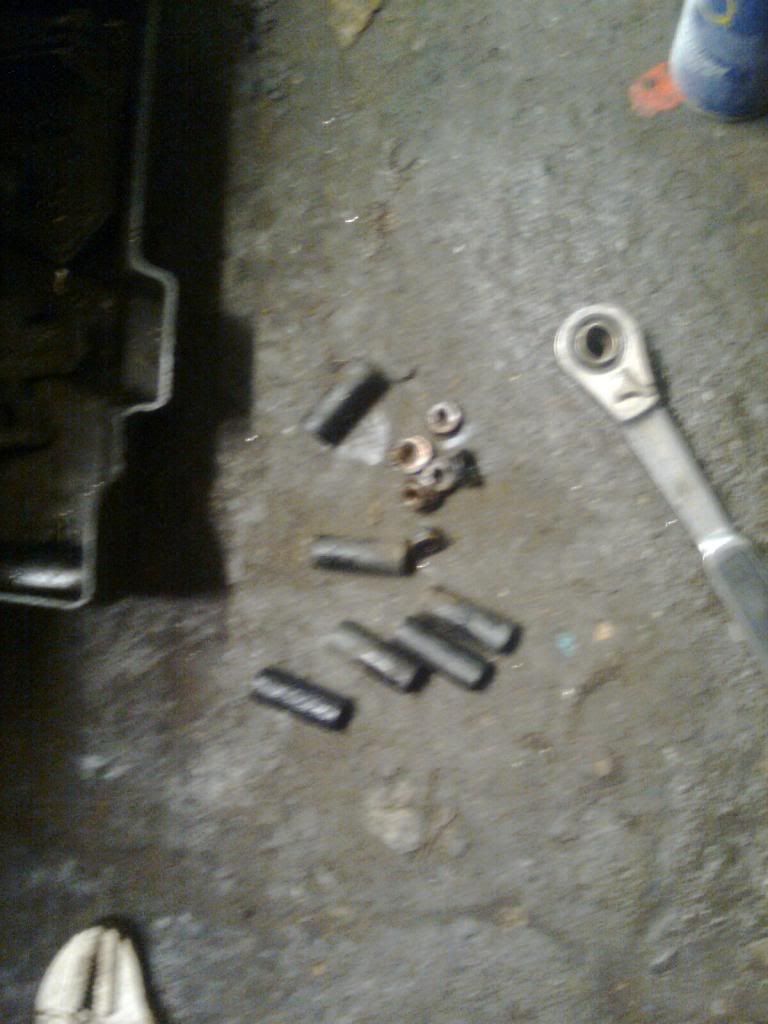
No point flutein' around with torx bits and vortex sockets, vice grips and impact socket
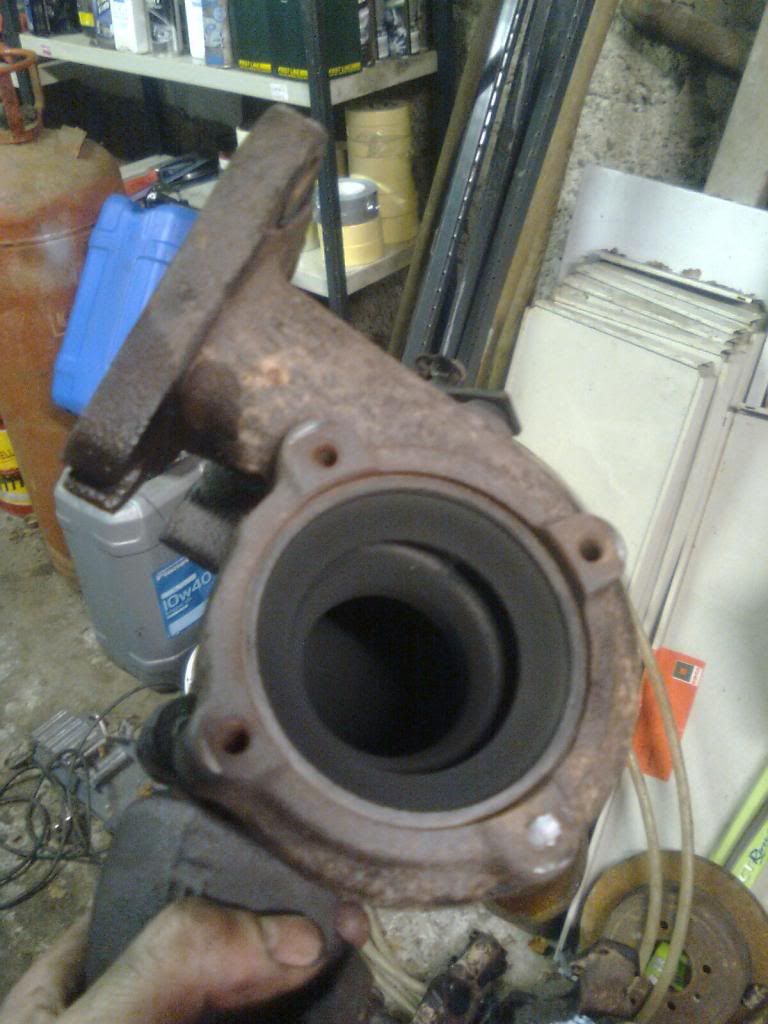
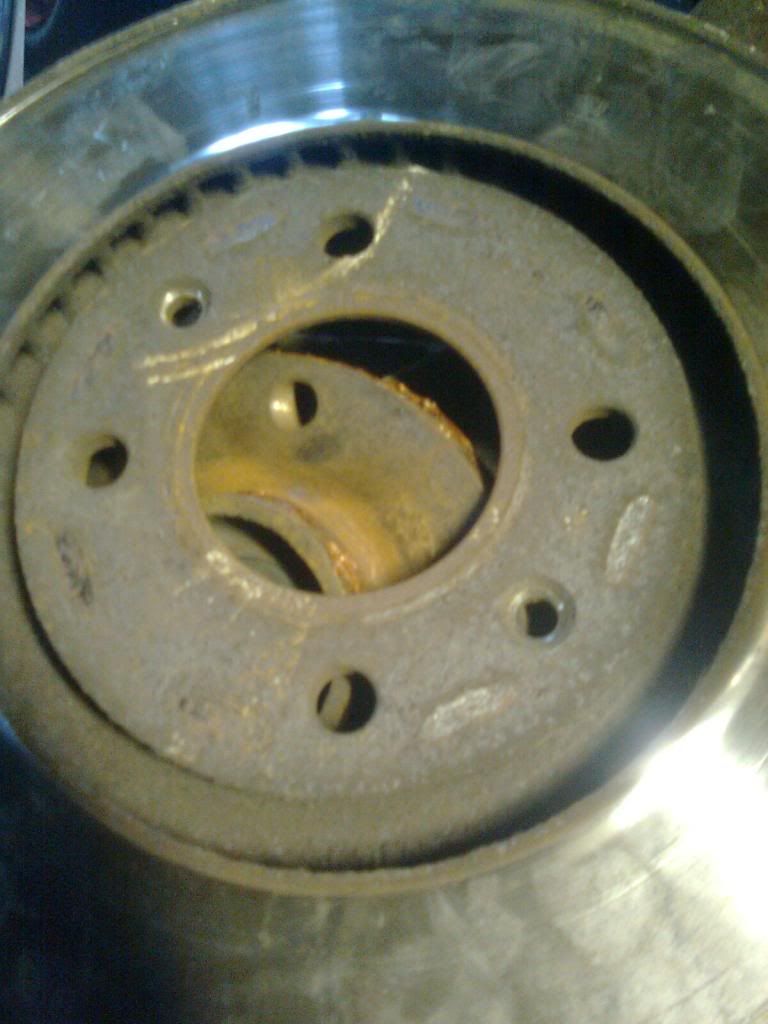
And in no time, it's off

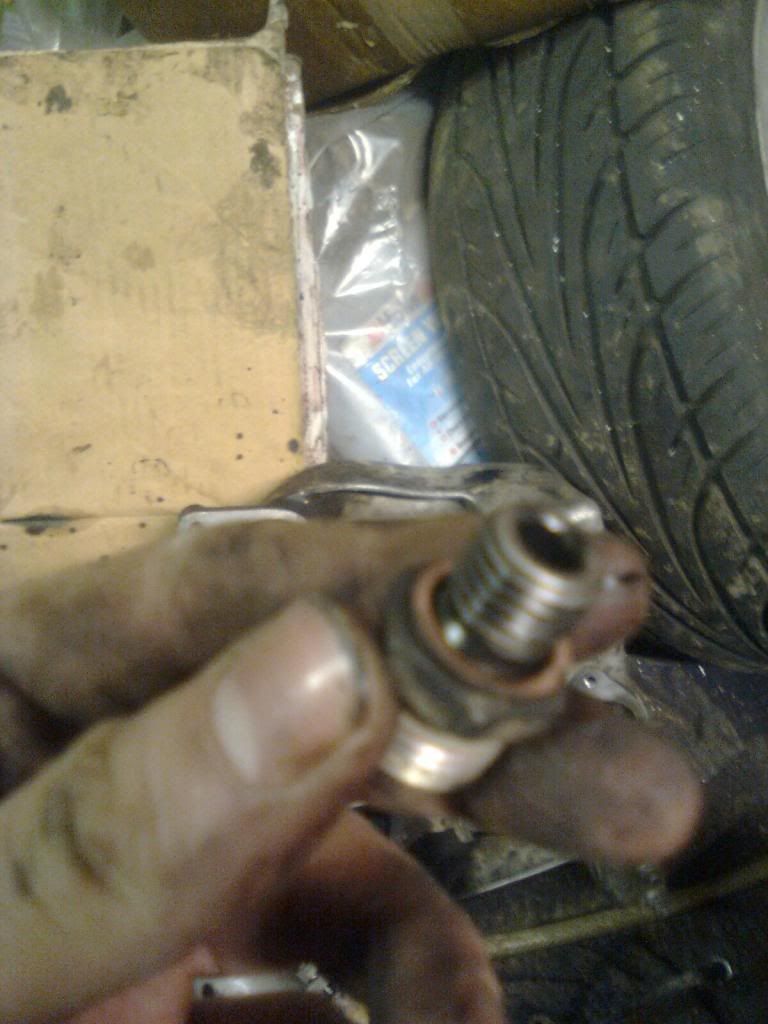
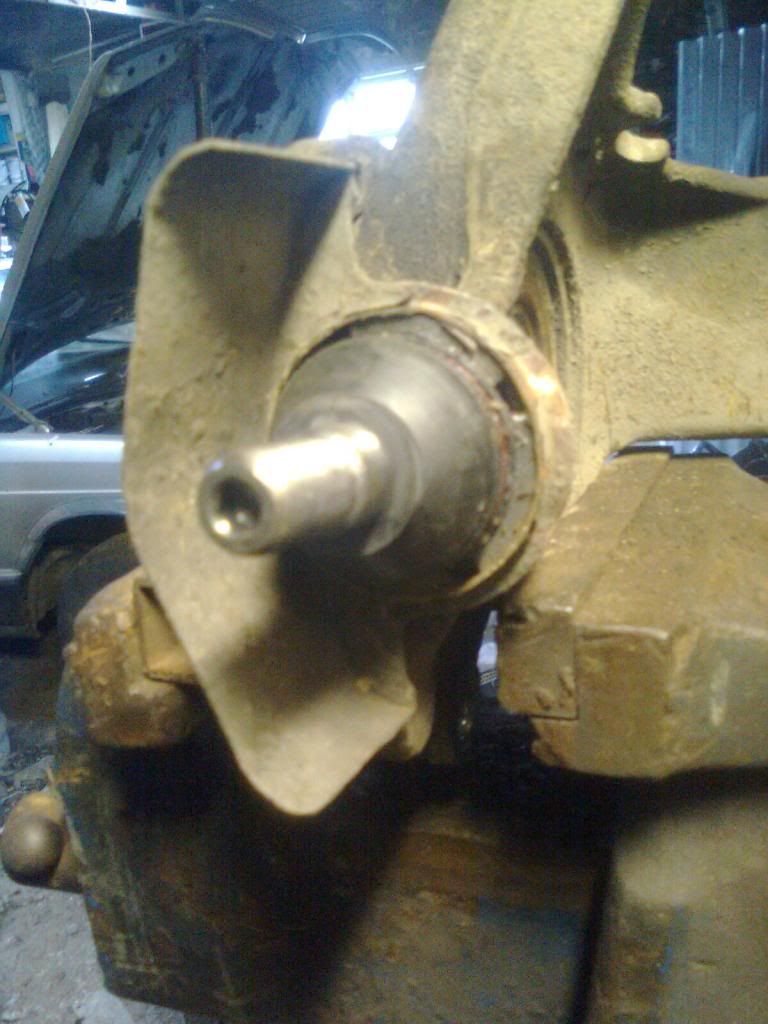
They needed changing and are a help when changing the link rods (I found anyway)
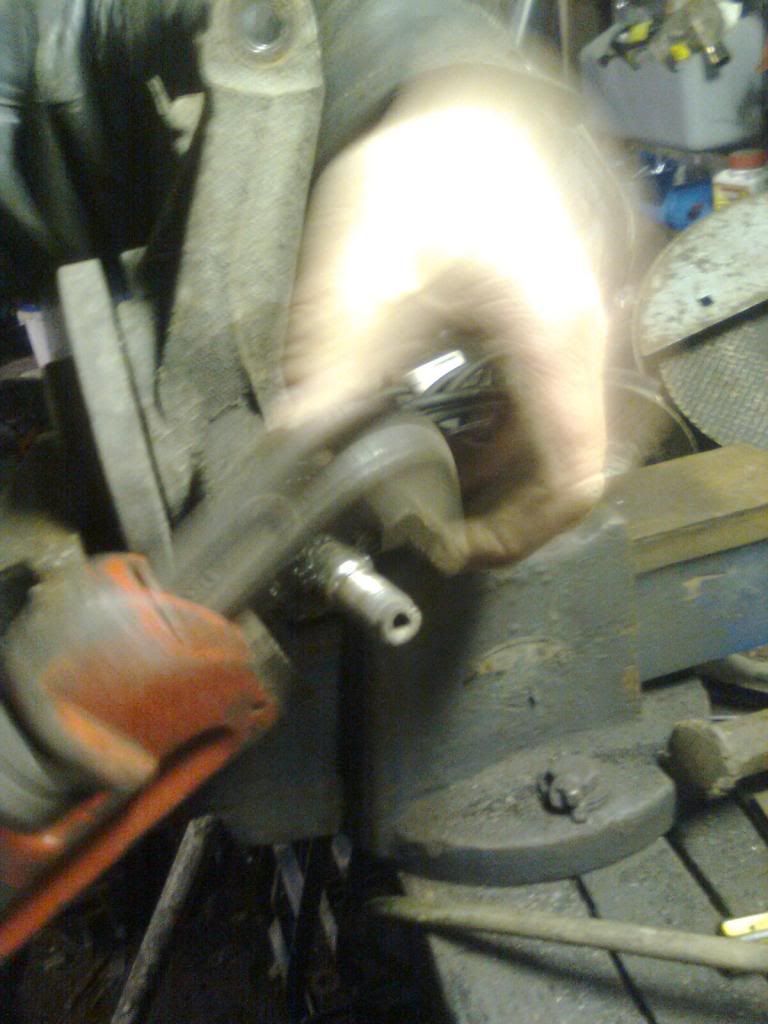
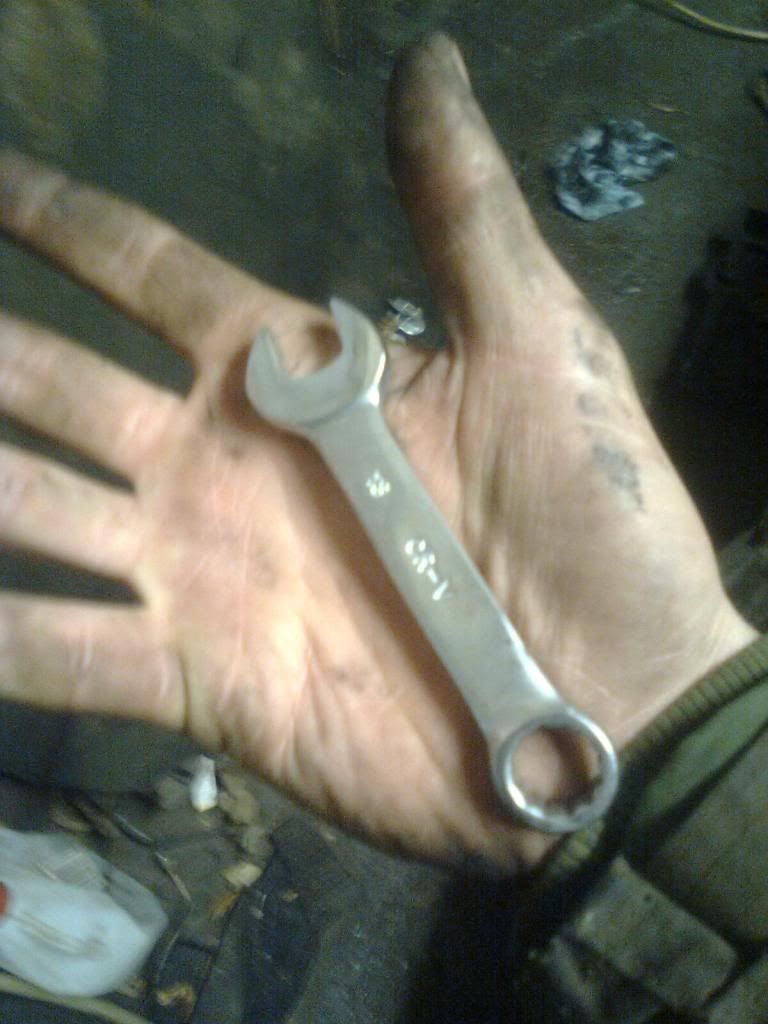
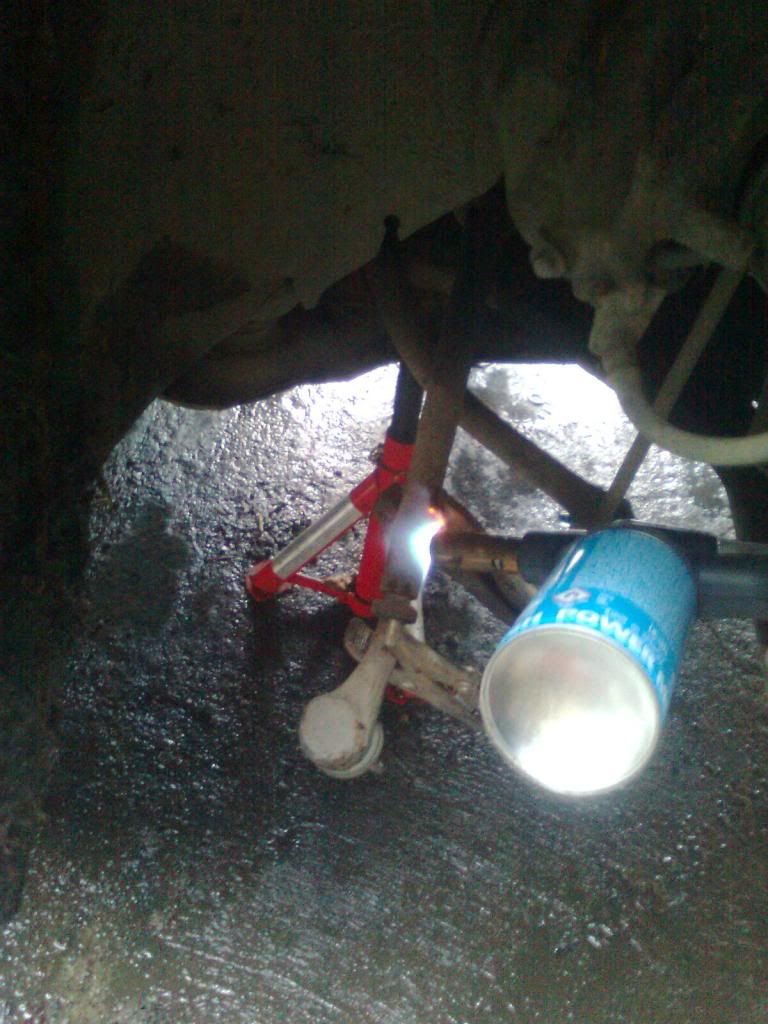
Time for an allen bit and vortex sockets...
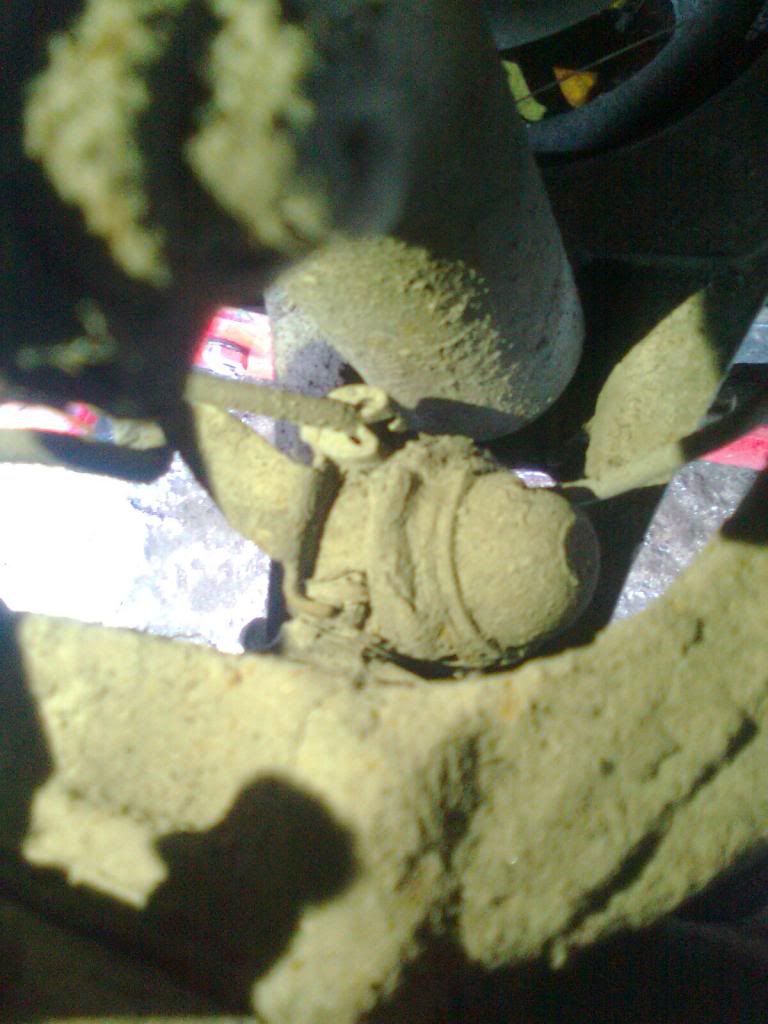
Then onto the eccentric bolt... No room and no room

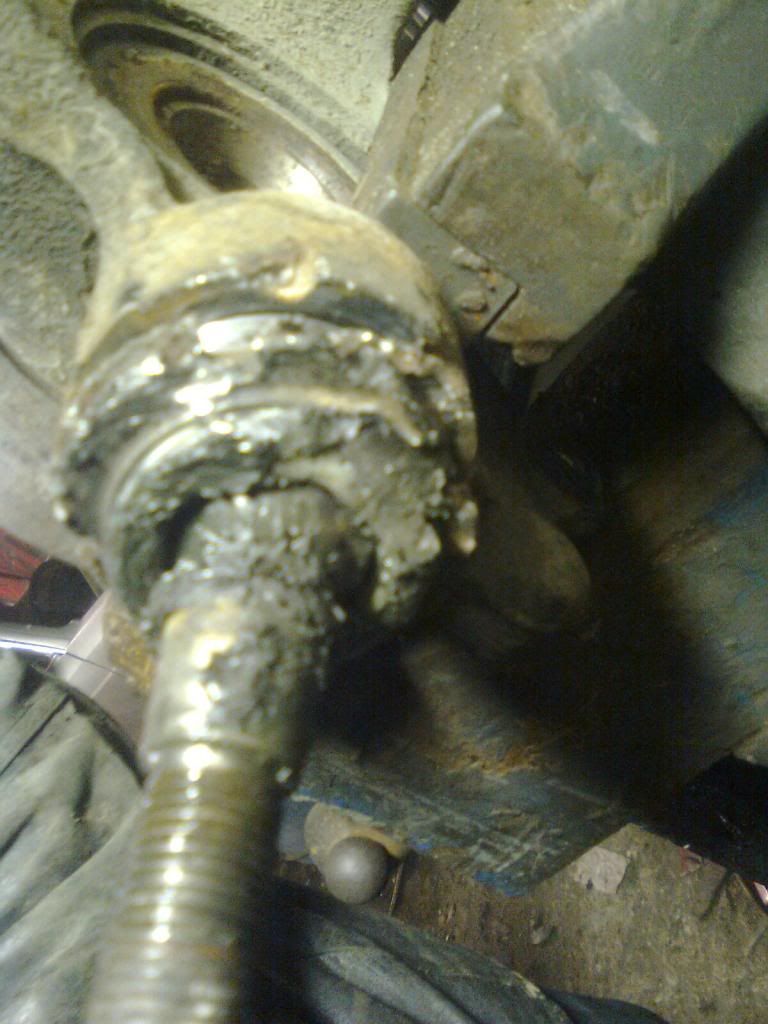
Didn't want to come out, so swung it round and out it popped
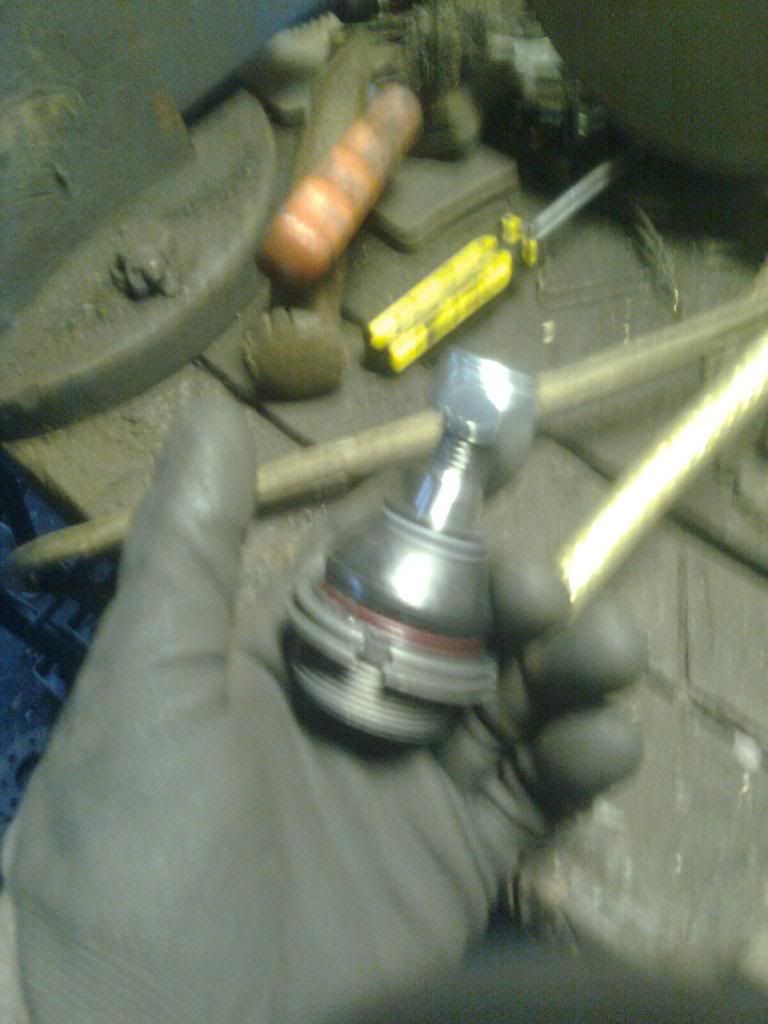
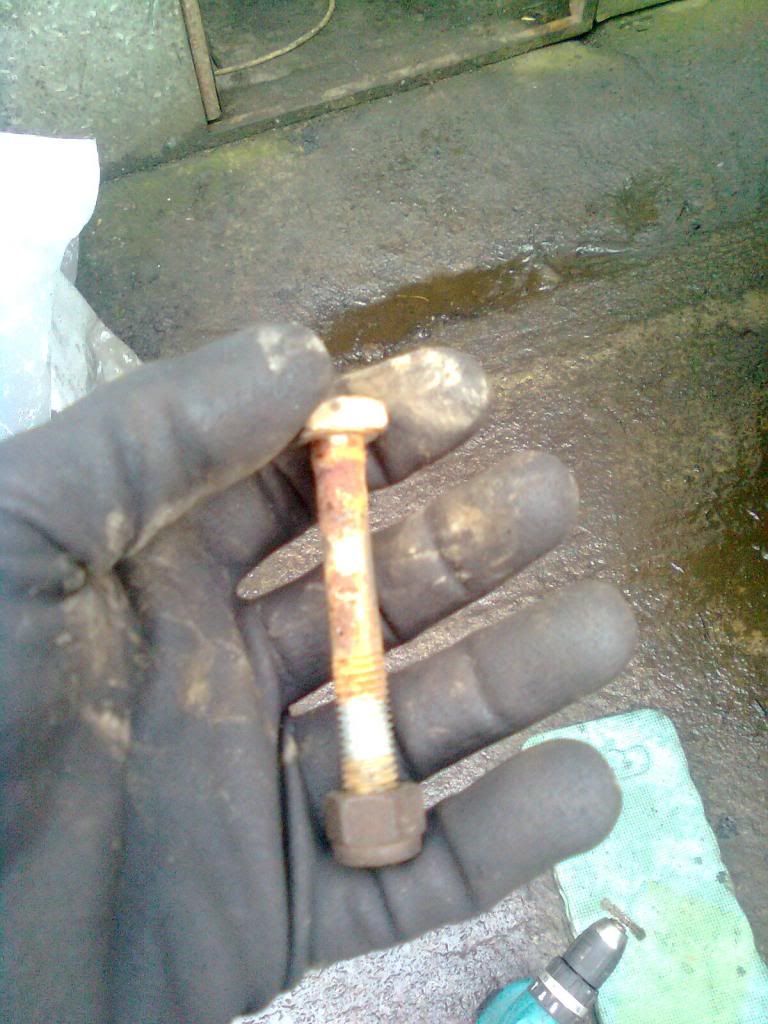
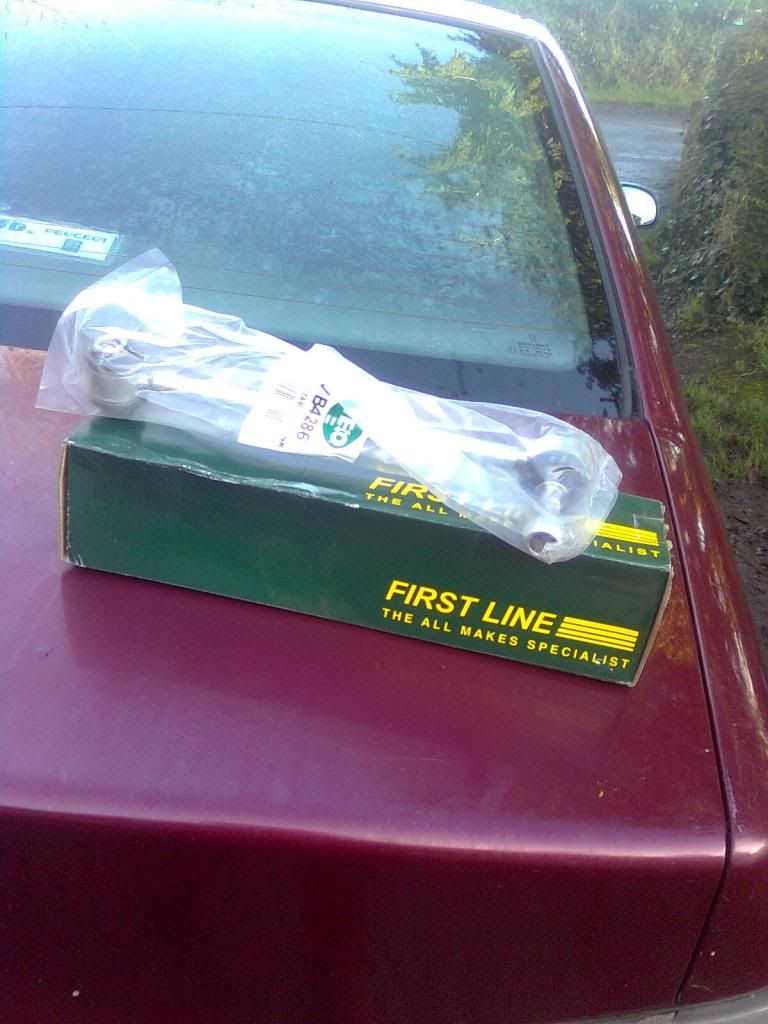
Out with a new one
Clean the bolt, nut and washer then apply copper grease

And the whole lot flew on
One side done
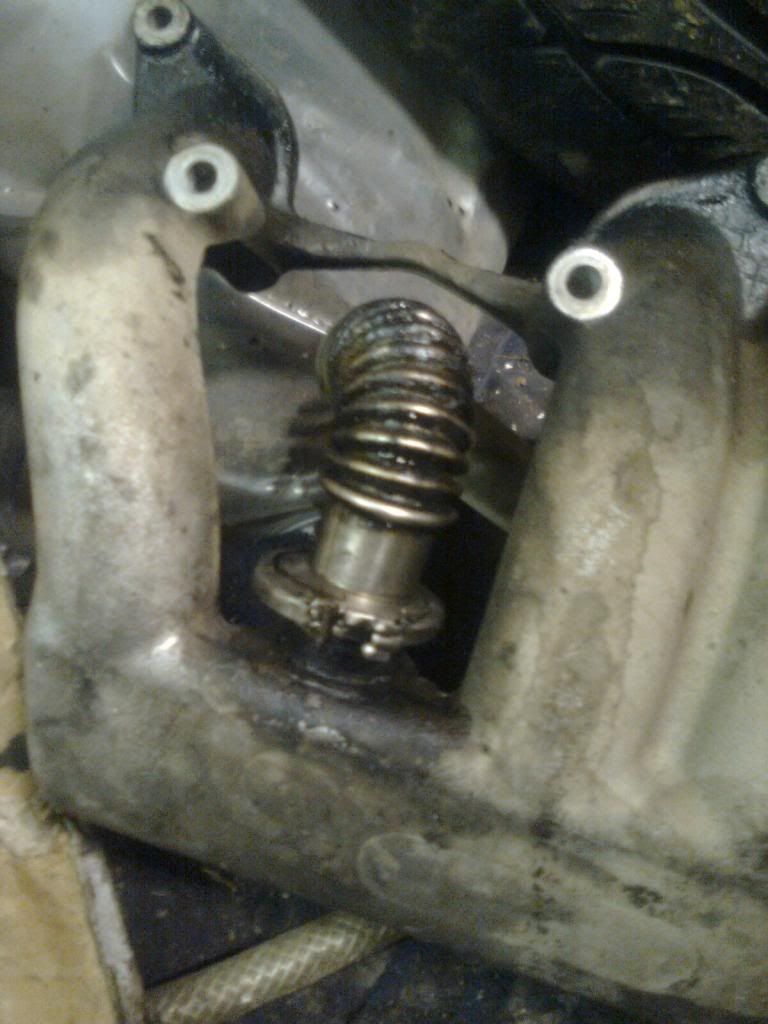
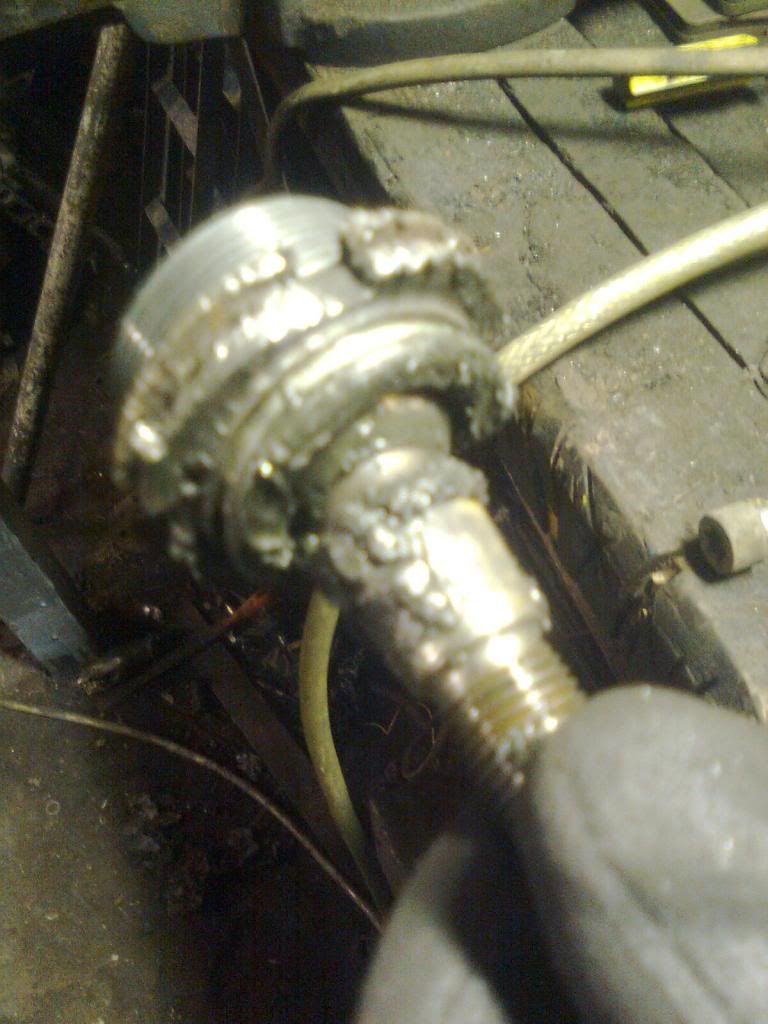
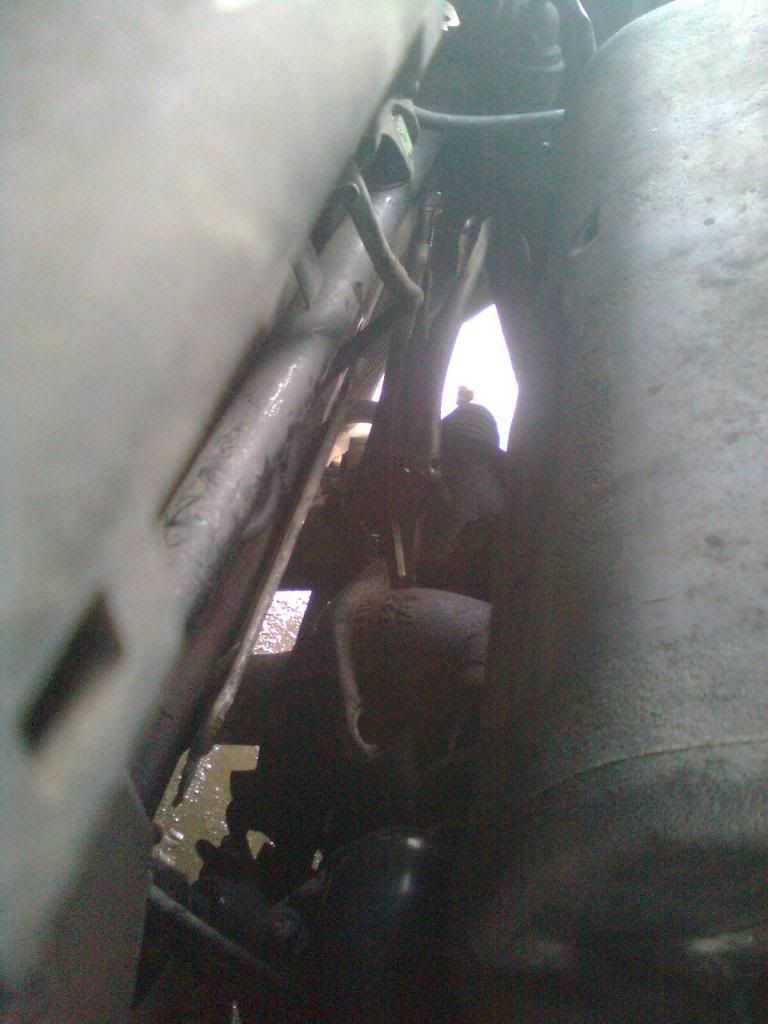
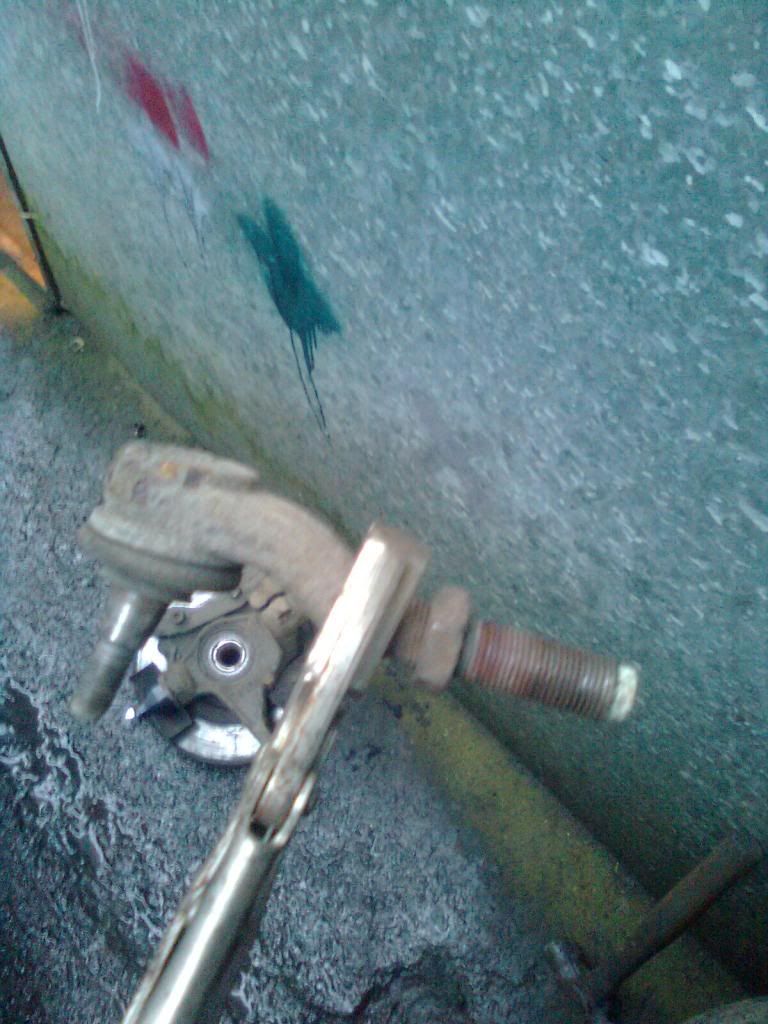
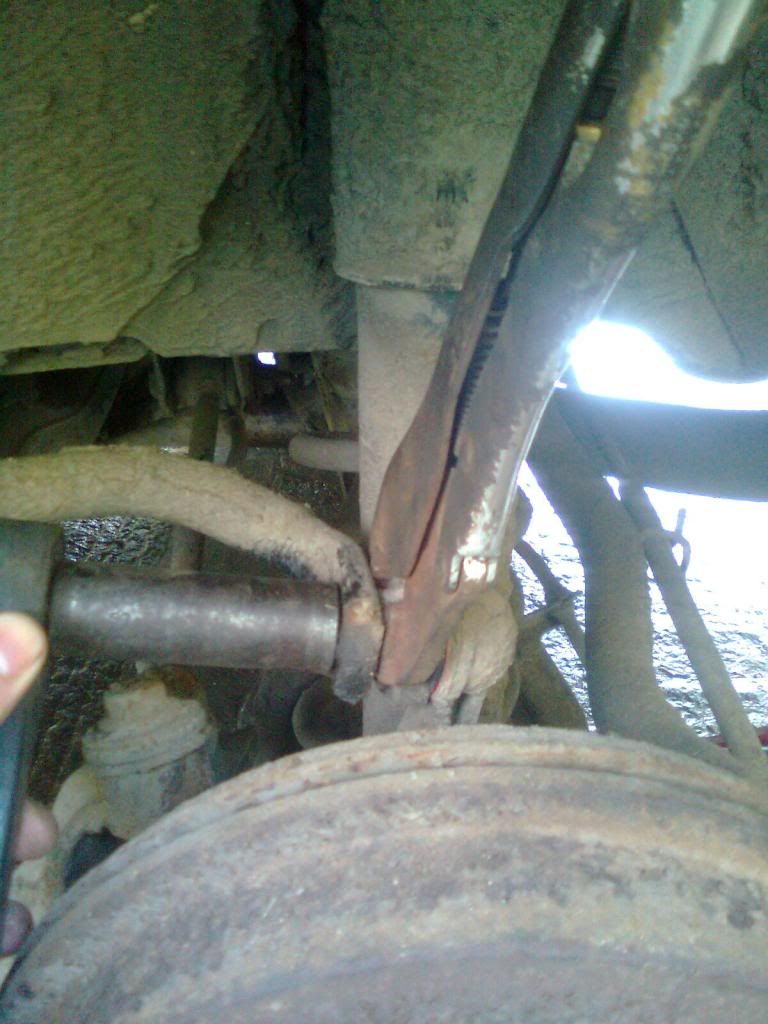
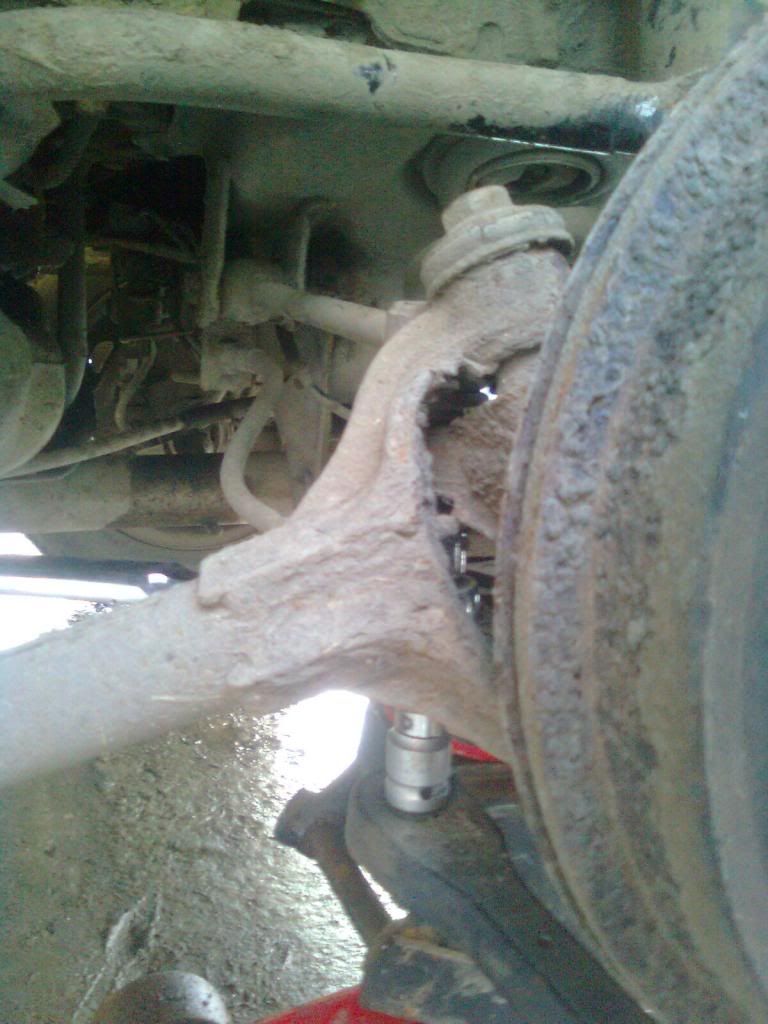
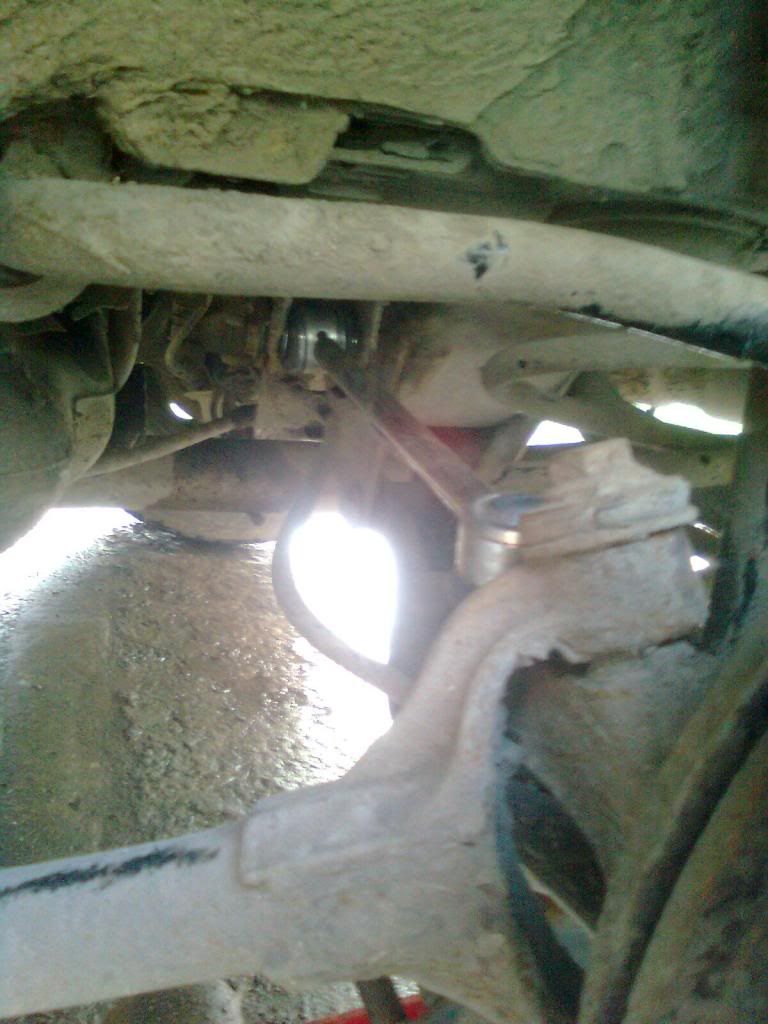
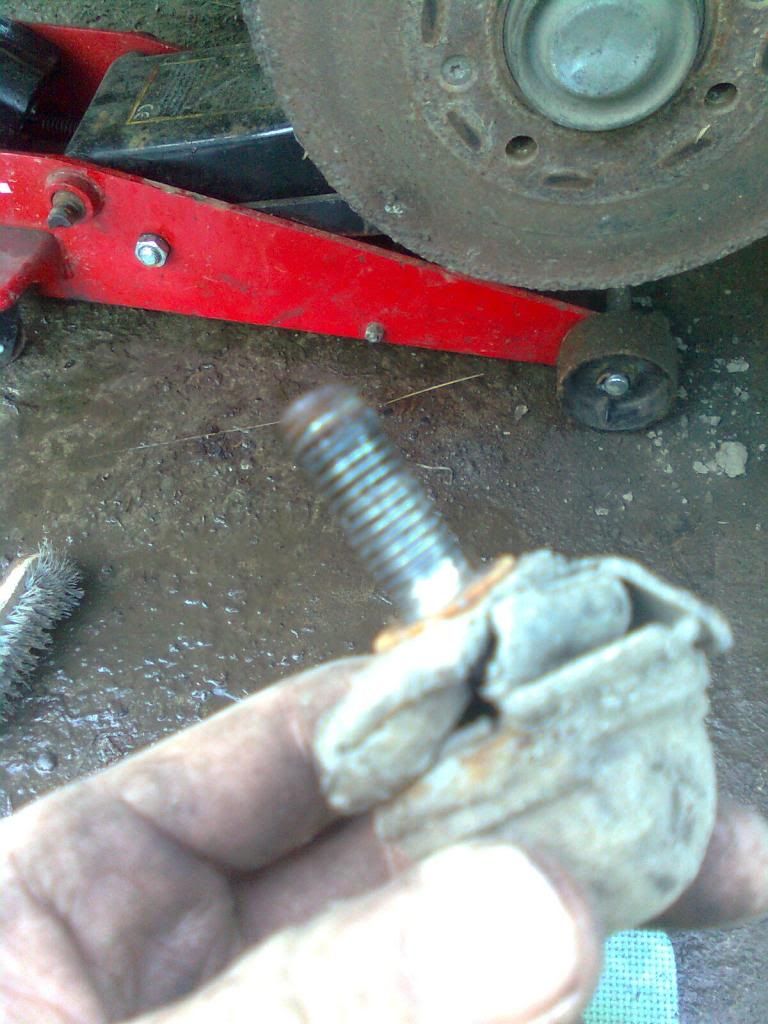
To the other side, thought this looked odd...
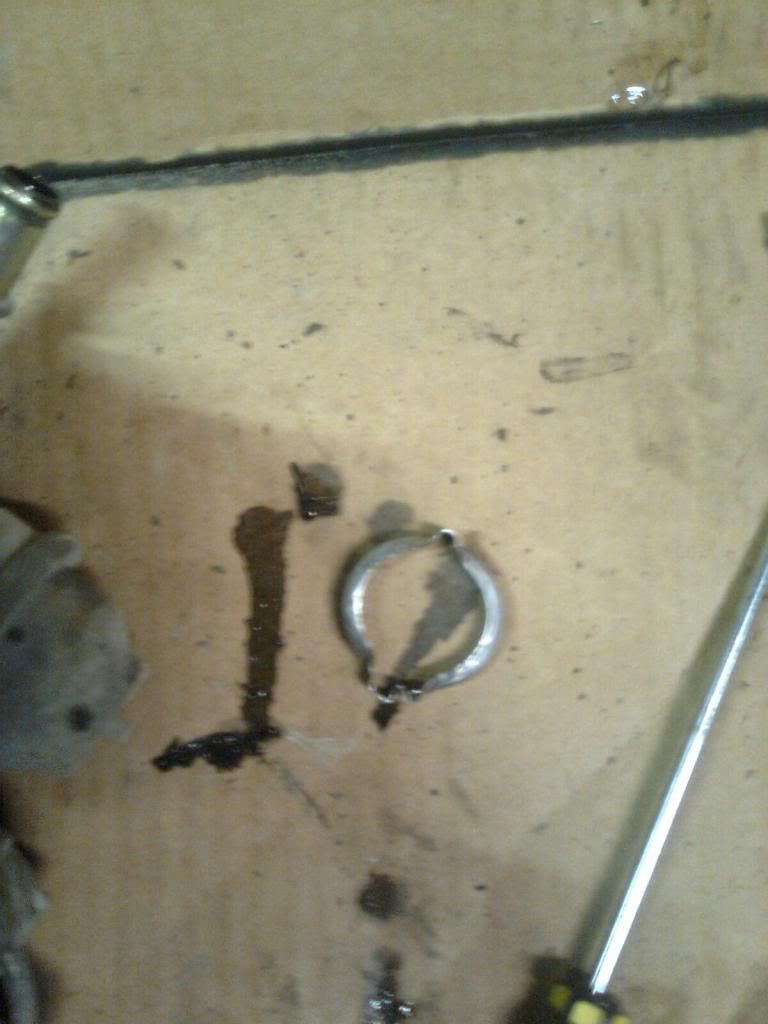
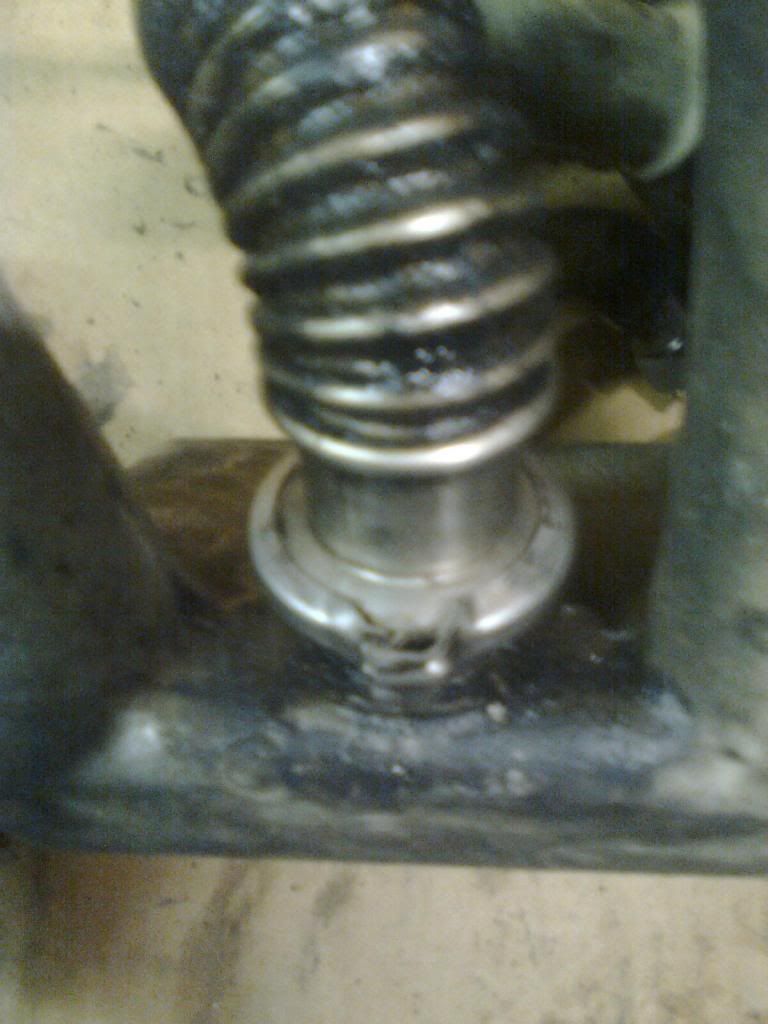
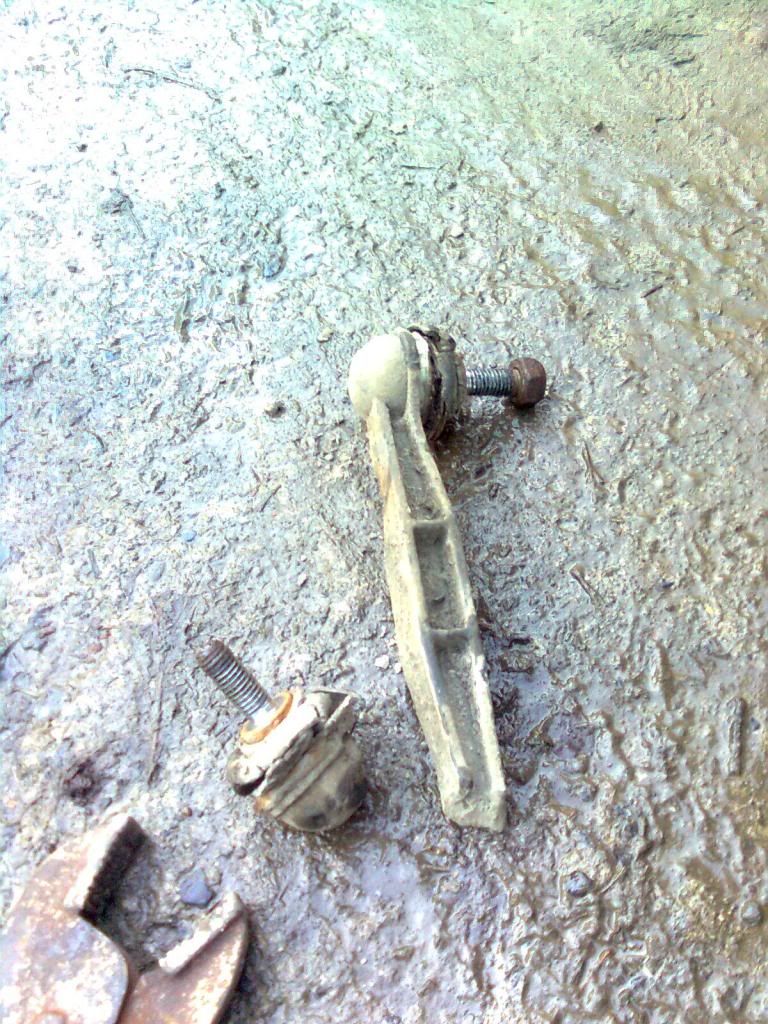
Yep, broken drop link
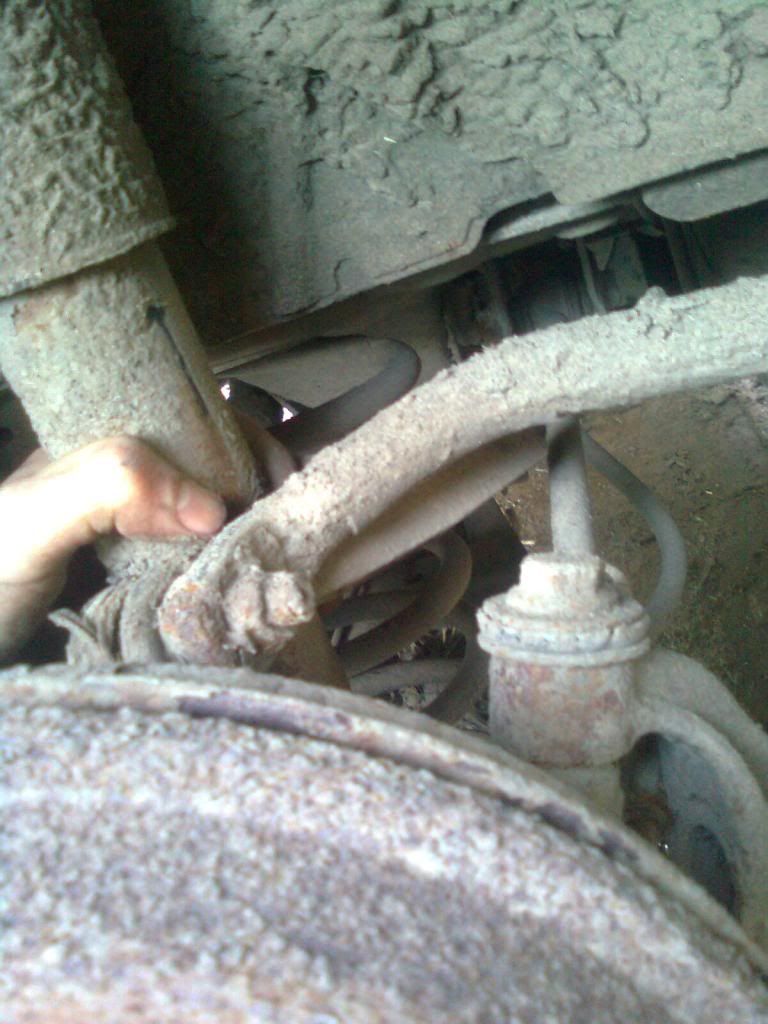
Cable tied to the arb

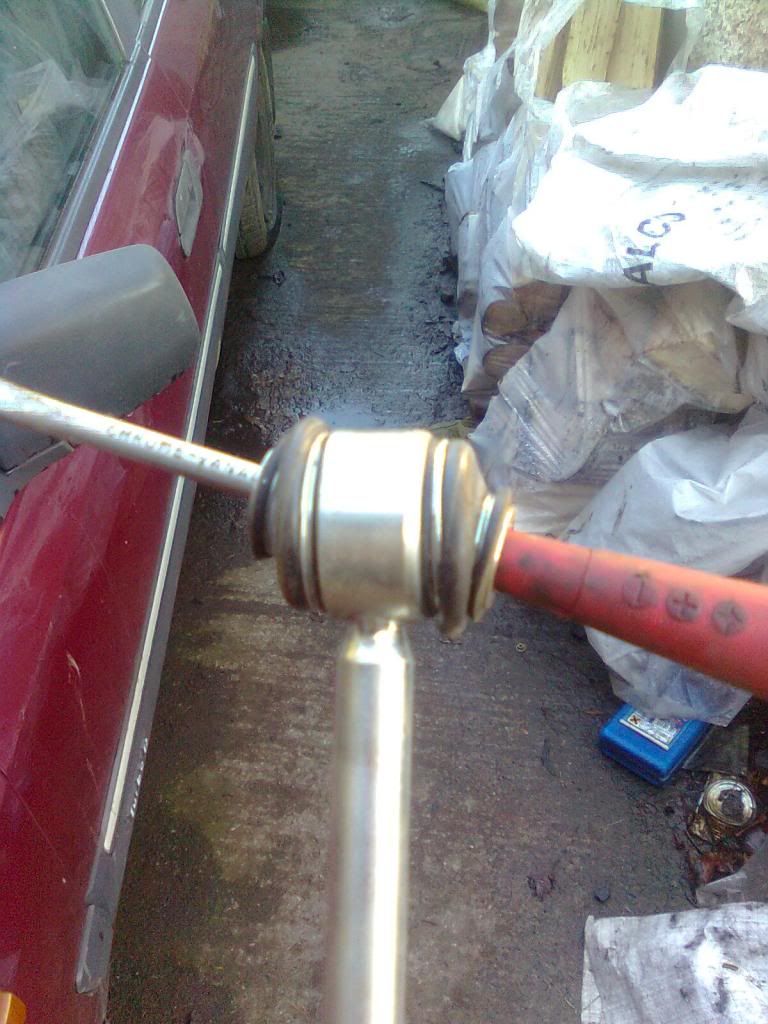
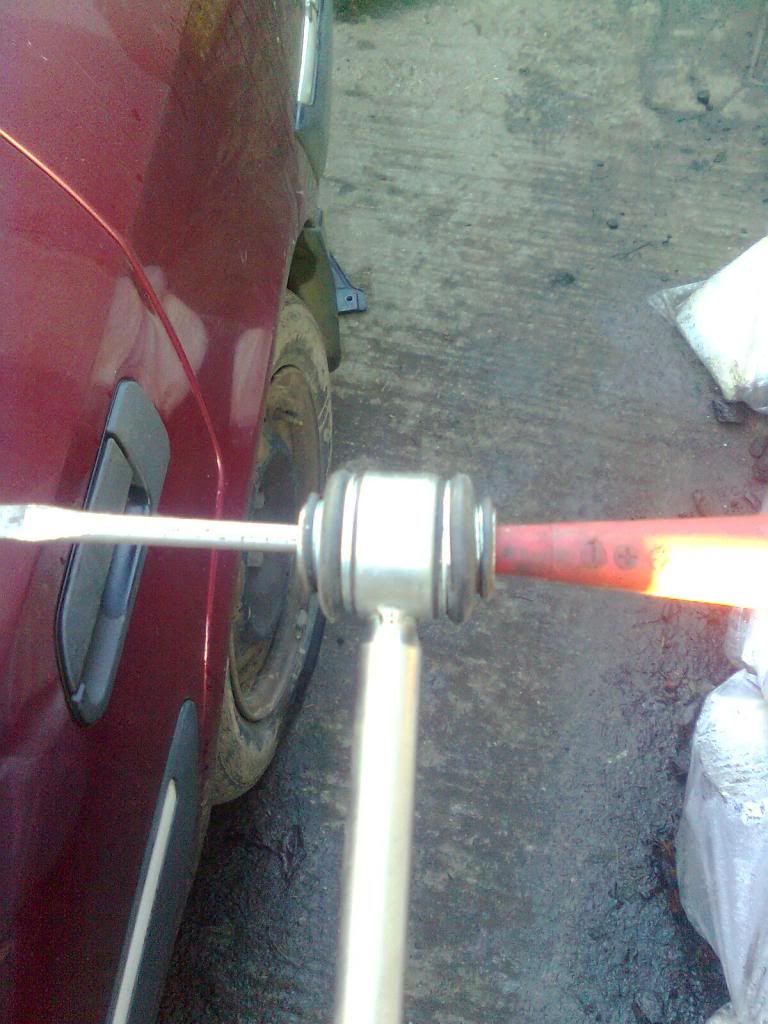
I got them out though
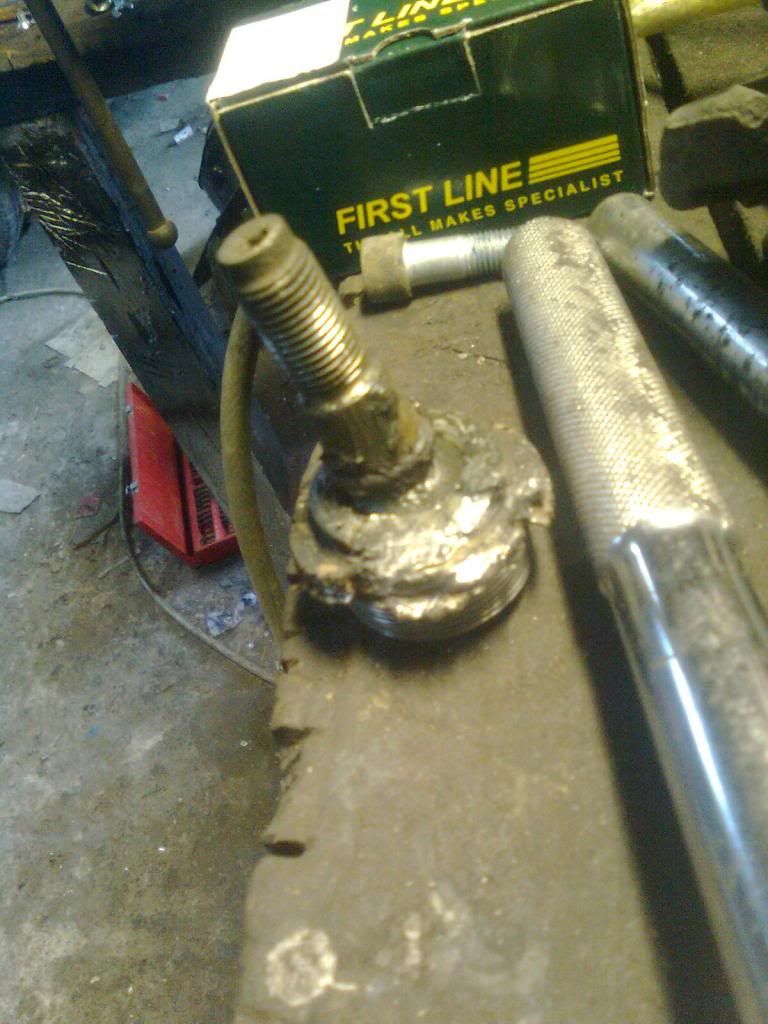
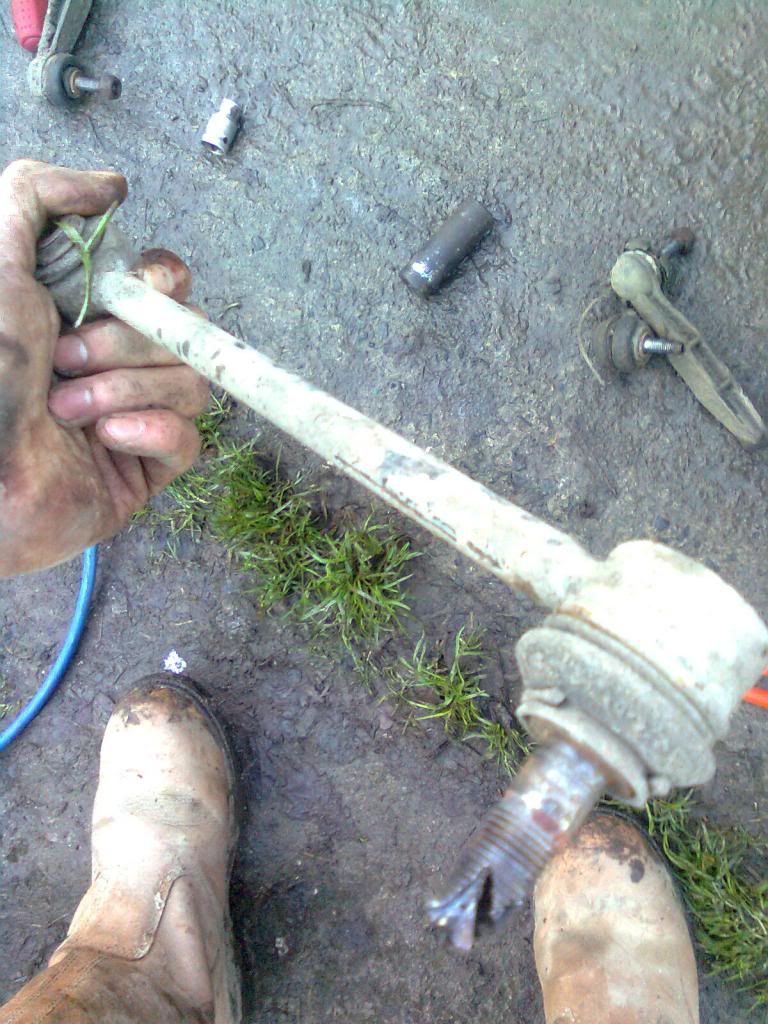
The link on that side didn't want to play ball!
Alas, same procedure as the other side and all on. Just needs tracking!
Onto the tail lights

Lack of
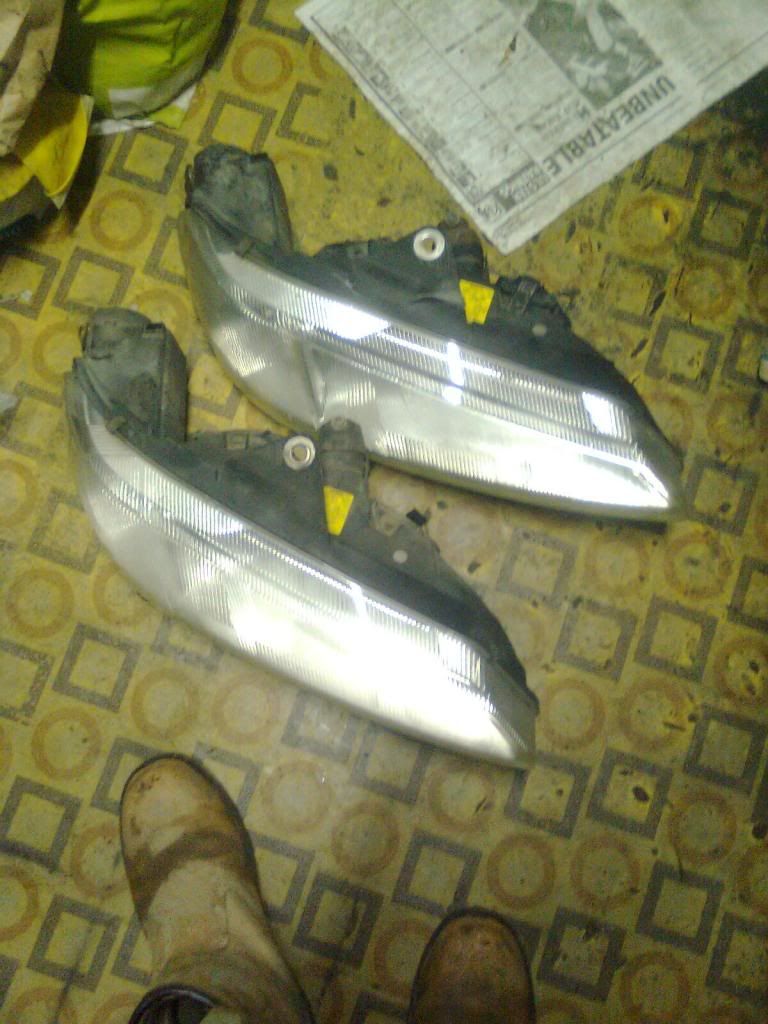
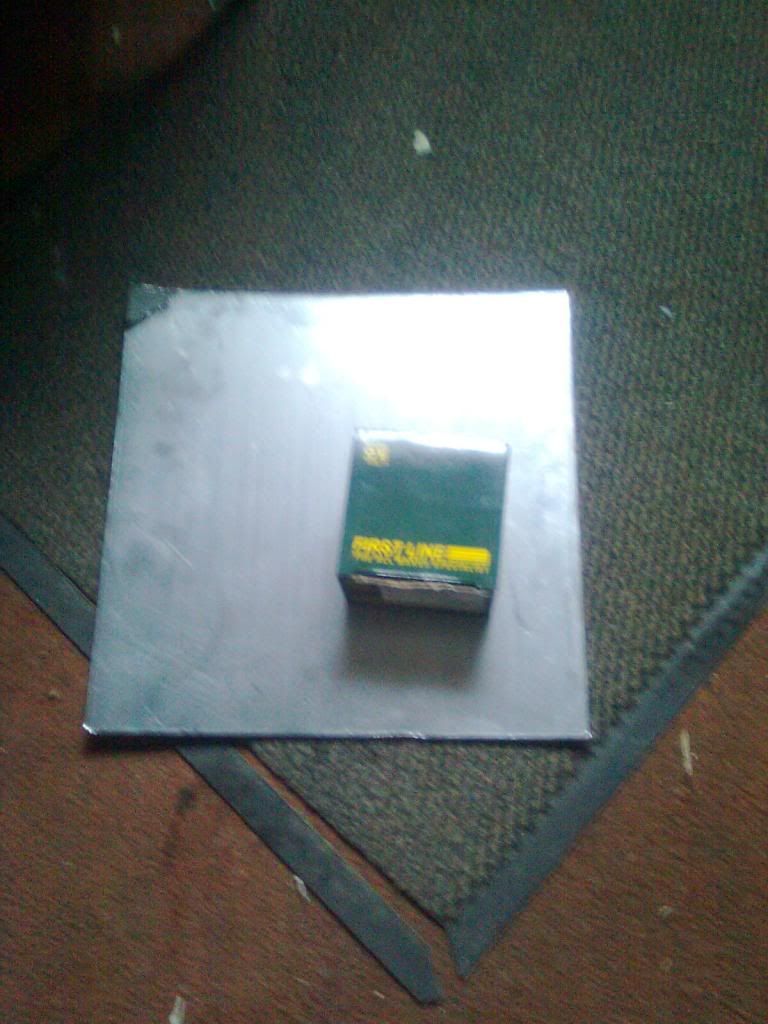
New(ish) ones
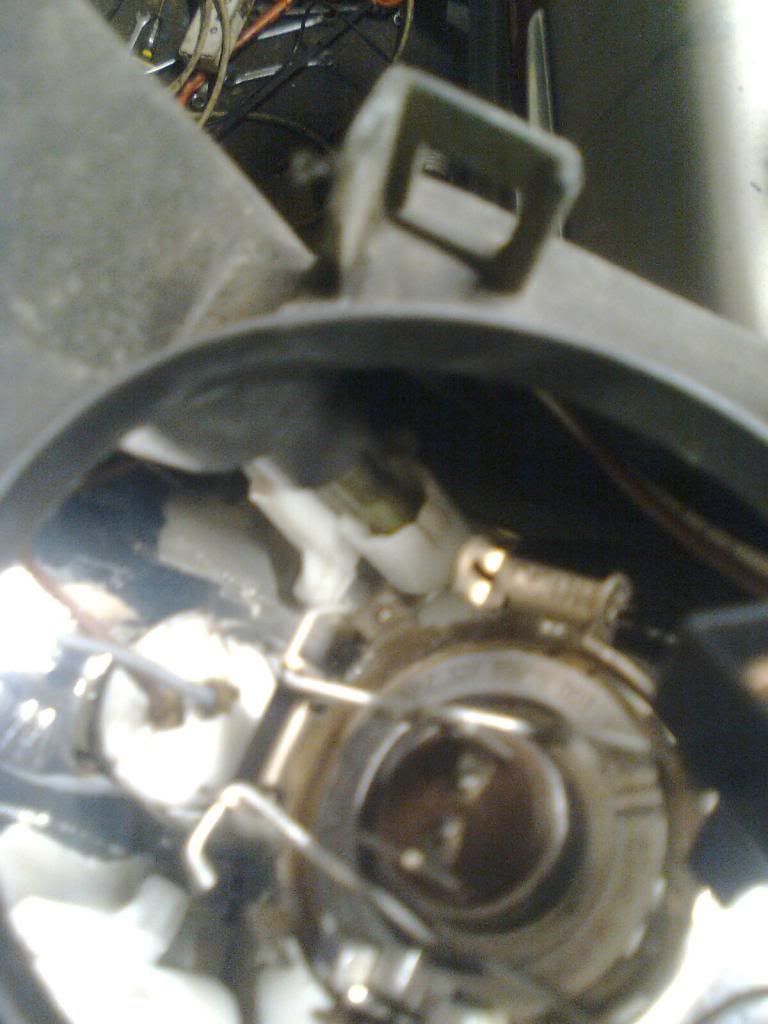
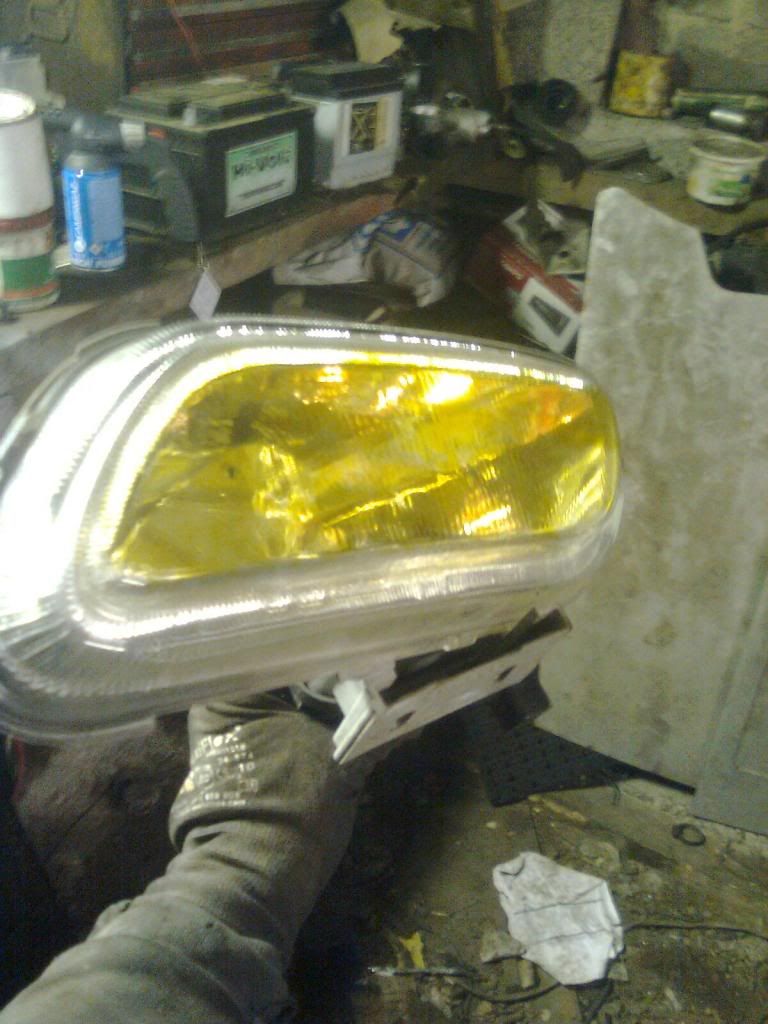
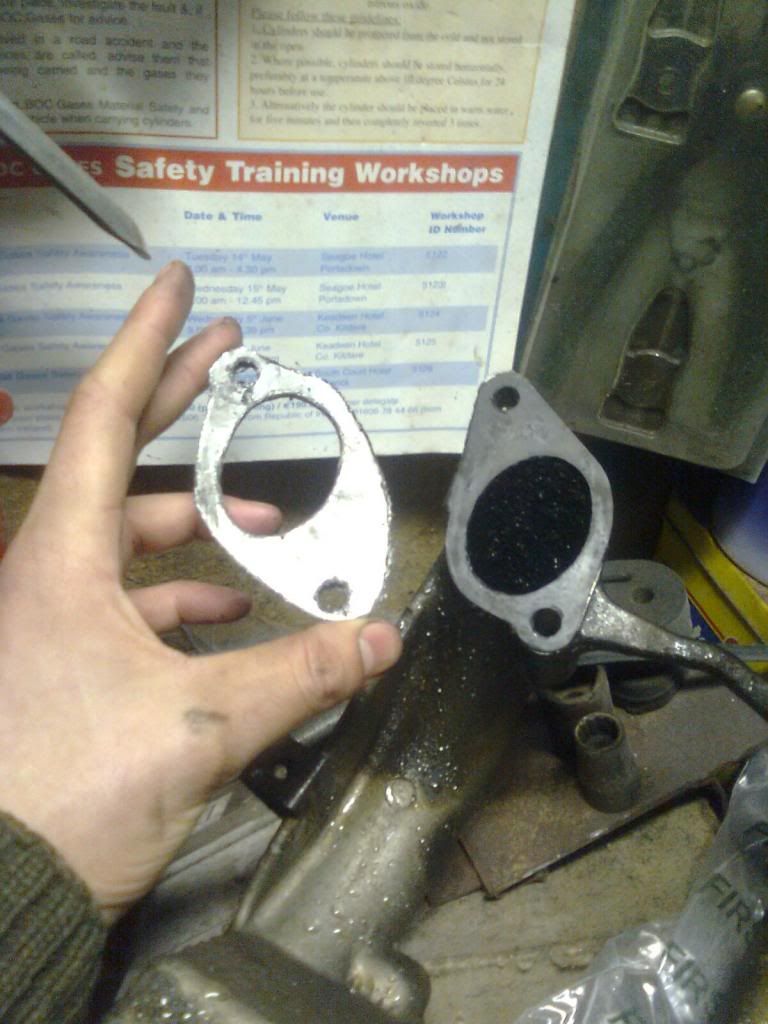
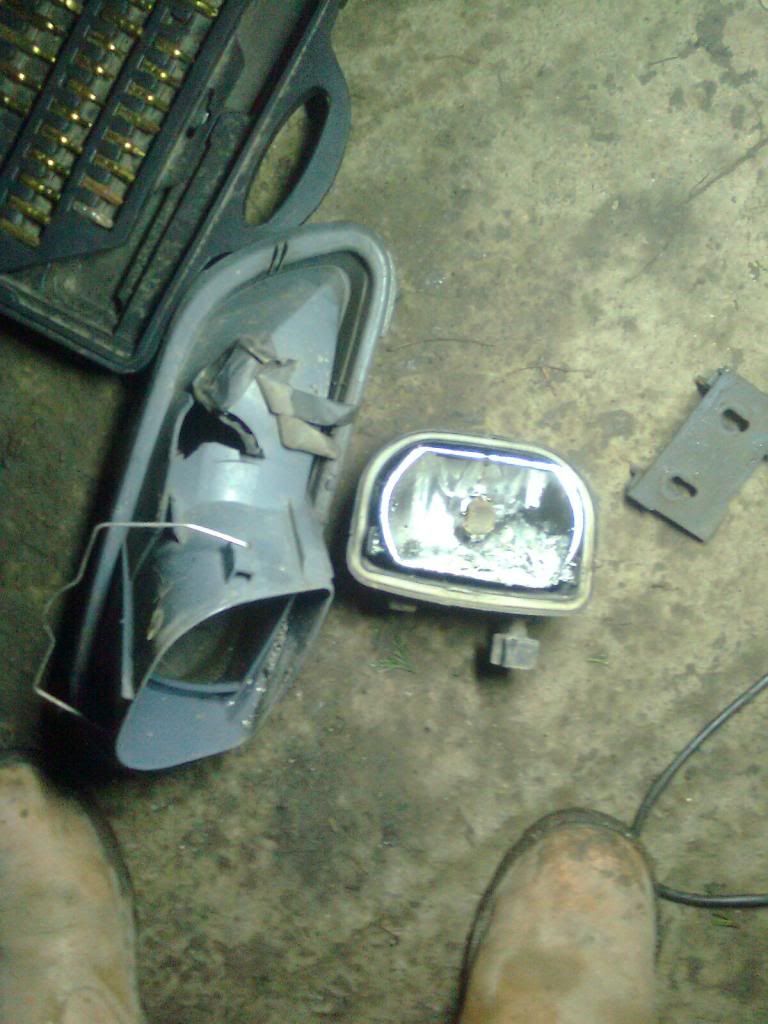
Last for now is the foglights

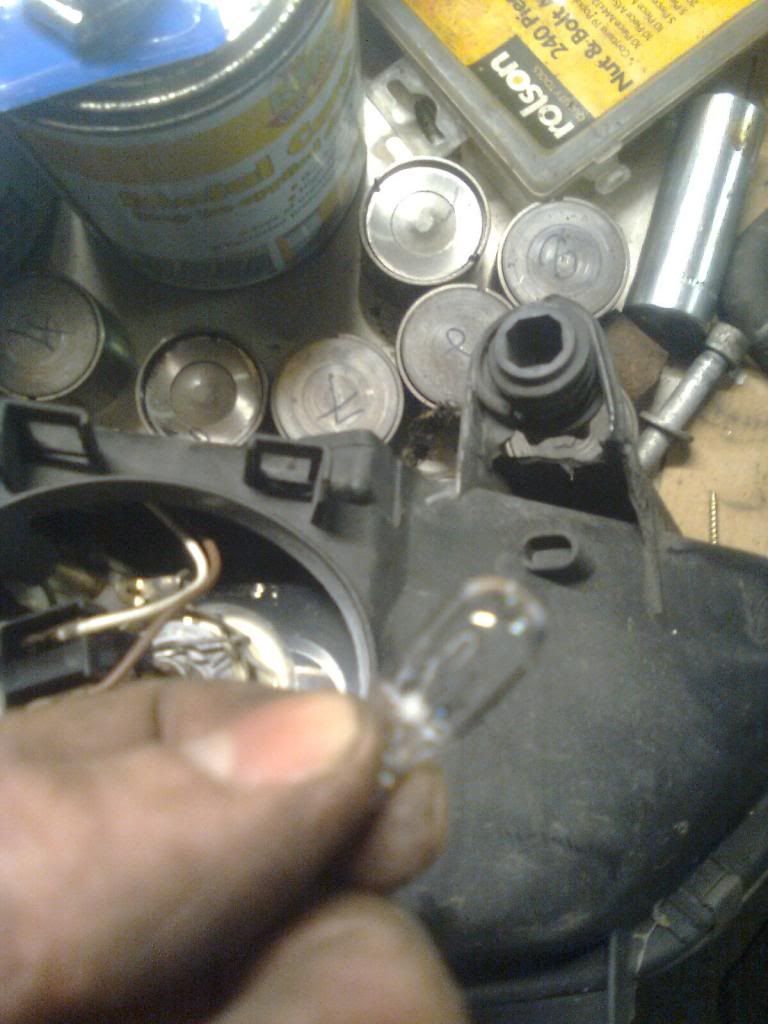
Beyond economic use!
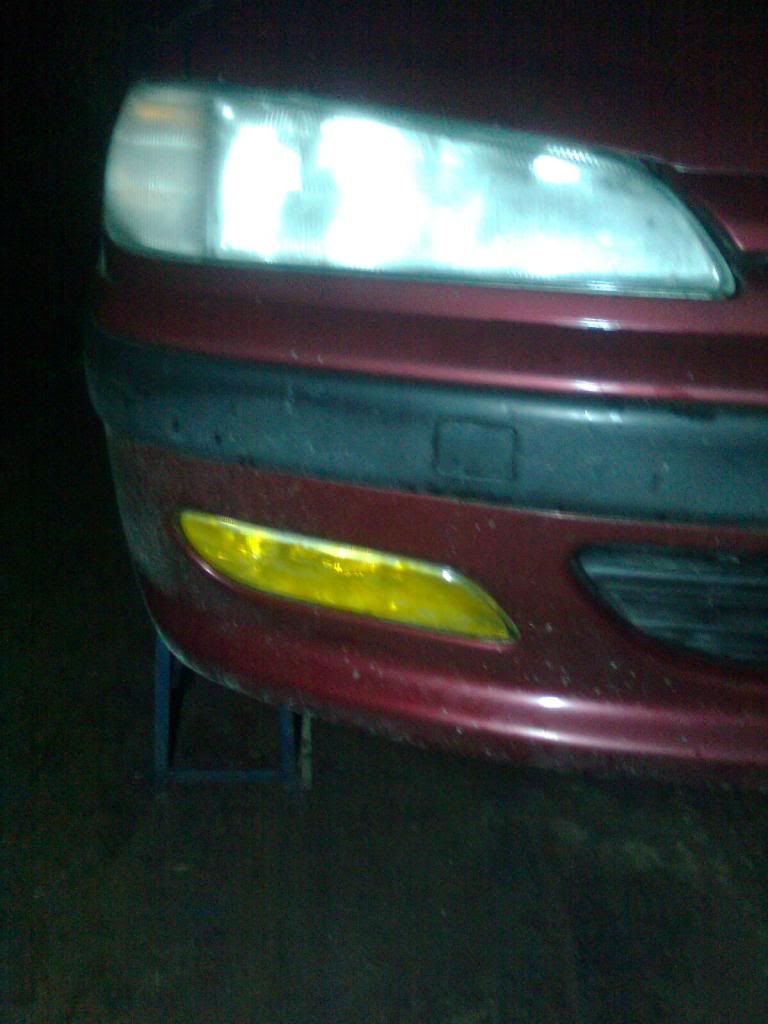
And painted the other side yellow
A bit done, plenty more to do
Replaced the current silver 406 with a regency red 406. 164k miles, drives beautifully, looks fantastic. I'm delighted
It isn't without it's problems (what car is? How boring that would be!) but they're minor and relatively easy to fix.....
So what's wrong with it?
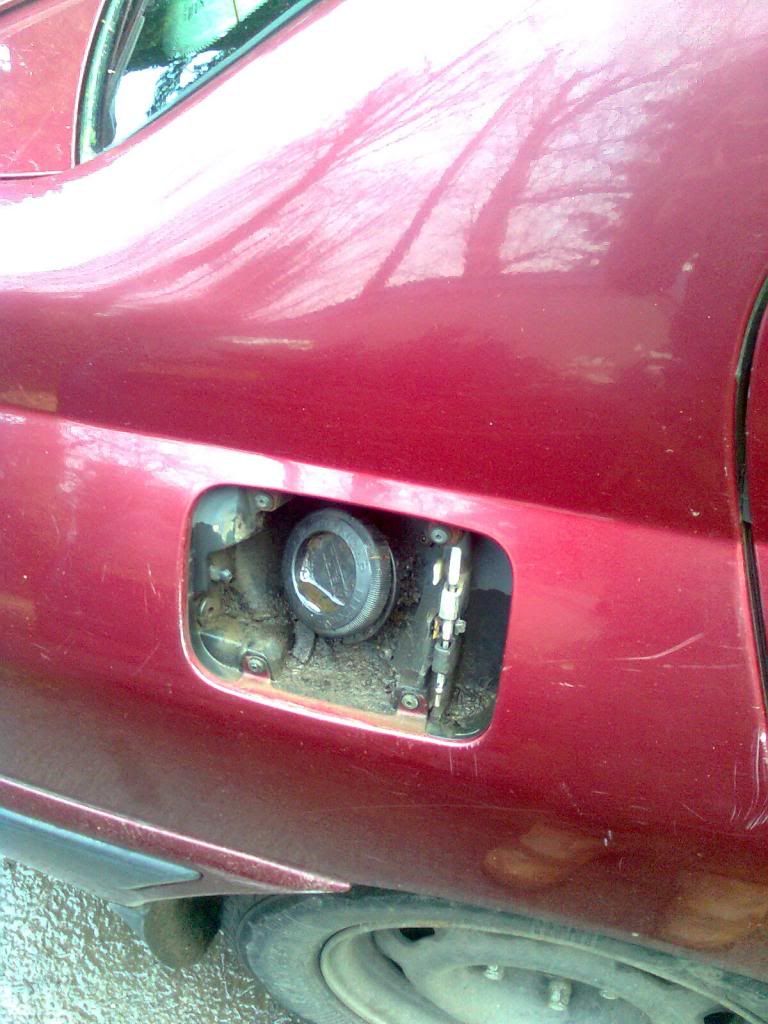
- Fuel flap not opening
- Airbag light flashing
- Damp inside
- Broken foglight
- Water filled tail lights
- Clonking from the front
- A small bit wobbly behind
- A few dents
However, I do have some other plans for it when it's running and finances permit:
- Projector lights
- Lowering
- An unusual set of wheels
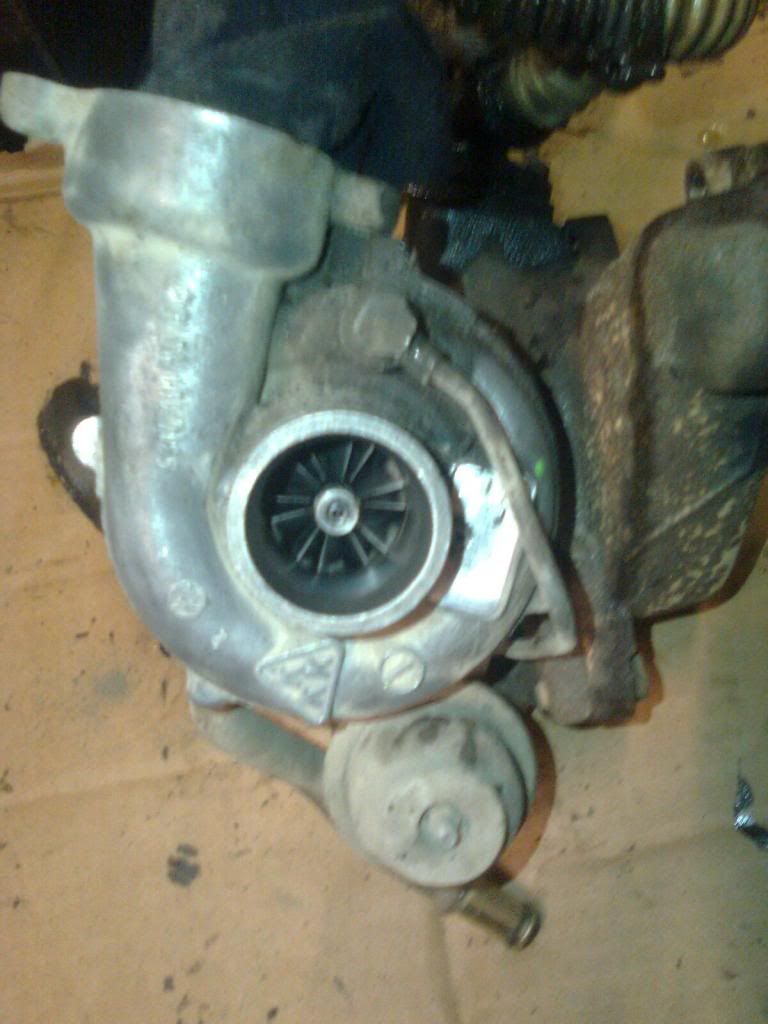
- T25
- A custom pump
But enough yap, time for pictures
Starting with a walk around of the car
The foglight damage
Interior
And the boot
Needs a slight clean!
Always nice to see a near full toolkit
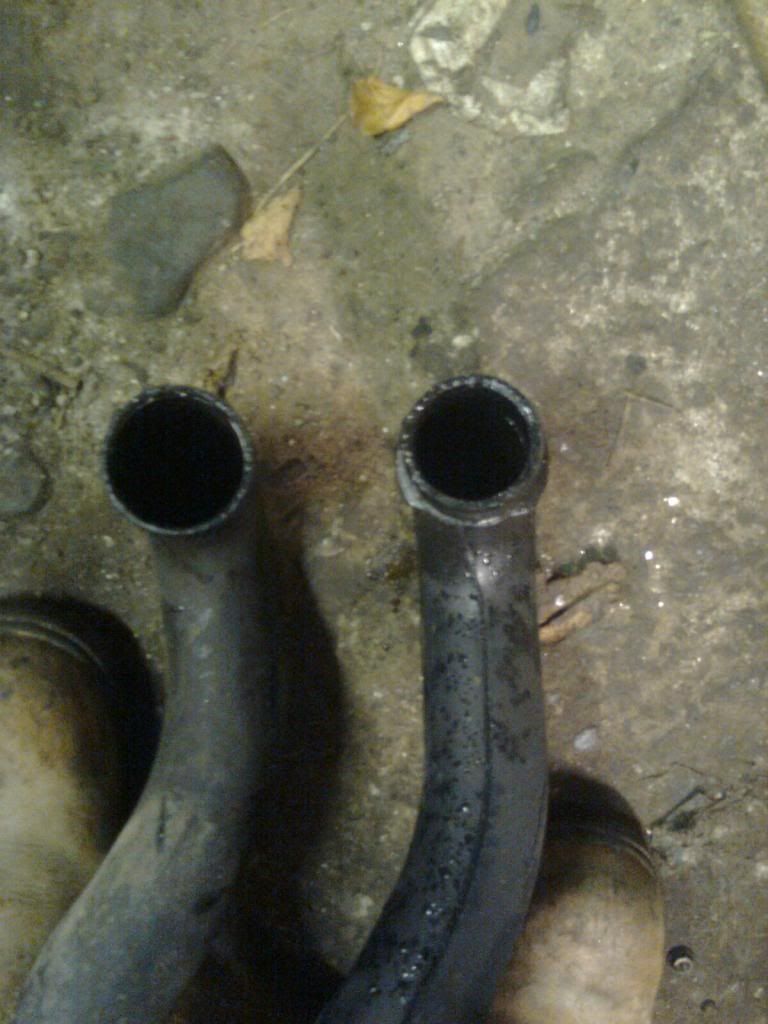
Tail lights filled with water
So the first fix was the gaiter ad ashtray, which was sticking
Now with an ashwood ashtray
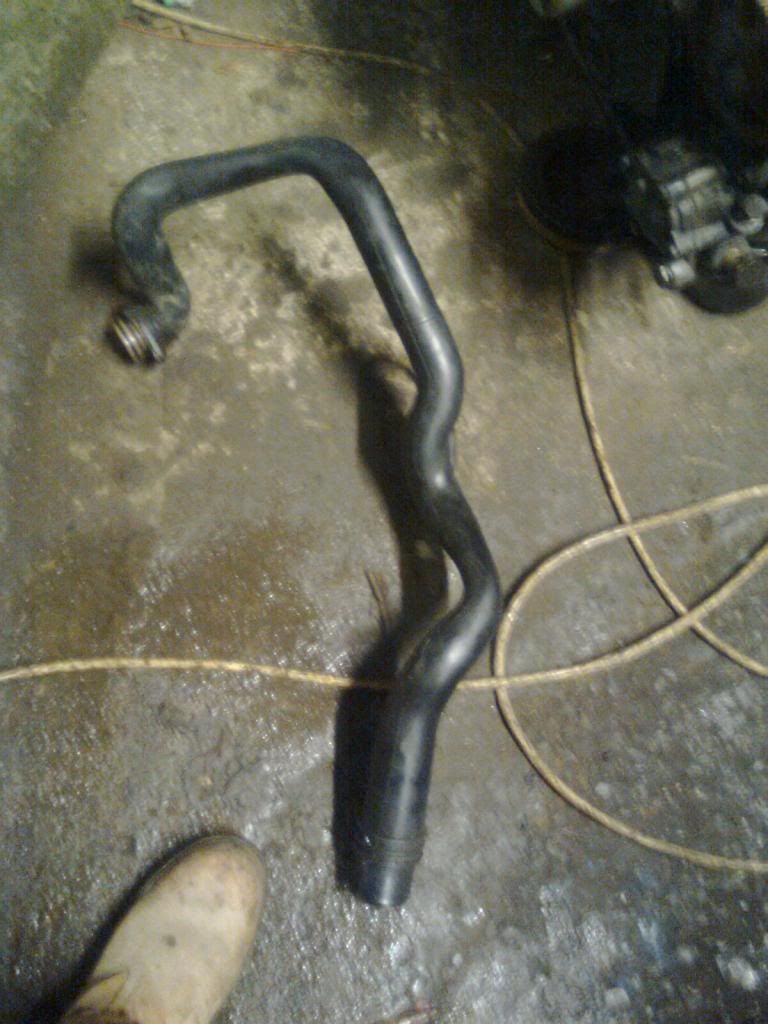
Now, to sort the back out
No point flutein' around with torx bits and vortex sockets, vice grips and impact socket
And in no time, it's off
They needed changing and are a help when changing the link rods (I found anyway)
Time for an allen bit and vortex sockets...
Then onto the eccentric bolt... No room and no room
Didn't want to come out, so swung it round and out it popped
Out with a new one
Clean the bolt, nut and washer then apply copper grease
And the whole lot flew on
One side done
To the other side, thought this looked odd...
Yep, broken drop link
Cable tied to the arb
I got them out though
The link on that side didn't want to play ball!
Alas, same procedure as the other side and all on. Just needs tracking!
Onto the tail lights
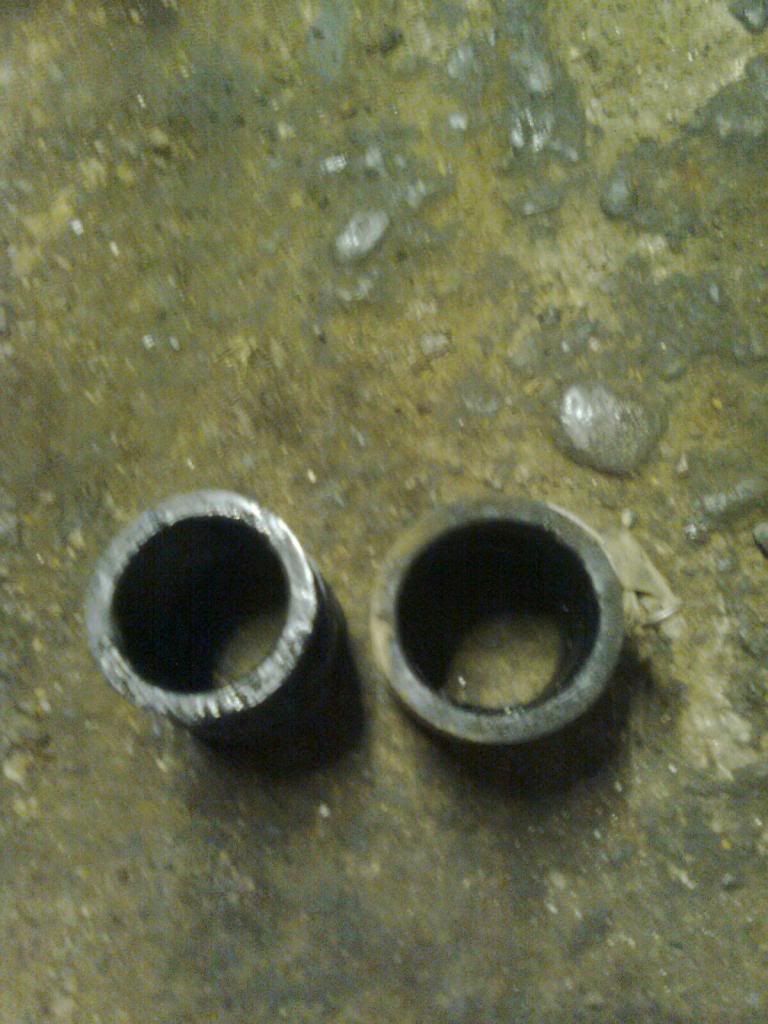
Lack of
New(ish) ones
Last for now is the foglights
Beyond economic use!
And painted the other side yellow
A bit done, plenty more to do