There is a "fitting guide /how to" on another post which is a much better guide than this will be but thought if anyone is considering the same job a few extra notes/pics may help.
About me firstly, years ago i was mechanic so i start off each and every job with full intention of doing thing properly or not at all, but by about thirty minutes in i'm cursing i ever started the **cking job and want to just get it done. Hence the haphazard pics included
anyway.
Head unit is a JVC KD-DB42 DAB/DAB+,( a great under £100 unit with good sound and power if your considering changing to dab radio with high ratings for dab performance) came with an windscreen sticker type aerial which worked fantastic outside my house, stations were picked up quickly ,clearly and strongly. 10 yards down the road they started stuttering and becoming lost etc. I had planned on getting a proper dab aerial or splitter so i wasn't too bothered by this.
When it came to it, i decided to not take a chance on fitting an aerial splitter due the cost saving over a proper amplified aerial being quite small and relatively expensive if i ended up having to buy both.
splitter = £25, aerial = £50 approx figures.
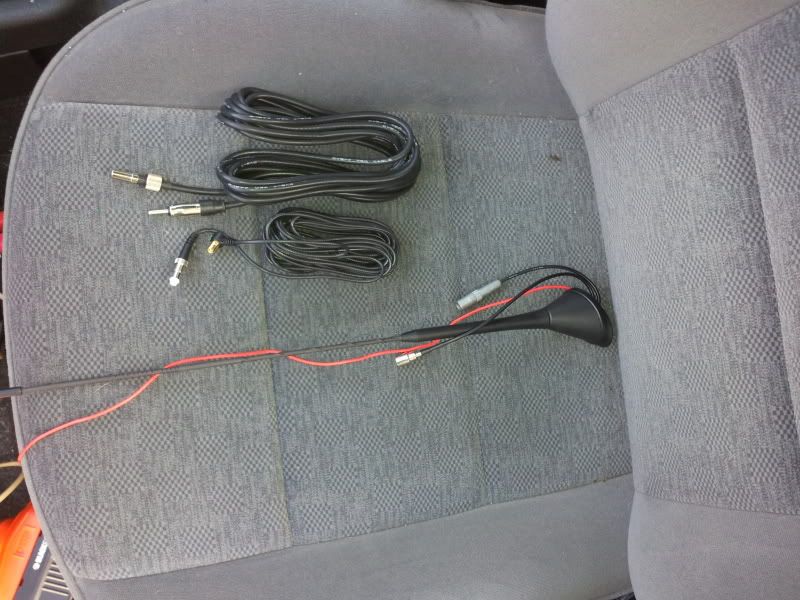
so i went and bought a Kinetic DRA-6001 bundle, the bundle is extra long cables to fit the aerial and probably worth it although as you will see in the pics there is a lot of cable.
End results = outstanding, everywhere i go i get perfect,clear dab signal. I know i live in a fairly strong signal area ( warrington) but even on a 50 mile trip today it was perfect between the mixture of hills and tall buildings. I would gladly recommend both the radio and the aerial to anyone.
I bought the radio from amazon and the aerial from dabonwheels as they were the two cheapest places for the individual items.
the pics show just a few interesting things i found along the way and like i said, its not a "how to" but hopefully might help someone out doing a similar thing.
original aerial, the small disc levers off with a small screwdriver or similar, only takes a gentle push so don't be heavy handed. The torx you see is easy to get at, the opposite side is a nightmare unless you remove the whole head lining which i was not going to do .
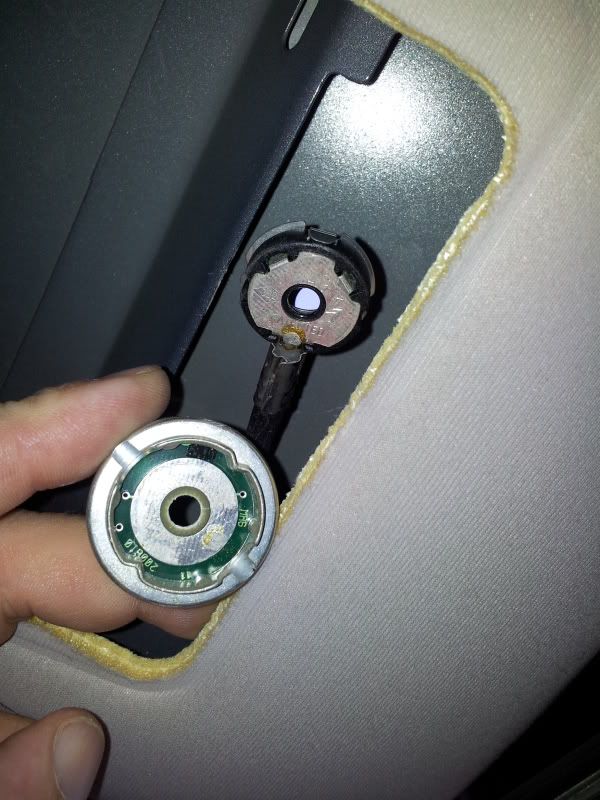
nut holding the original cable/aerial in place.
original aerial fixing/connection, very high quality.
another pic showing other side of grille.interior light assembly
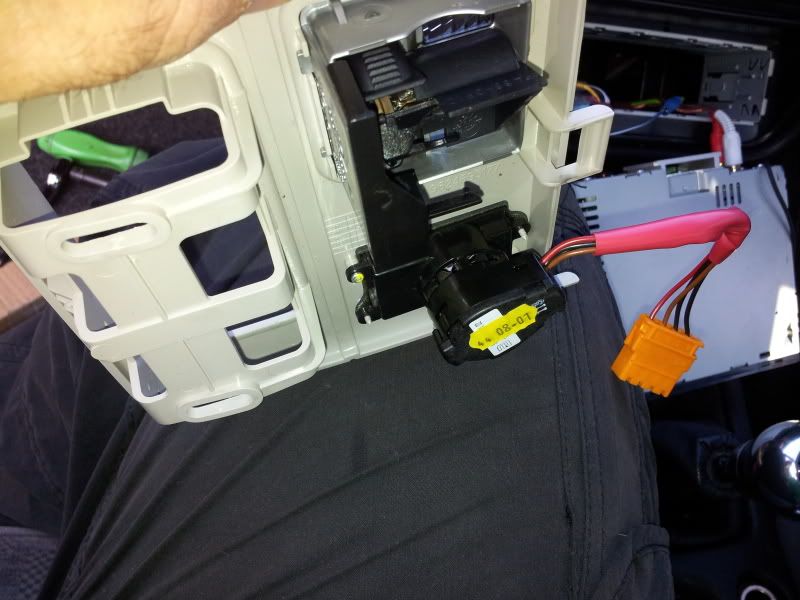
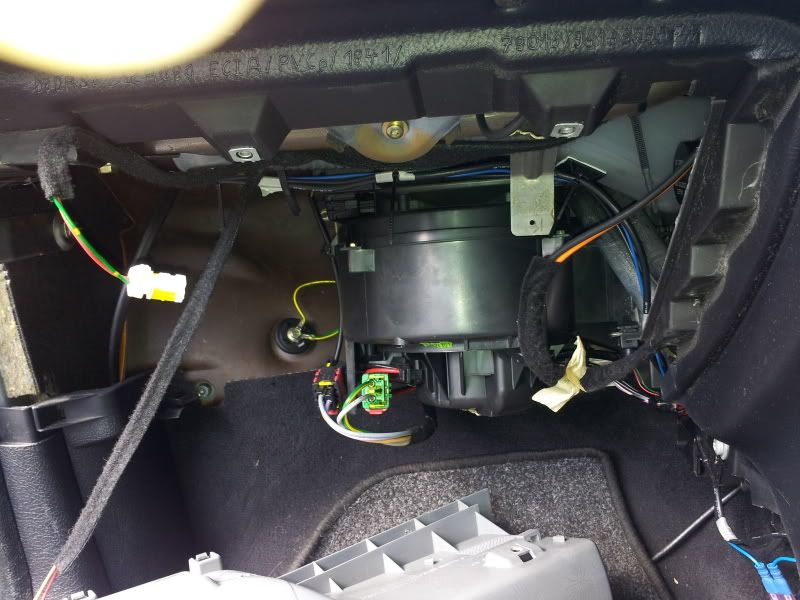
the other side of the sensor unit for the heating ventilation unit, this is after being half cleaned when i though to take a pic showing some of the fluff etc left inside.It was much much worse than this when i first looked.
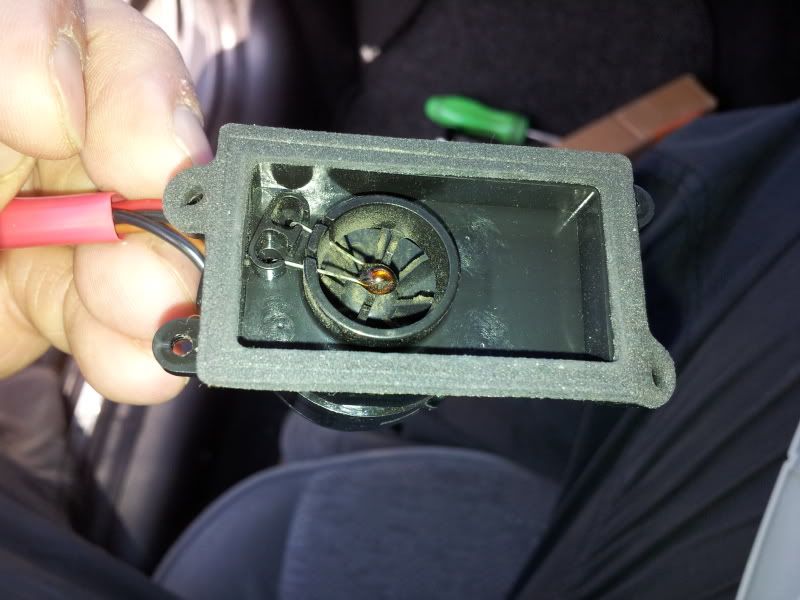
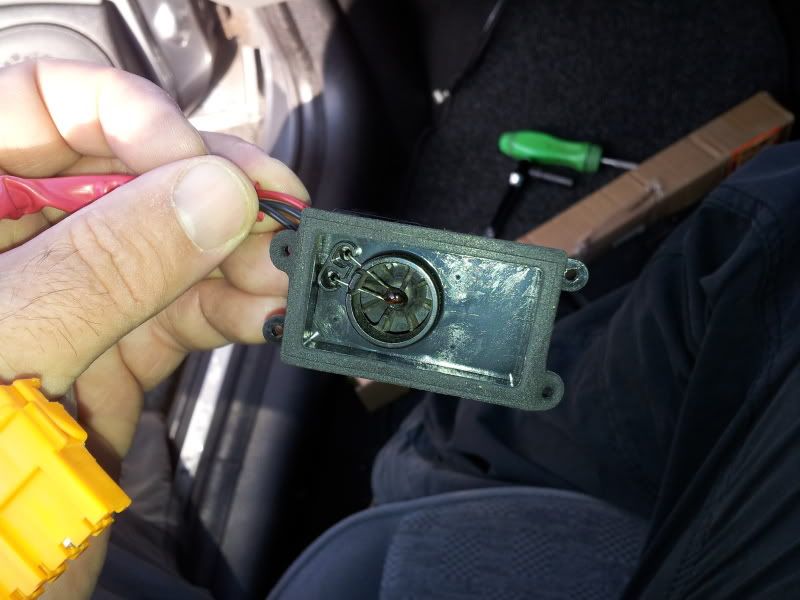
what it looks like when its clean clearly showing the sensor slap bang in the middle of the fan.
this is what is in the box as ordered as a bundle. you pay extra for the extra cable which you need, but its too much of what you need.
new aerial buisness end.
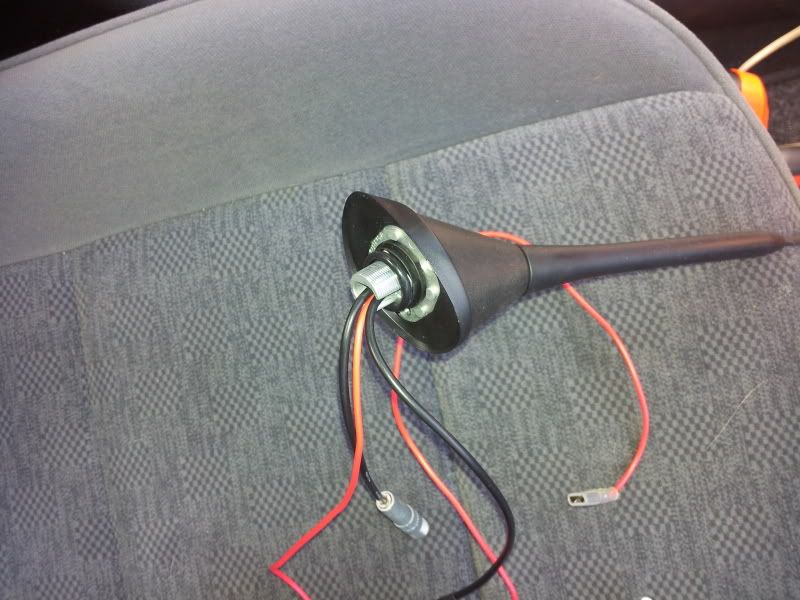
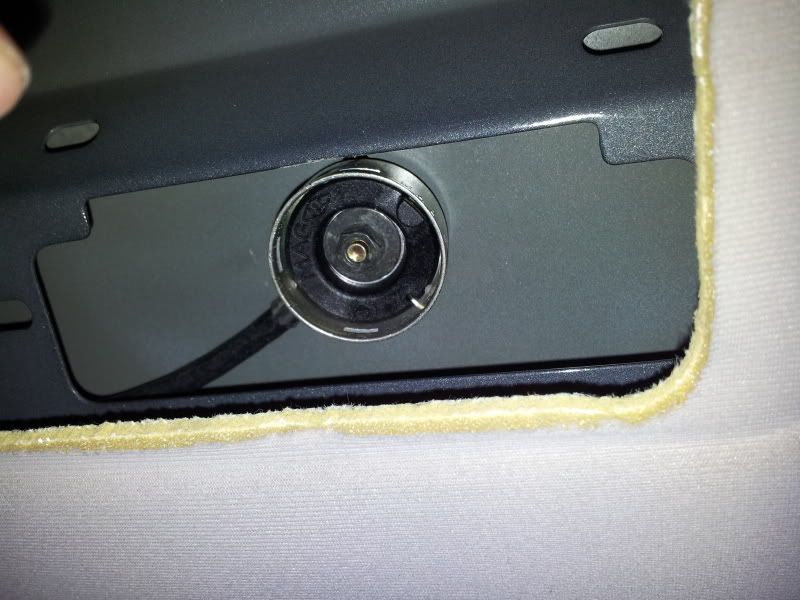
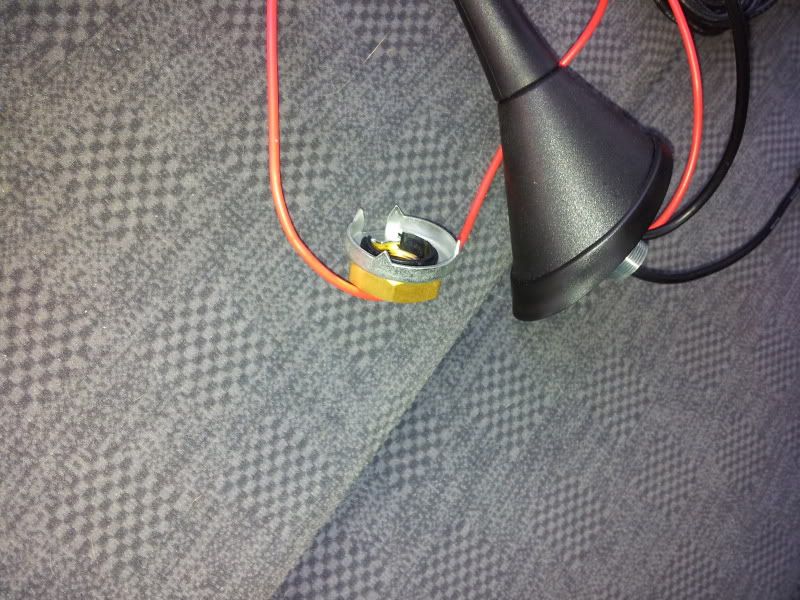
new aerial fitting nut.
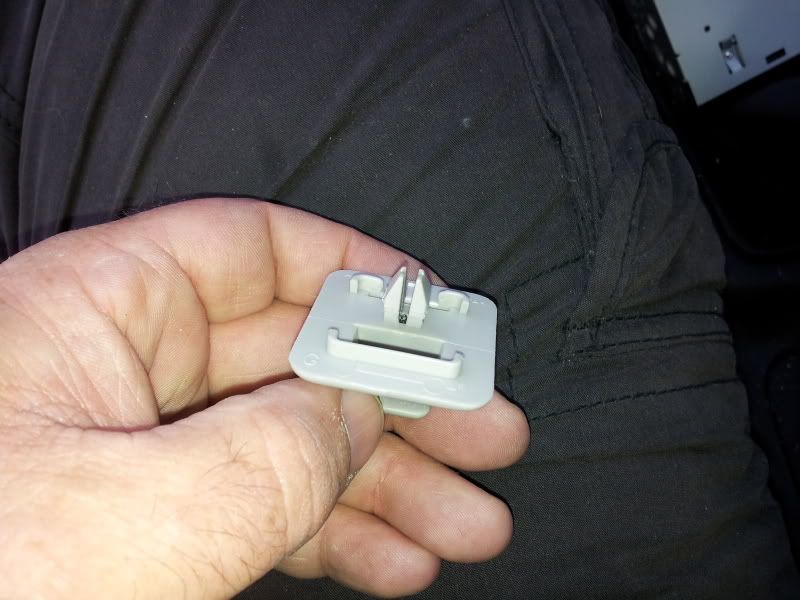
this is the inner sun-visor mount, wanted to show this so you could see its just the "rawlplug" , screw opens out type, in case you wonder why the fixing screw won't come out all the way.
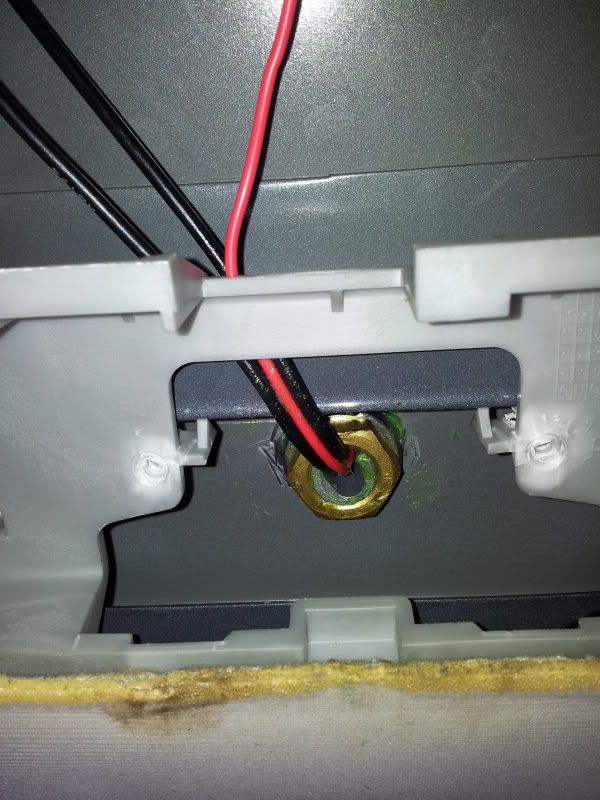
new aerial fitted, i had to drill out the original roof hole hence why its covered in grease now.
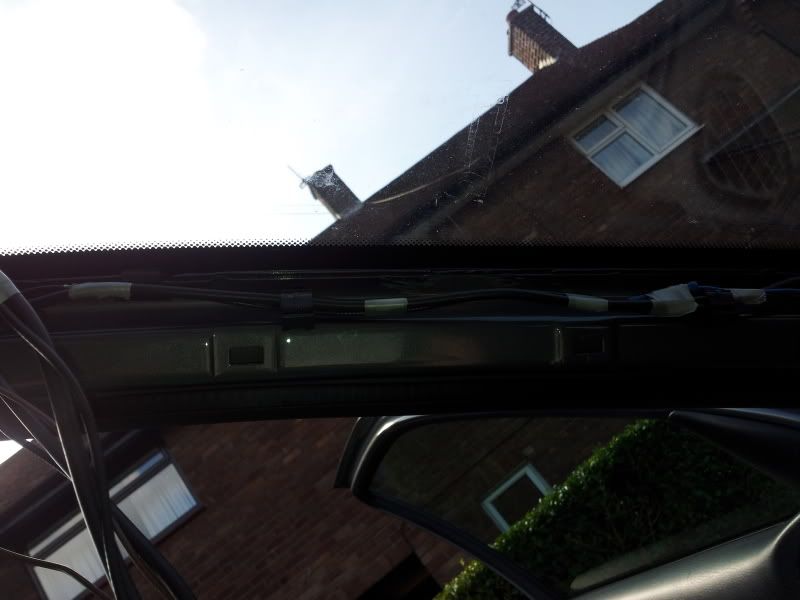
you have lots of cable to hide within the head-lining, they recomend you do not coil excess aerial cable as it may cause interference issues, and you should never coil power cables as you may end up with heat issues.
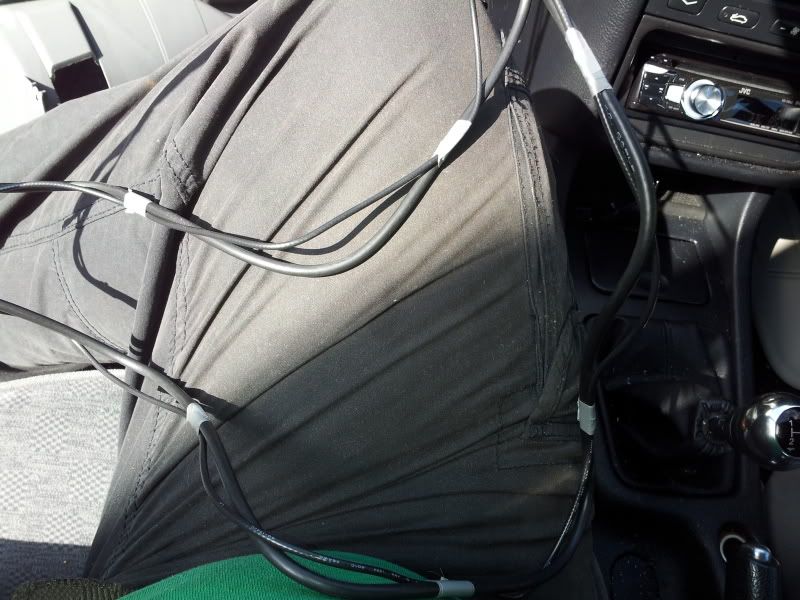
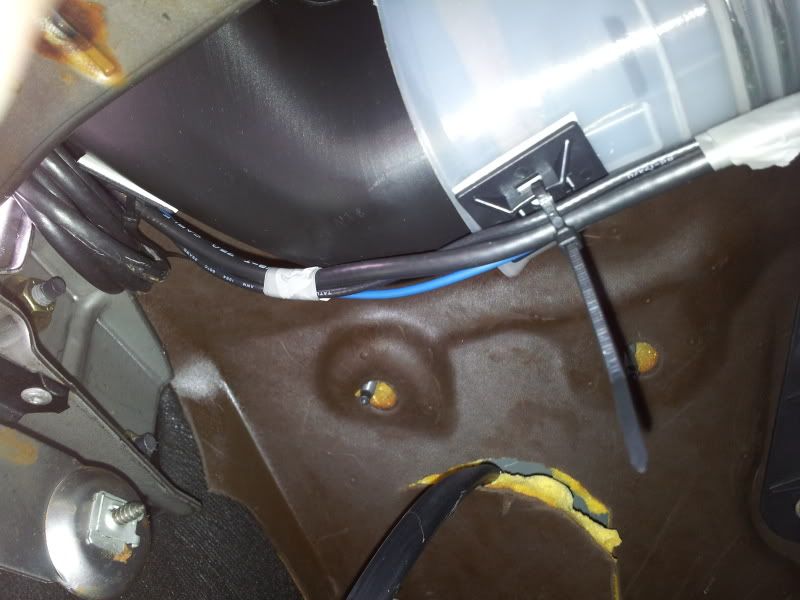
showing the new cables on the near side a-post, this is where the original cable used to run, its a bit dark as it taken direct looking into the sunlight as i didn't want to move.
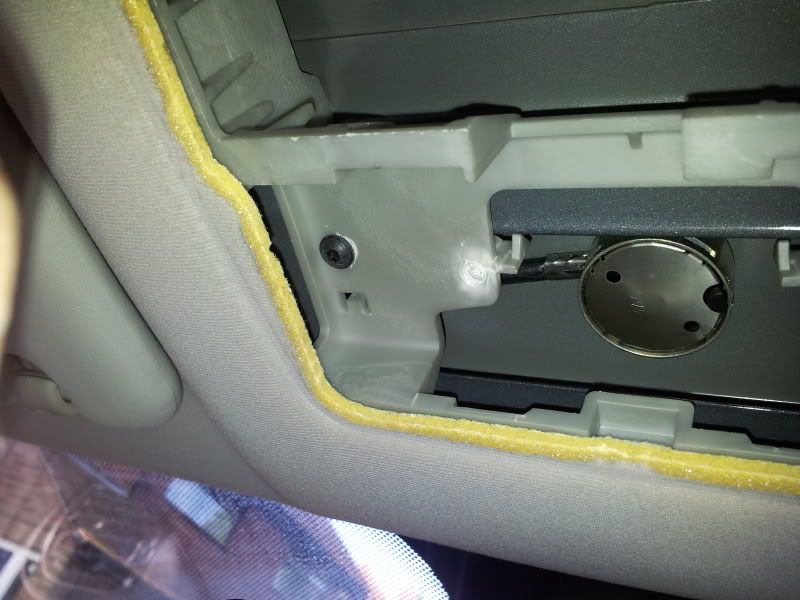
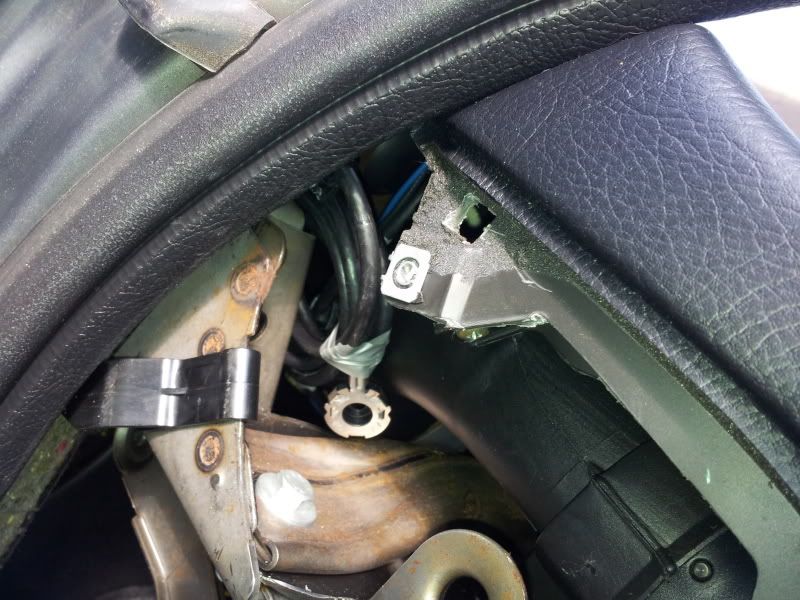
under your near side dash cover plate, the original aerial runs behind the dash here and is impossible to remove without lots of hard work, hence why its coiled and tucked away but at least its easy to get too if needed again.
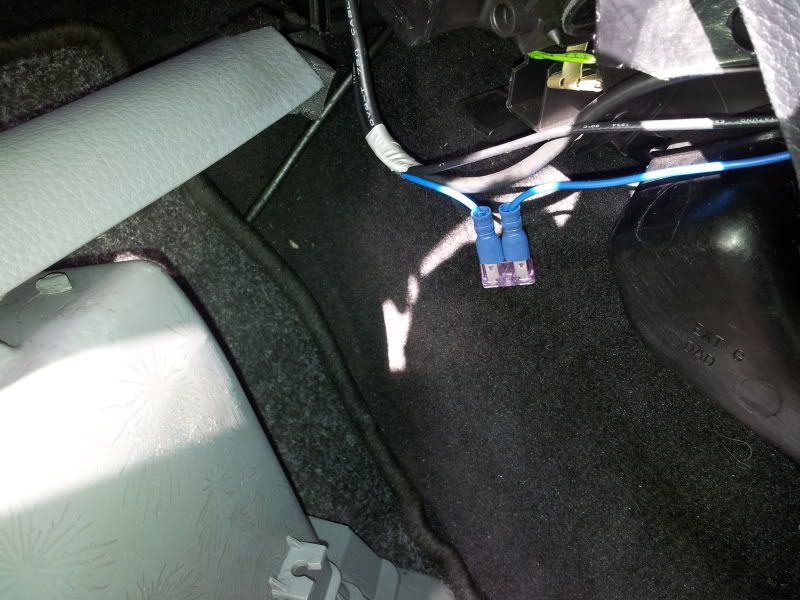
I added a extra fuse here, i imagined the radio fuse would be ok at first but thought i'd add this as an added precaution before it runs over any metal.this is the power cable that runs with the two cables up to the aerial.
another cable run pic.
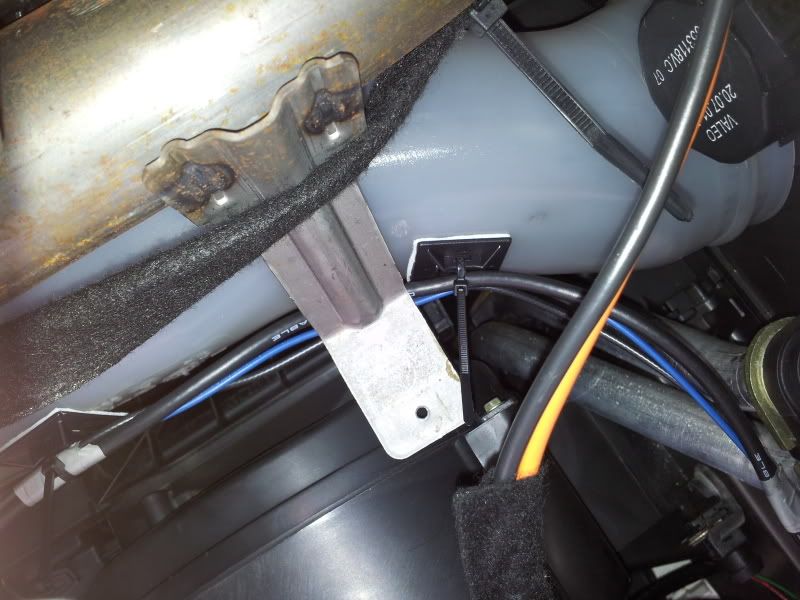
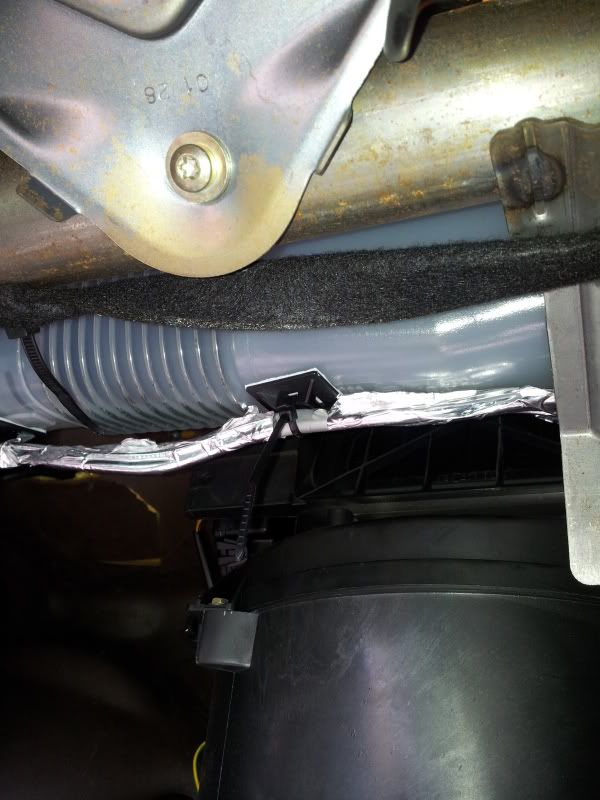
general pic showing the new cables running past the heater unit. this is normally where your glove box would be.
Another pic showing new cable run. you can see on the left hand side where it pass's the original aerial cable. the black cable cutting through the insulation is a power cable that runs to the amp/sub box in the boot, i took the opportunity to slightly re-run this and then recover insulation etc.
This is after i covered the cables in foam backed adhesive foil to cut down on possible interference. I'm not sure if this was needed or not but seen a few stories about it so thought its no drama to add it now rather then later and makes it look a bit more professional :-)