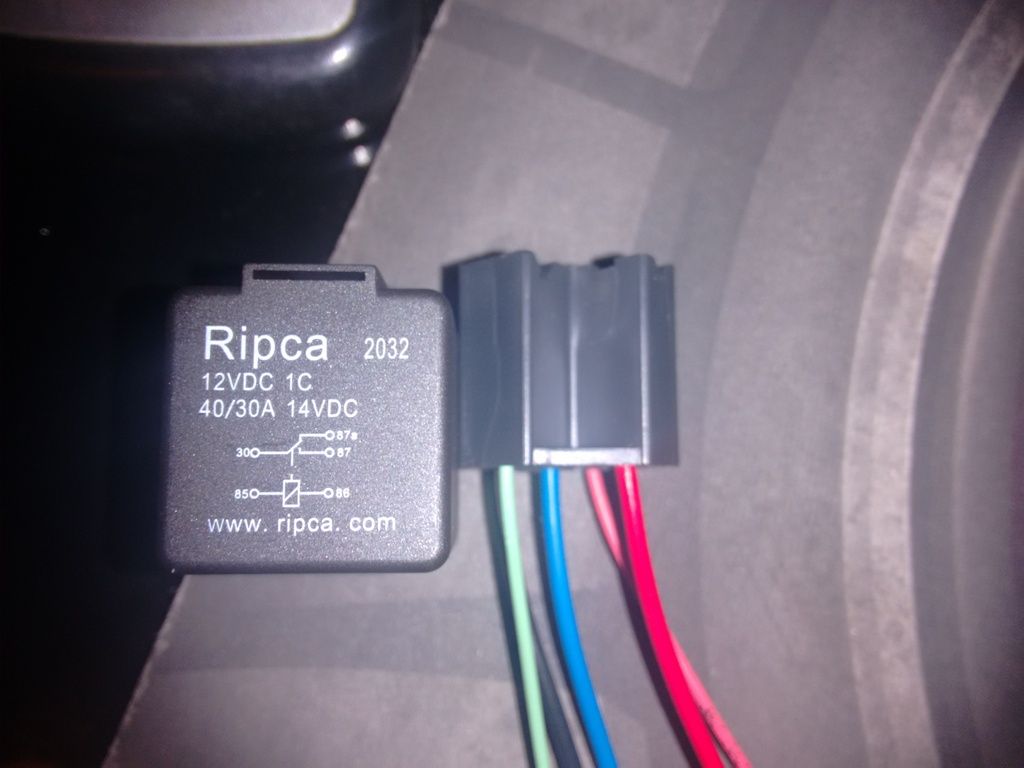
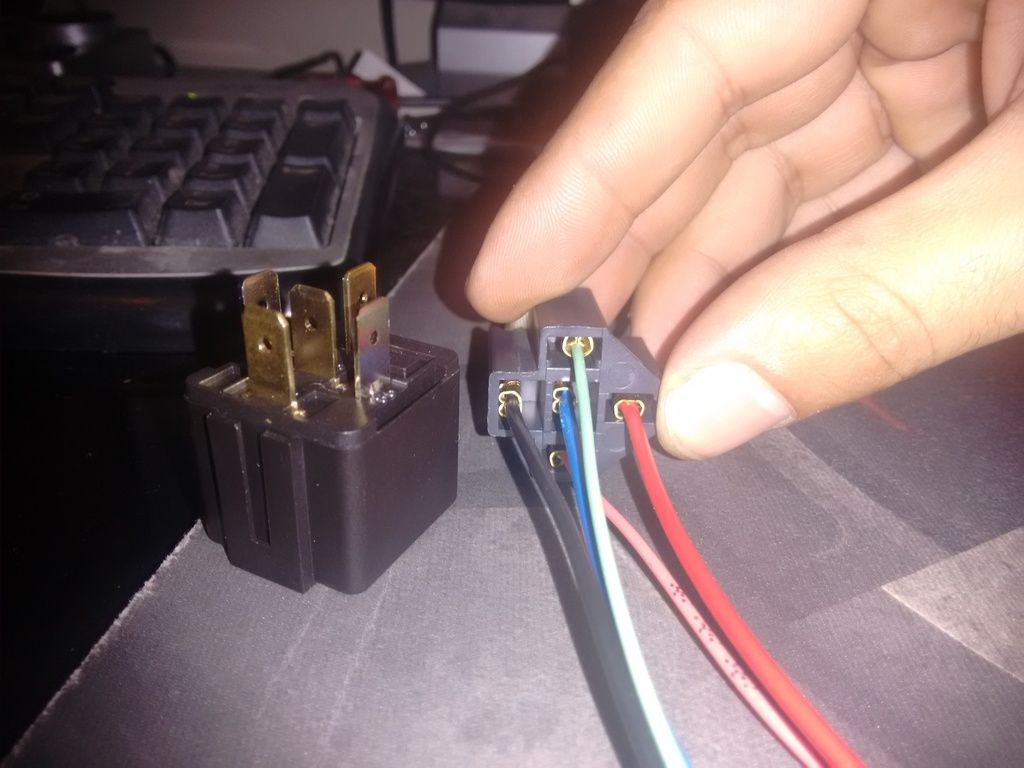
Relay Ripca 2032 complete with loom and a smidging of soldering expertise required.
Remove and disconnect the BSI and free up all rpt all the plastic lugs (my method as illustrated) and gently prise off the BSI lid.

The relay is directly opposite the middle and lower vent slots and schematic (taken from another site) as shown directly below..


It is essential at this point to test the relay for contact failure before proceeding!!
The next step requires gentleness and patience. Gently push a small screw-driver or similar between the relay and pcb heating the solder terminals at the same time with the soldering iron. Eventually the relay will prise downwards until it is free from the pcb. Once free crush the old relay to remove from the space and clear any remaing debris.
Place the Ripca 2032 relay as shown threading the wires through the hole conveniently provided....

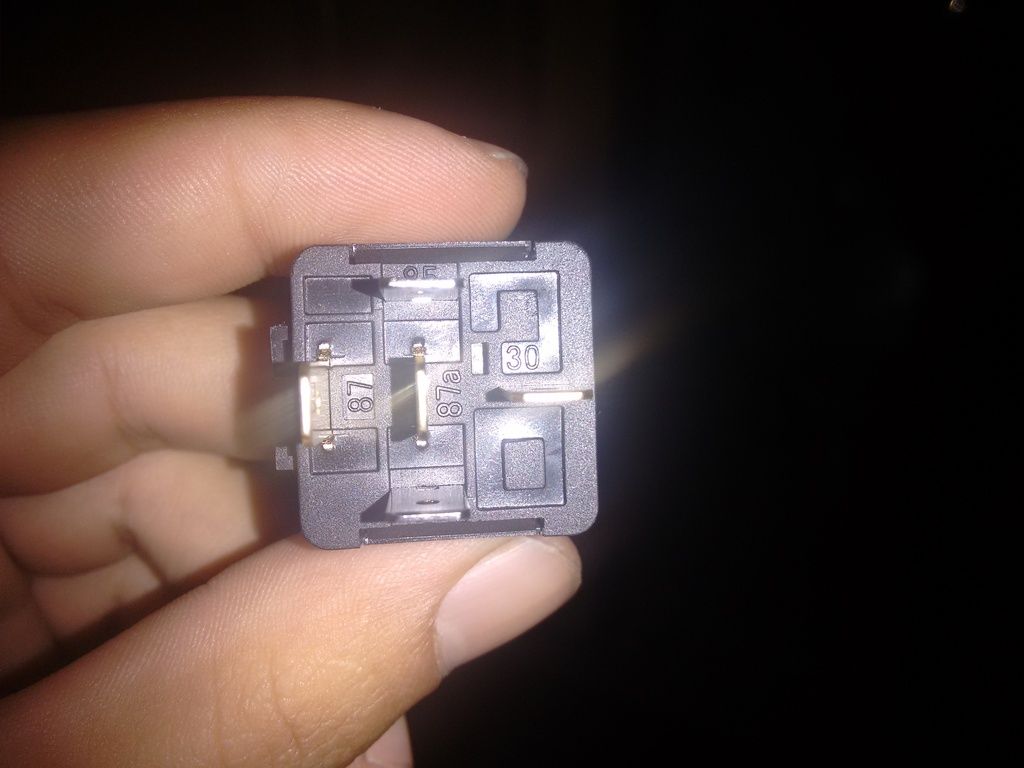
Wire the relay to the solder terminals as shown.

Relay wiring information. I chose this relay as others have a diode across the relay coil which will require wiring to the correct polarity.

Voila air-con up and running as new!!!!


