1. Take the wheel off. Duh. I strongly recommend the use of a spider wrench (the things with 2 bars in an 'X' shape with a socket at each end) as they make sure you put rotational pressure on the nut. This makes the security nut easy, without all that slipping off you get with a normal wrench. Notice the copper slip. Without it, you can end up needing a bar to get the wheel off
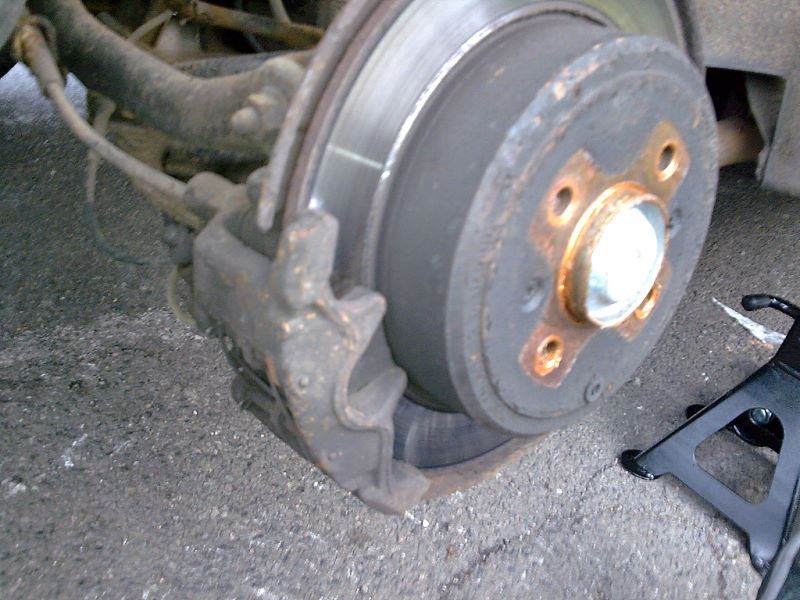
2. The enemy.
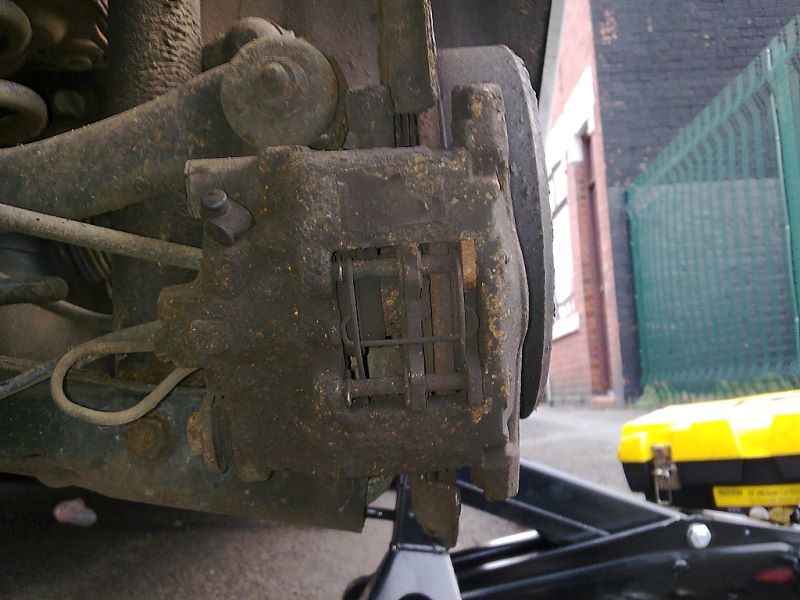
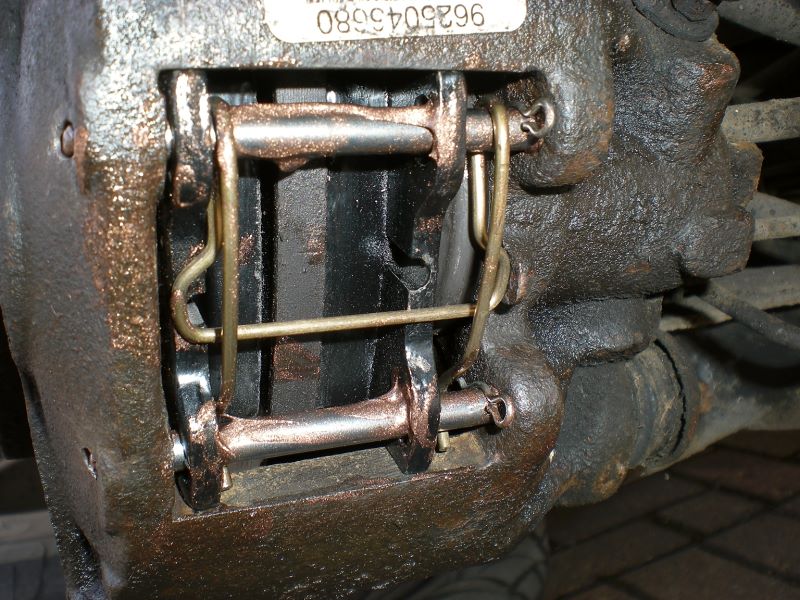
3. This is what it looks like from behind. If you want to take the calliper off, you need to remove the bolt at the bottom and the allen bolt that's behind the cap at the top (the big rubber cylinder). Notice the pins? No? That's behind a load of crud.

4. Hose it off with WD40. Lots of it. You can see the calliper pins now. What you need to do is remove the 2 shiny cotter pins you can see, then take a punch and a BIG hammer and whack the crap out of the pins from this direction. This can be EXCEPTIONALLY difficult.
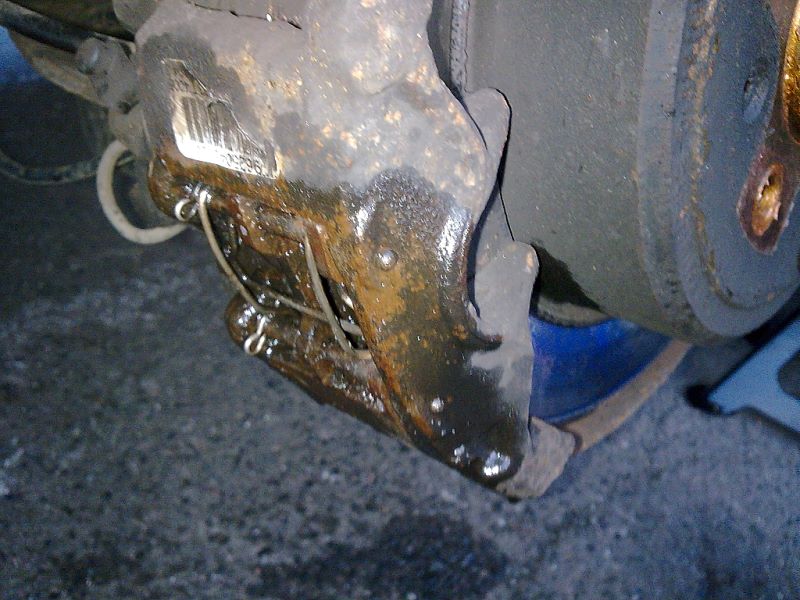
5. Here I've switched to the other side and removed the pins

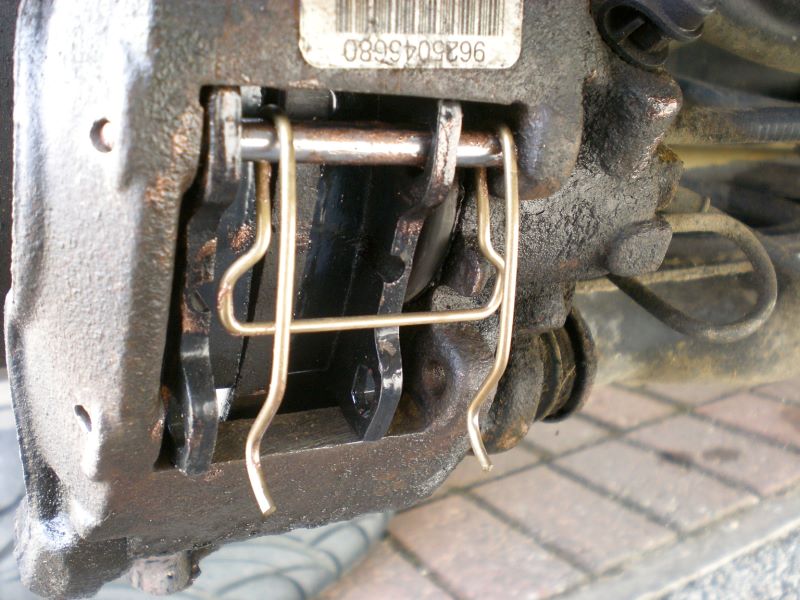
6. This is what's in the new kit. 2 shiny new pins, 2 cotter pins and a new clip. Here you can see what the pins are supposed to look like

7. New pads, copper slip the backs up. This isn't how mine went in, I needed to file away the ears (see note above about the calliper opening) so they'd fit in without jamming

8. Copper slip the pins, putting the top one in first with the clip, like this
9. DONE! Nest time I'll copper slip the top and bottom too