Oh dear. Unkie turboslag has scuffed an alloy. Some chump in a lorry was hogging 90% of the width of a country road, leaving me to squeeze in a gap too small and I scraped the wheel on the only kerb for 20 miles. Doh!
It's an easy fix, and here's how. Please note - only attempt to repair MINOR COSMETIC SCUFFING. Full on gouges, dents or missing chunks need inspecting and repairing by a pro, and possibly even replacing. Big gobs of P38 might make it look dandy, but won't do anything to restore any lost integrity. It's worth the effort as this costs a tenner, and an alloy refurb costs c.£60 to £100, depending on the size and finish required. You'll save a chunk of cash and the end result will be indistinguishable from new if you do it right.
You will need:
A jack, and axle stands to support the car. It'll be in the air for a day or so making the emergency spare wheel jack totally inadequate for this task.
Some alloy wheel paint - I use Autoglym paint, as it's top quality and a top match for 99% of alloys.
Some clear lacquer.
Tcut or similar (I used Autoglym paint restorer).
Some masking tape.
Some wax.
Some newspaper.
Med to fine grades wet and dry paper.
Most people have wax and Tcut knocking about, so the paint and bits costs about a tenner.
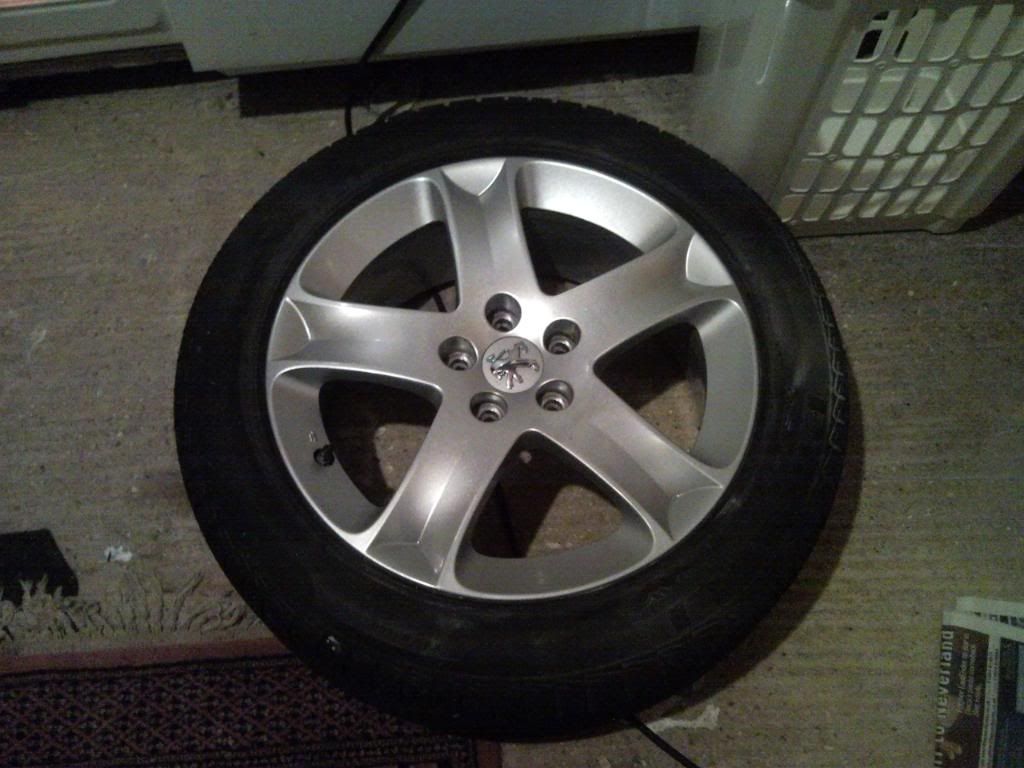
Here we go. Here's my poorly wheel. Not too bad, but blooming annoying to a perfectionist like me. Jack the car up, remove the wheel, and leave the car properly and securely chocked on axle stands:
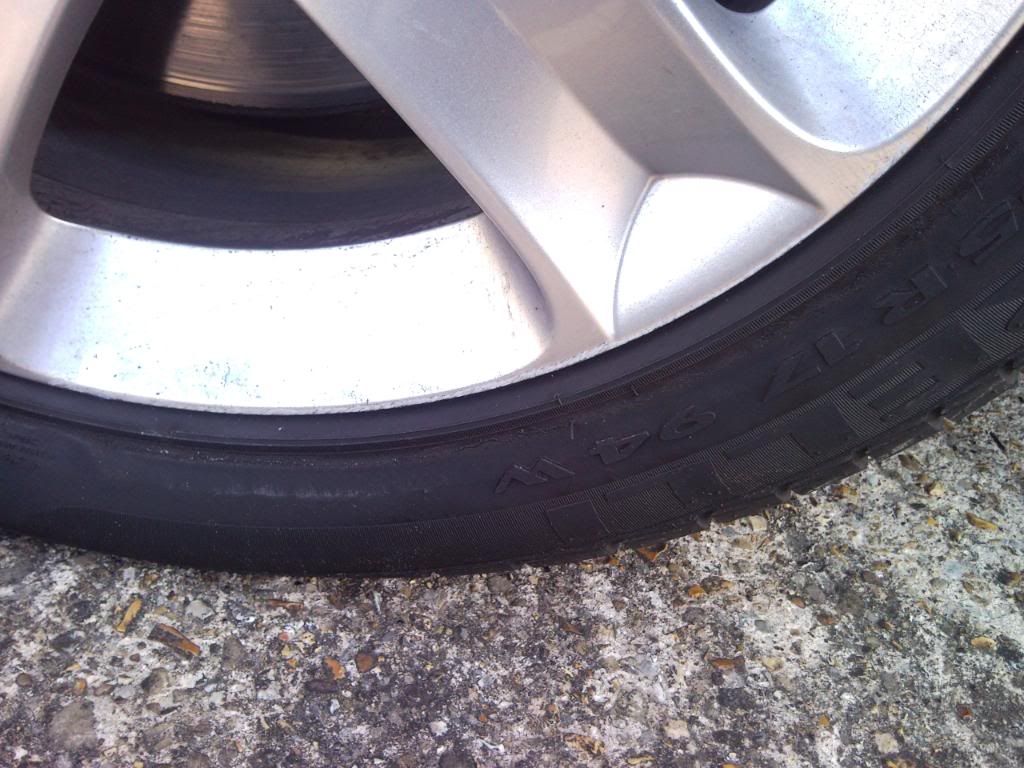
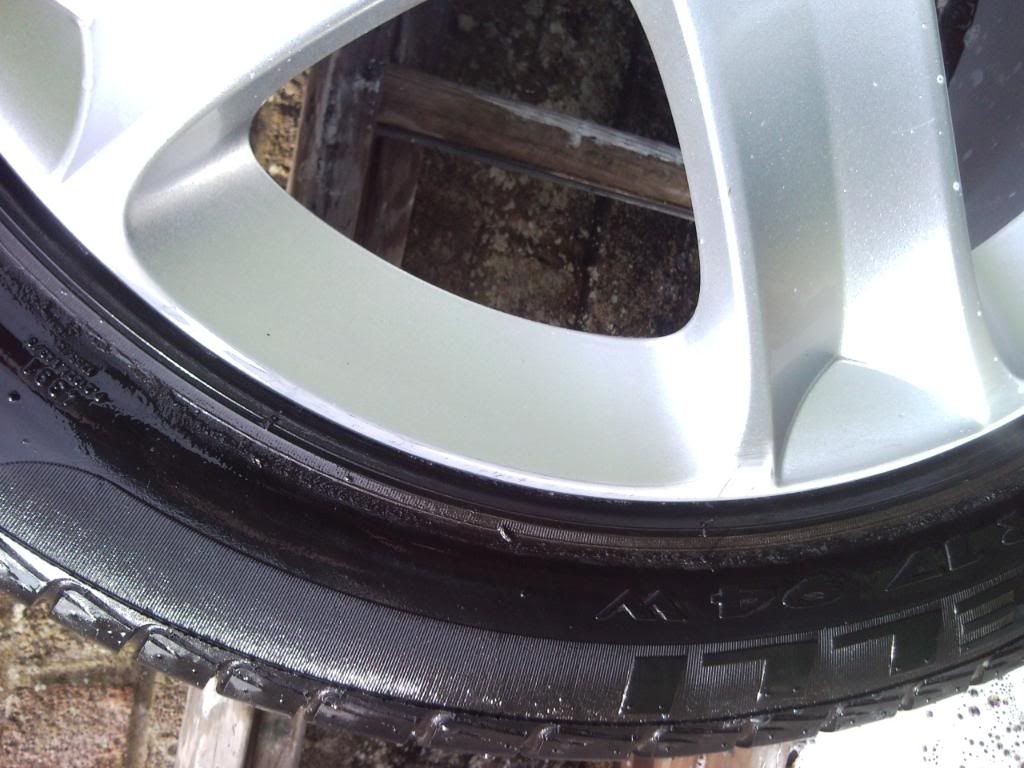
Once the wheel is off, give it a good clean to see what you're up against. Luckily, mine was just a minor scuff, but still extended round a 40 degree arc. Left on its own with the salty weather coming it's going to go furry and manky. Time to act!
Use 400 grit wet and dry to flatted and smooth the damage. Once you're happy, use 800 grit to get a nice smooth finish free of scratches and scrapes:
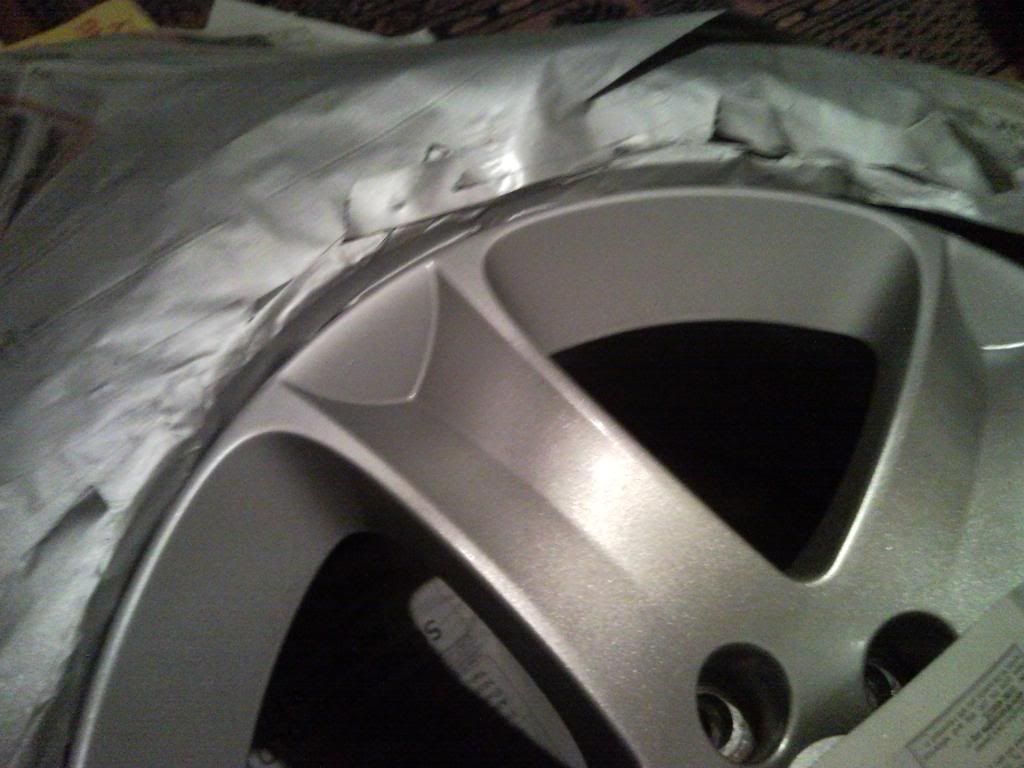
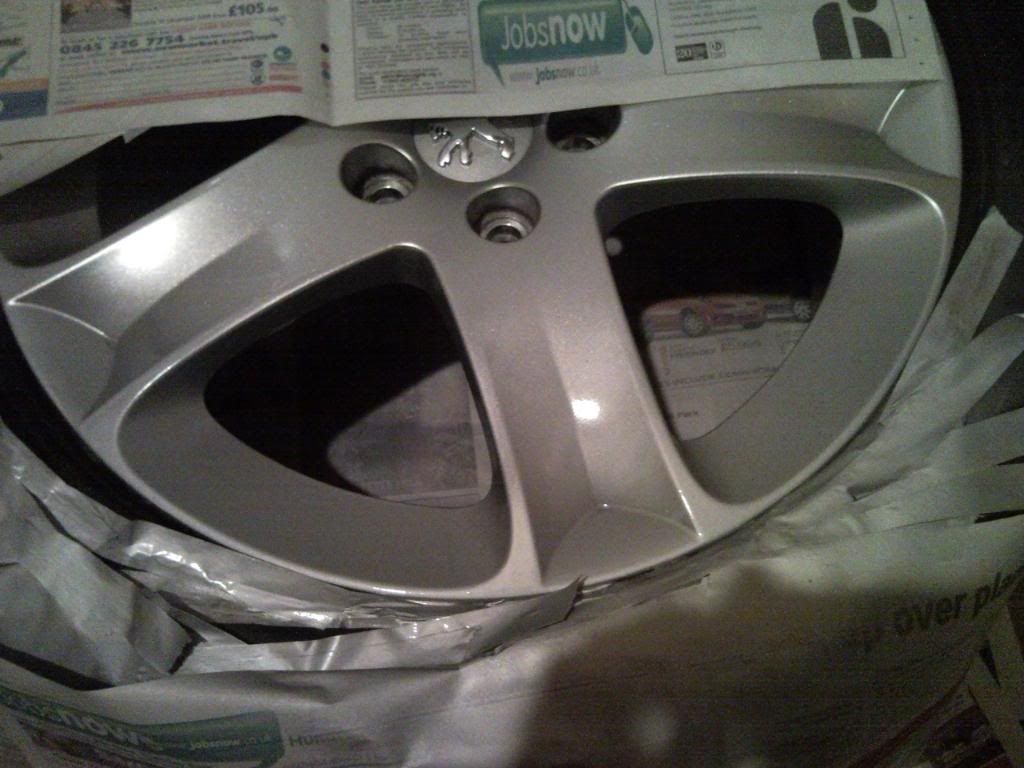
Mask the wheel off ready for paint. Please note - don't copy me here as I'm having new tyres on Monday so didn't go too OTT with the masking. You should take some time to get it right. Once masked, apply some silver paint. Before application heat the paint in a bucket of warm water and shake for at least 5 minutes. It's a pain, but cock this up and it'll look foul. Time and patience bring perfection.
Build the layers up lightly giving at least 15 minutes between coats. Less is more, and 4 or 5 fine coats are better than 1 or 2 thick runny ones:
Once you're happy with the silver paint, leave the wheel overnight. If you need the car in a hurry, place the wheel somewhere warm but still leave at least 6 hours before moving to the next step.
Next moring, heat and shake the lacquer as you did for the silver paint. Apply your 1st coat. fine and thin is the order of the day. Leaving at least 15 minutes between coats build up 4 or 5 fine coats, making the final coat slightly heavier to give the final smooth surface. you'll then have this:
Leave for at least 3 hours, then remove the masking tape very carefully. At this point you can refit the wheel to the car and polish it a few days later, but it's best if you can leave the wheel in the warm garage til the next day. Ideally, you should wait a week but if you have a steady hand then the next day you can give the paint a rub with 1200 grit wet and dry using LOTS of soapy water. Rub only gently and a little - you only want to remove any high spots and blend the new paint into the old. Then attack it with Tcut, pausing very frequently to wipe the surface clean and inspect your work - enough is just enough, so once it's looking good stop as it's incredibly easy to go through your new paint. Once done, clean and dry the wheel and then apply several coats of your tastiest wax. You are then faced with a beauty like this:
Refit to car, tighten wheel bolts, lower to ground, drive, revel in the undamaged as new appearance, look cool. Sweet ;)

