First then i had to slacken up the wire to the parking sensors, then i popped them out of their holes, and gave them a wipe with some thinners to get them ready for painting:
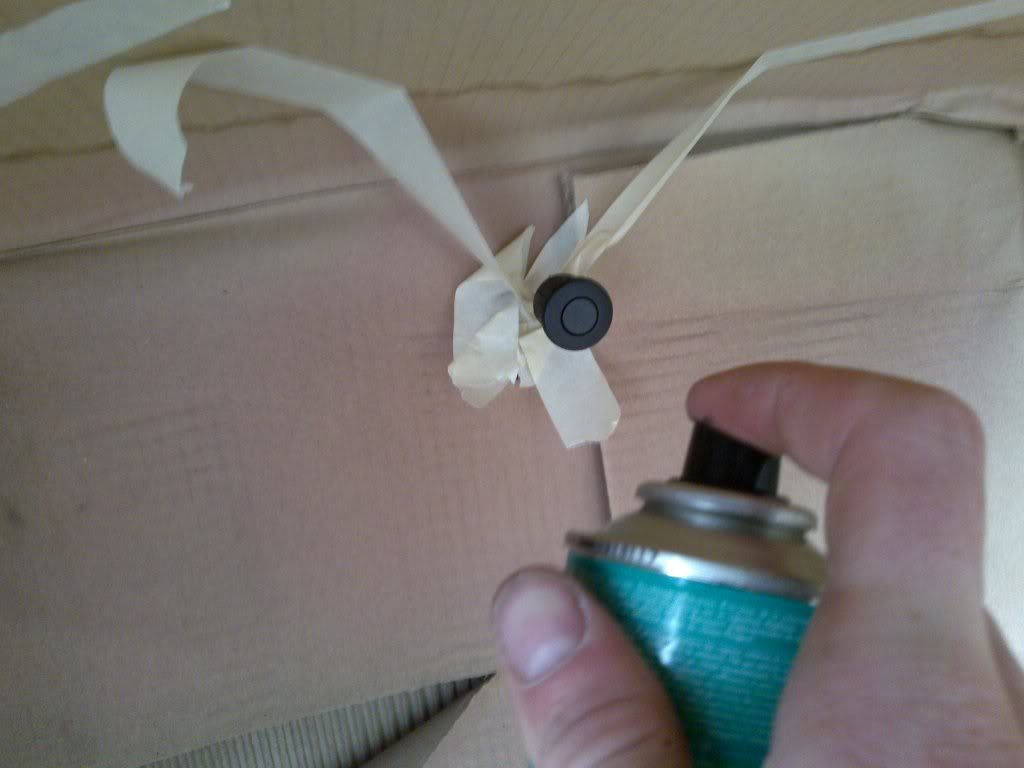
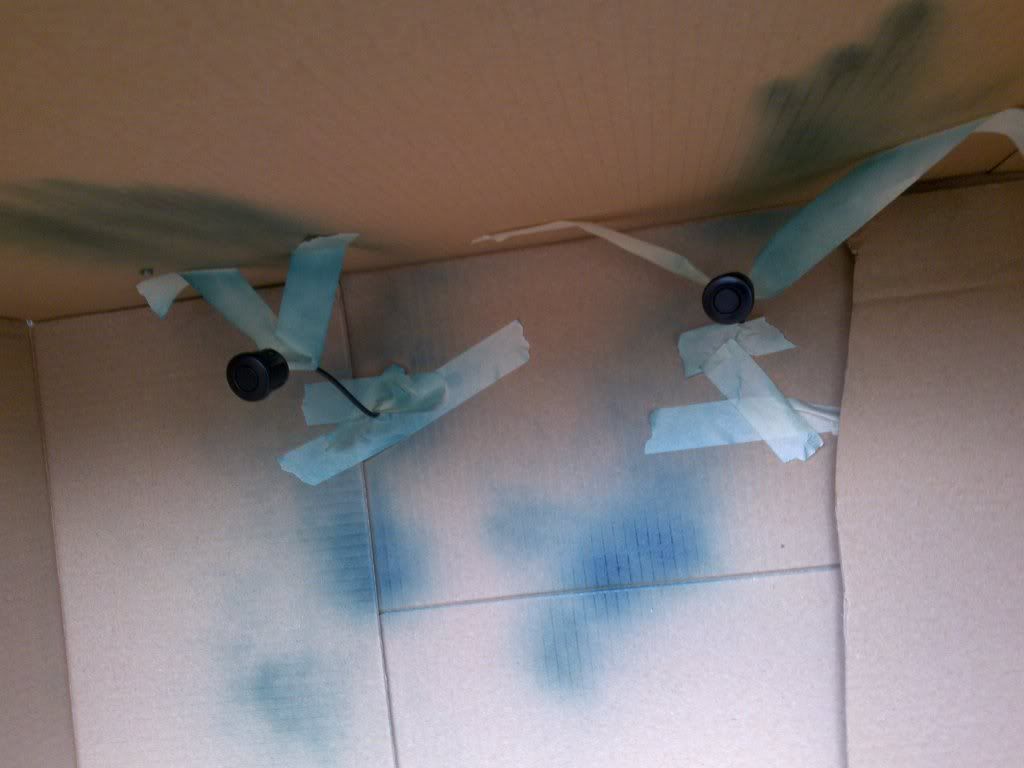
Then I got some brown card/paper and used it to mask off the area around the sensors, its worth doing right:
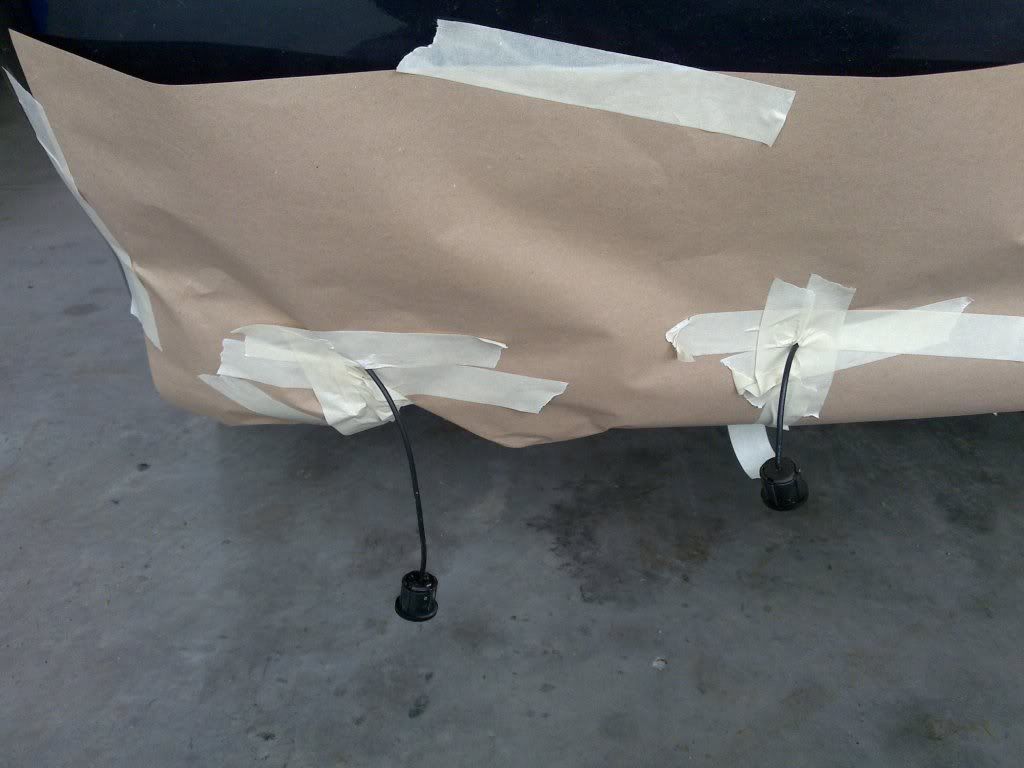
Then to stop paint spraying everywhere all over the place leaving speckles on the car, i put two holes into 2 cardboard boxes and passed the sensors through them, then masked it all off, and used some masking tape to hold the sensors upright:
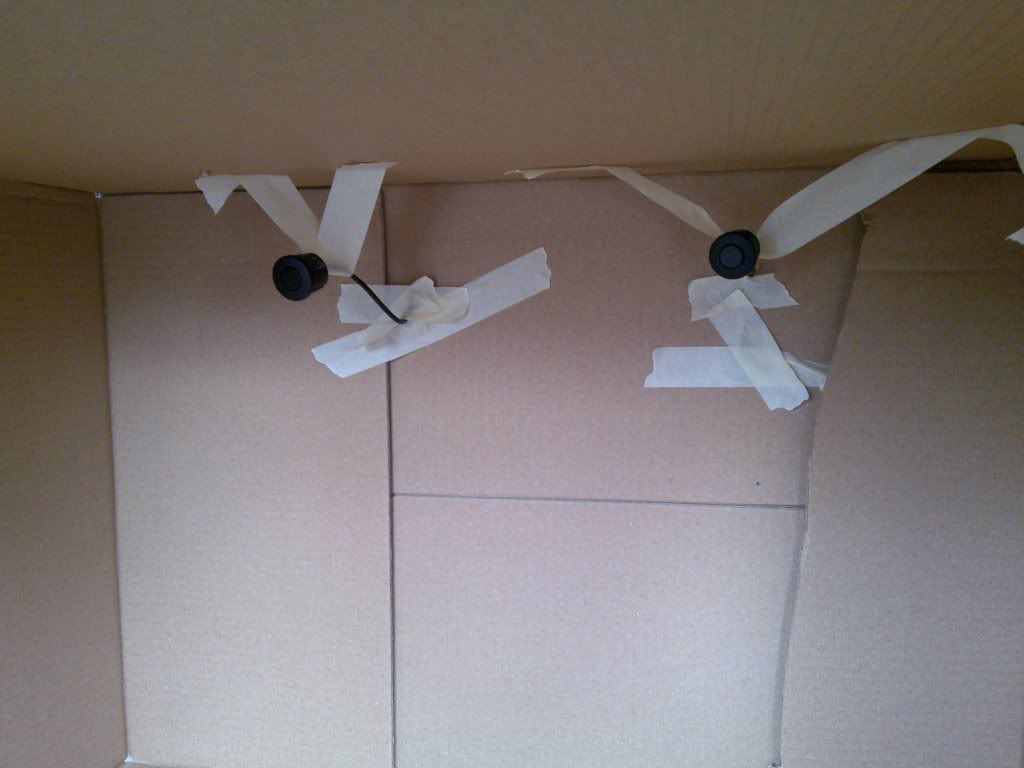
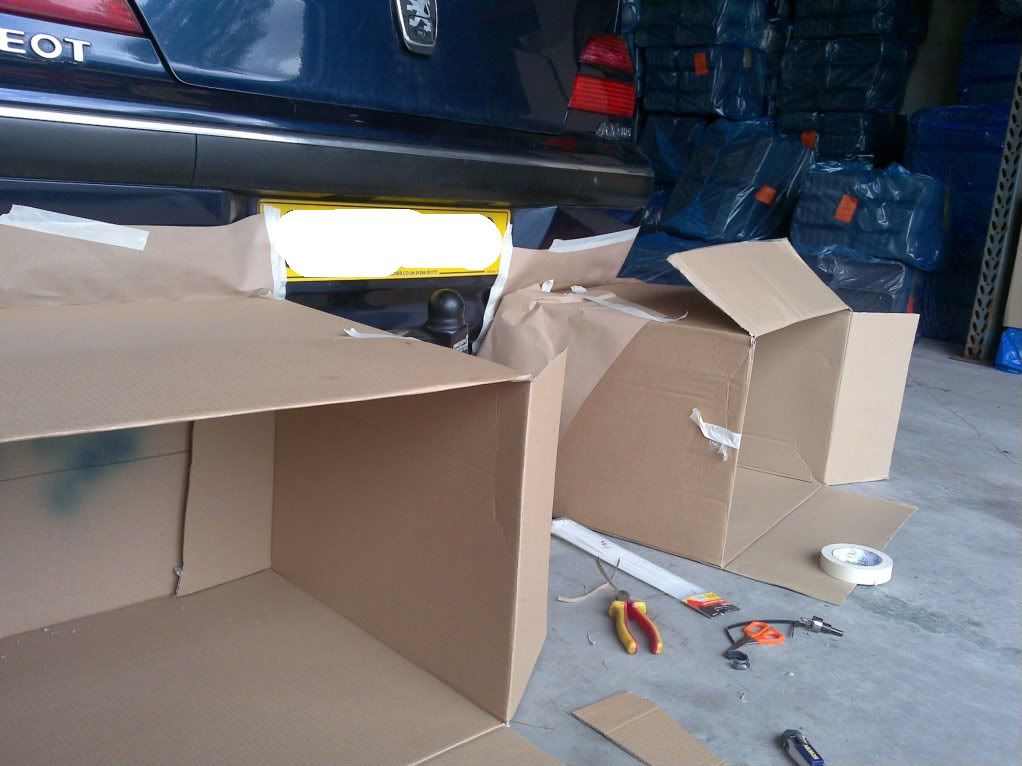
It may look a bit elaborate but it does stop the paint spray going all over the place and it keeps the dust away, once that the preparation is done painting is next part. The stuff i got for the job is a 2 can set one with the colour and one with the Lacquer, the colour had to be applied 3 times, at an interval of 5-6 minutes, then wait 30 minutes for it to dry and then put on the Lacquer with 2 coats at a 5 minute interval, then wait 30 Minutes and they are dry. As anyone using spray paint will know the key to prevent dripping is to wave the can over the thing getting painted:
Even though the can said wait 30 Minutes for the lacquer to dry, I left it for 2 hours it definitely was dry at that stage, so I pulled away all the cardboard boxes, and brown card, and popped the sensors back into place:
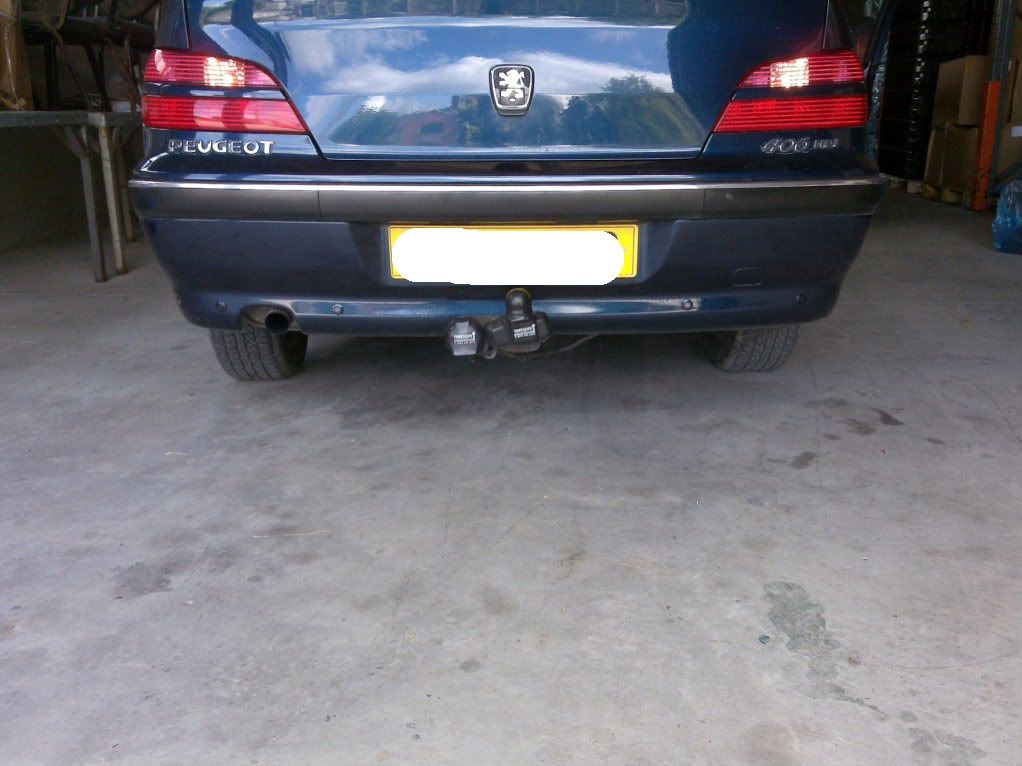
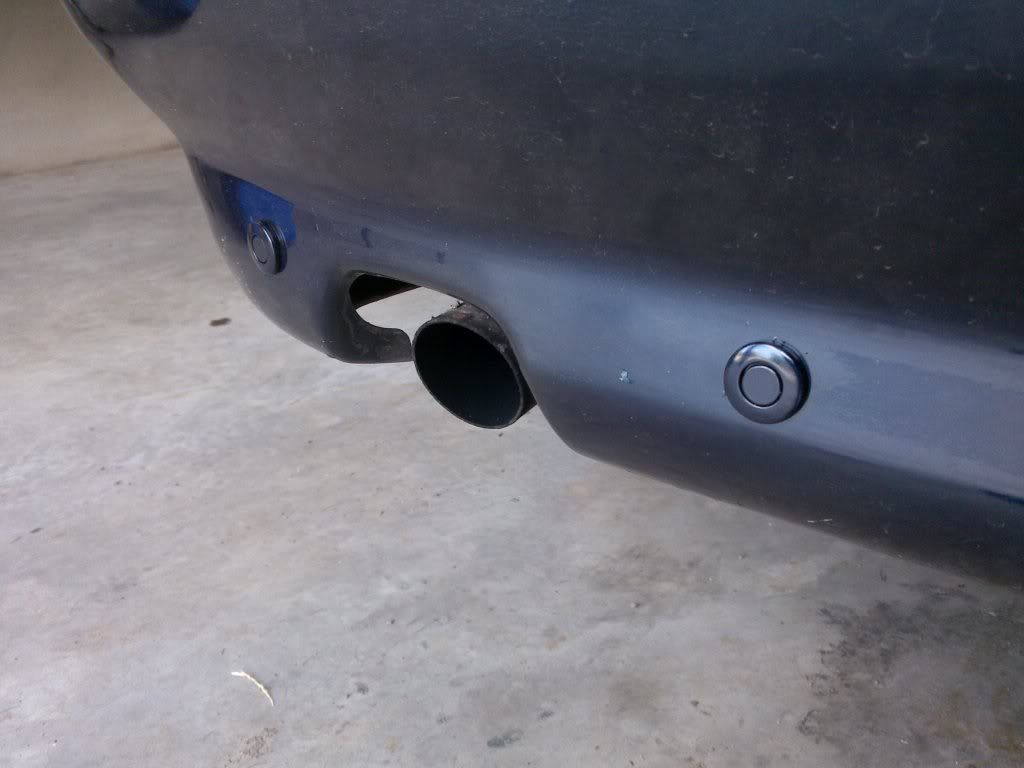
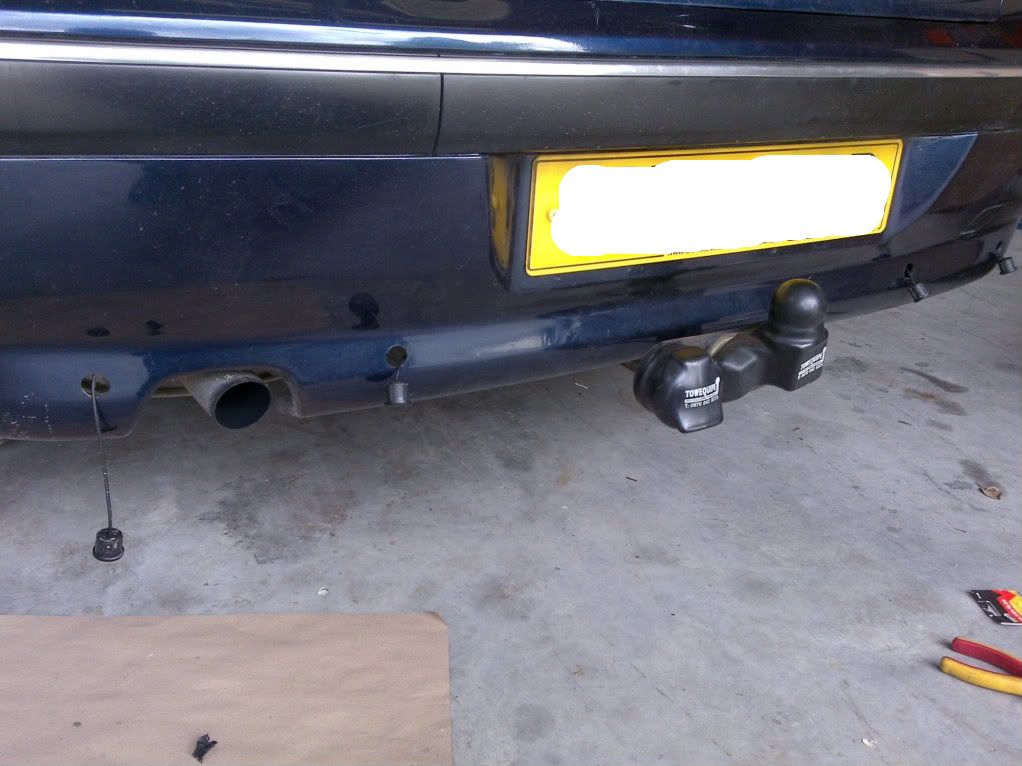
You might see a paint drip on the bumper in the picture below, but its been there since i got the car, i think the previous owner messed up the installation of the tow-bar, and had to put a new bumper on and spray it, but must have sprayed it while drunk because there is this drip, even so just ignore it, the cardboard boxes masked very well indeed.
The paint really finished the job off well, its important to remember that too much paint or lacquer ie too thick on the sensors will cause the sensor to become 'blocked' (the best word I can think of) and then they would just bleep constant as if the car was right beside an obstacle, but even so the 3 applications of paint, and 2 of lacquer has worked ok for me mainly down to the fact I didn't hold the spray over the sensors but rather waved it. The Paint is a bit expensive at £10 but even so the job is finished and the sensors look almost like factory fitted ones now.
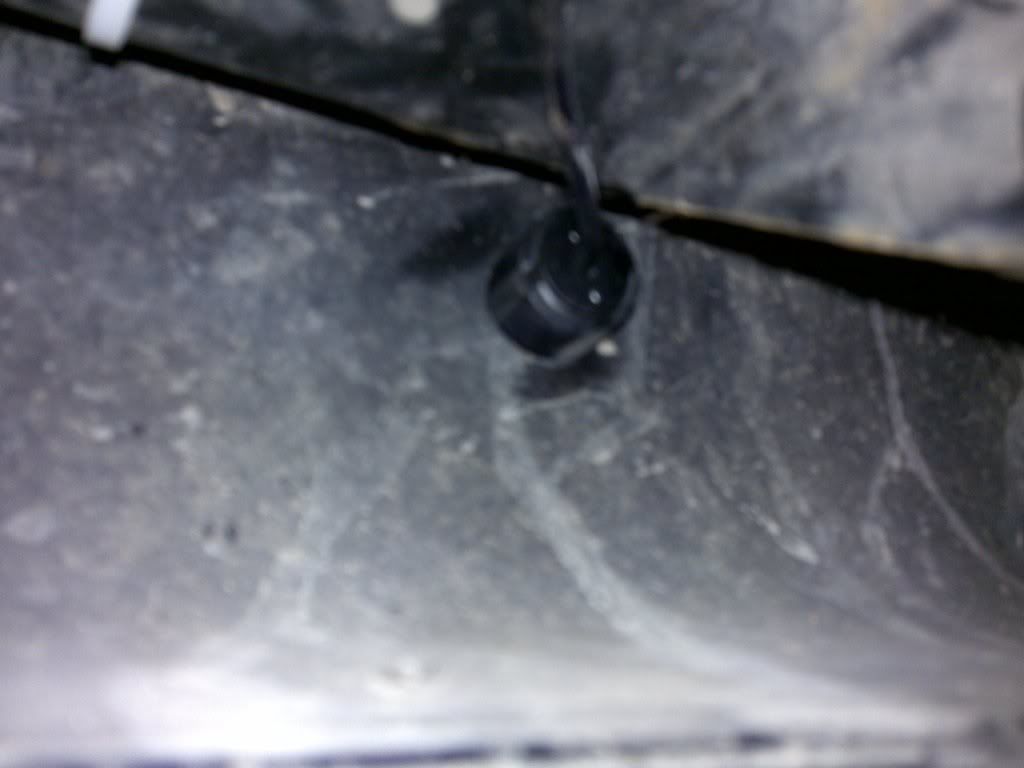
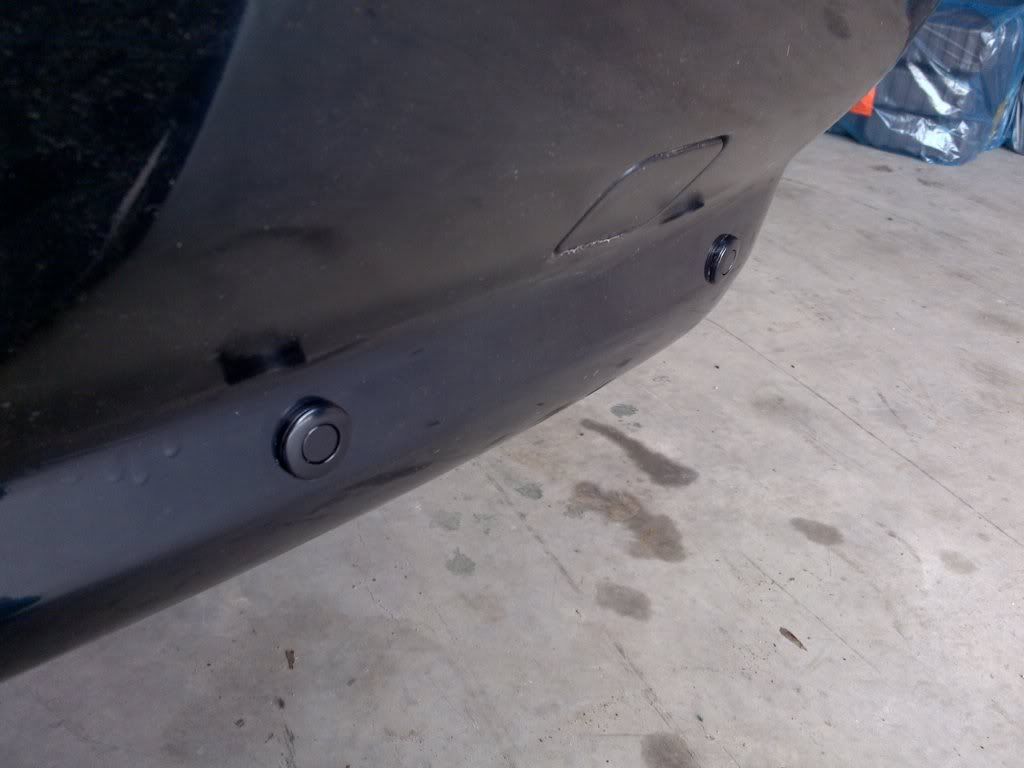
Also here is a picture of the sensors from behind the bumper showing why that line on the bumper is the best place to locate the sensors because there aren't any bars in the way behind it allowing the sensors to go all the way in: